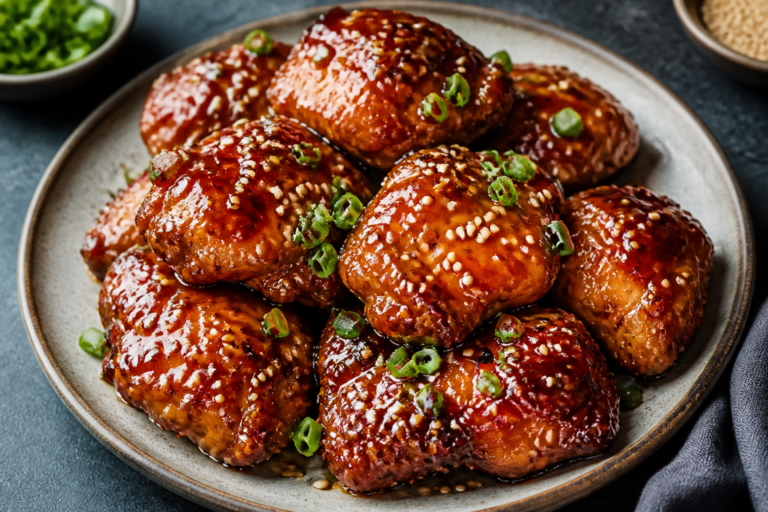
Sticky Garlic Brown Sugar Chicken Thighs – Easy, Saucy, and Crowd-Pleasing
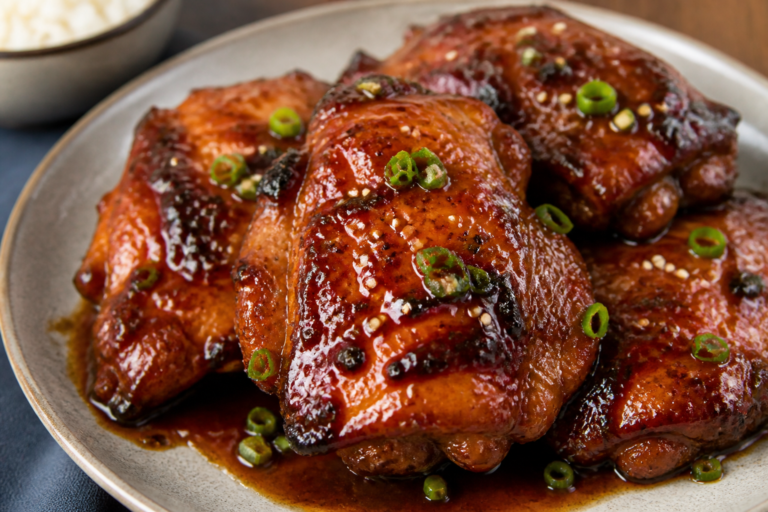
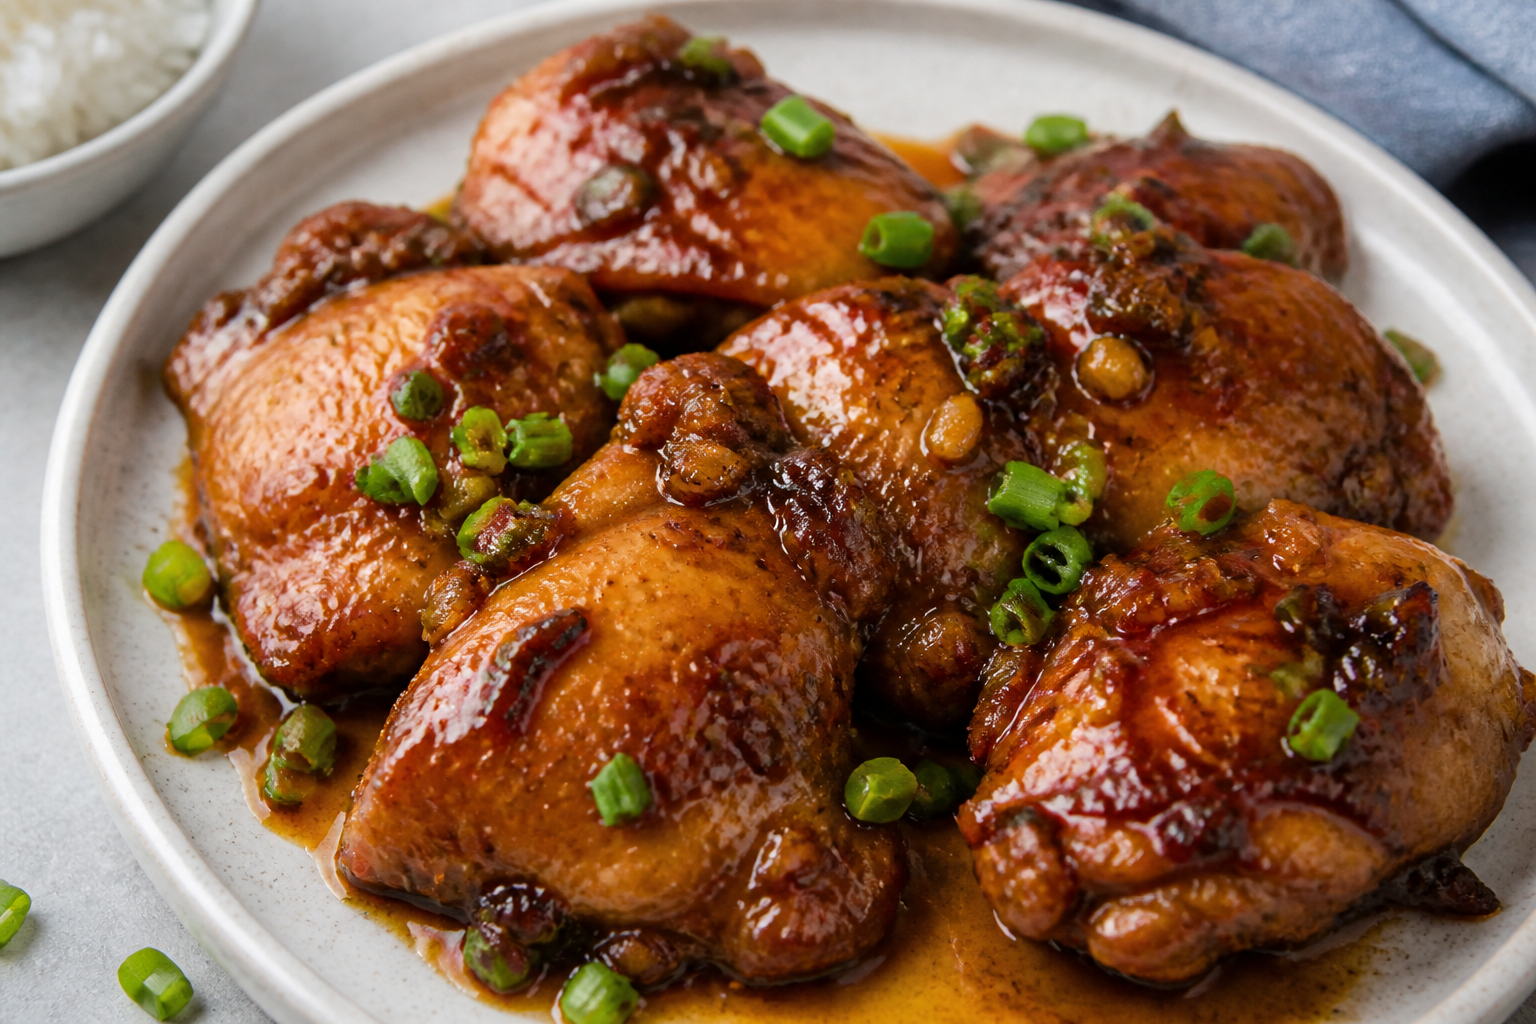
Sweet, savory, and a little bit sticky—this chicken hits all the right notes with very little effort. It’s the kind of dish that makes your kitchen smell amazing and gets everyone to the table fast. The sauce is glossy and rich, clinging to juicy chicken thighs with just the right balance of garlic and brown sugar.
You don’t need fancy ingredients or lots of time—just a skillet, a few pantry staples, and a quick simmer. Whether it’s a weeknight dinner or a last-minute get-together, this recipe delivers big flavor with minimal fuss.
Ingredients
Method
- Prep the chicken: Pat the thighs dry with paper towels. Season both sides with salt, pepper, and paprika. Dry skin sears better and helps the sauce stick.
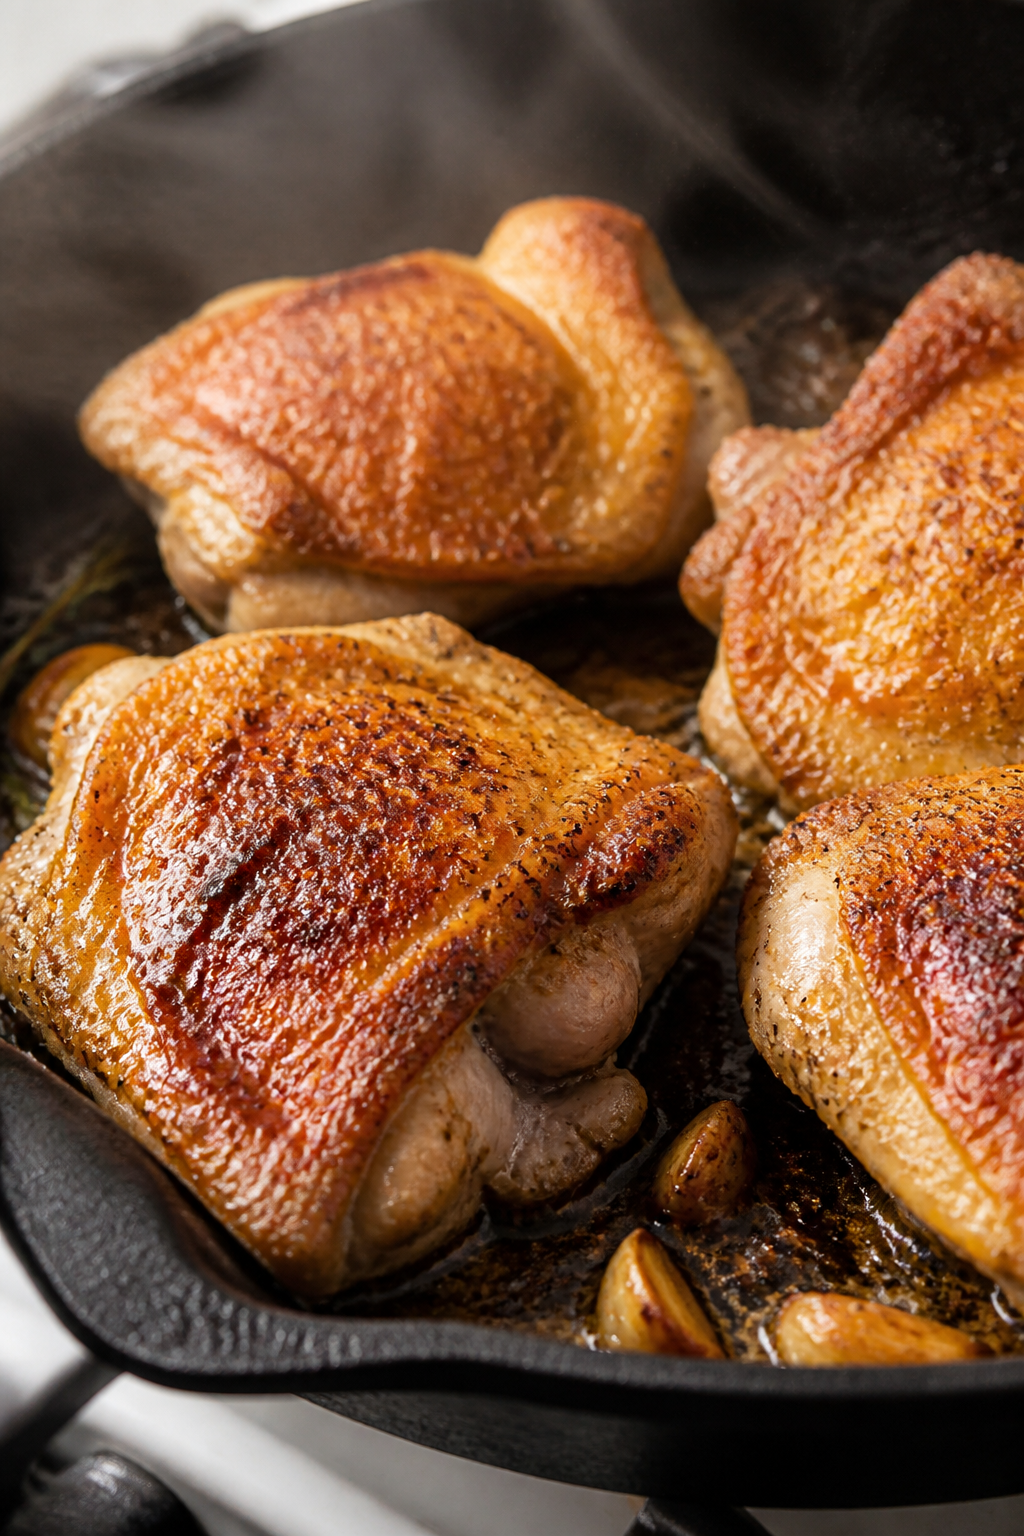
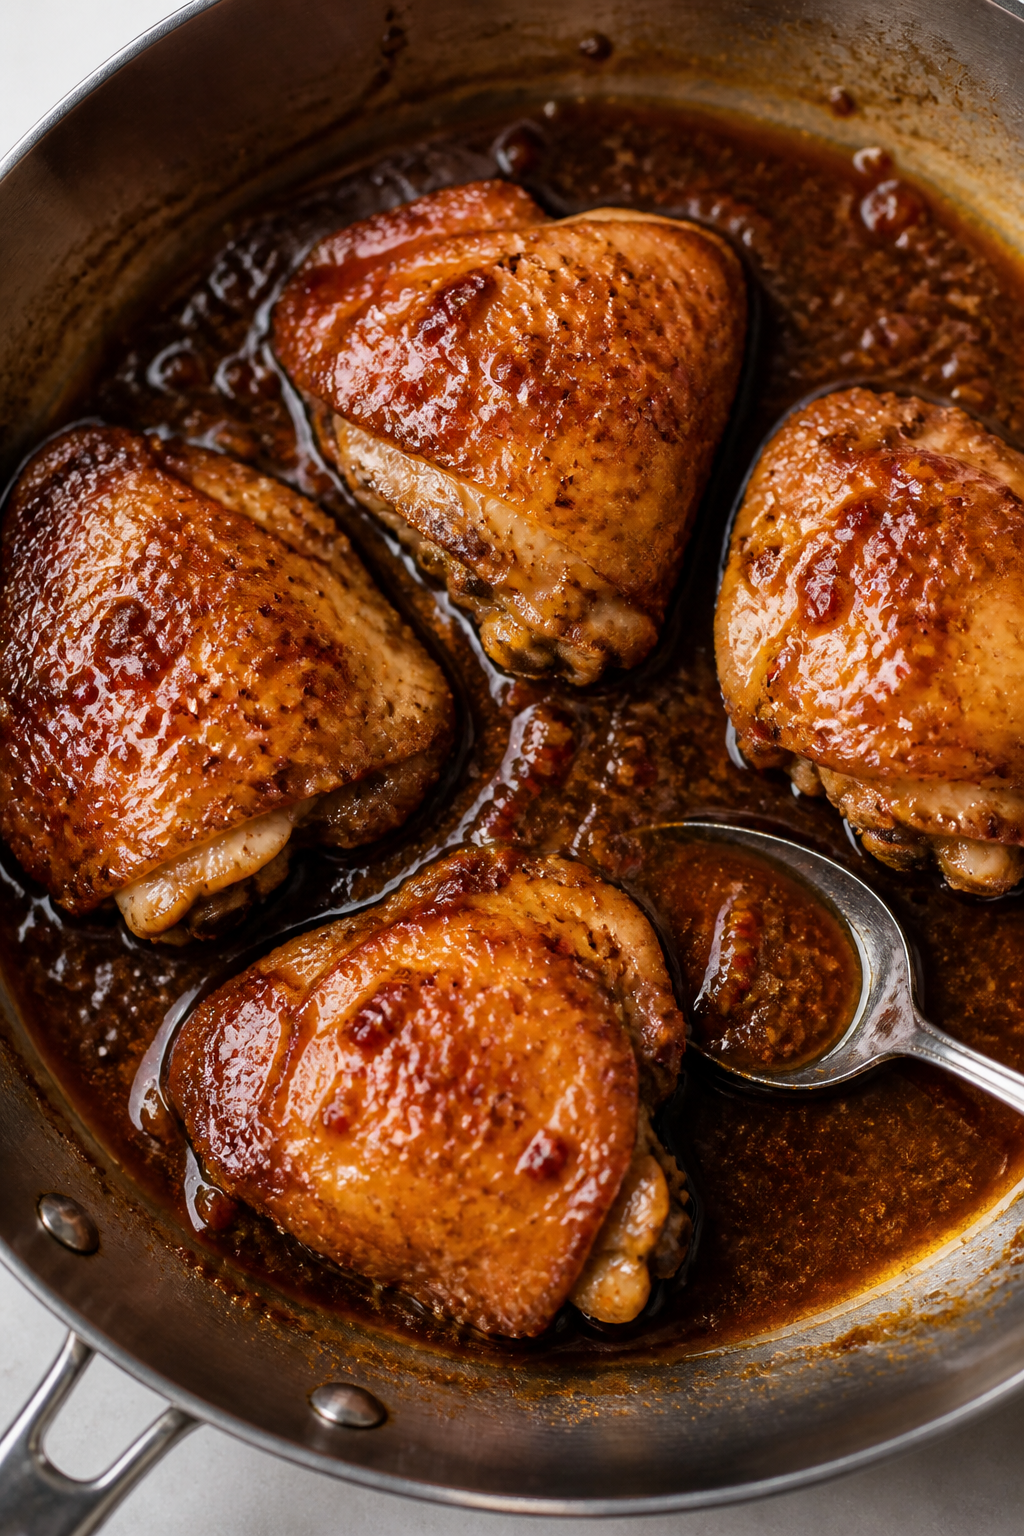
- Brown the thighs: Heat the oil in a large skillet over medium-high heat. Place thighs skin side down and cook for 6–8 minutes without moving, until deeply golden and crisp. Flip and cook 3–4 minutes more. Transfer to a plate; pour off excess fat, leaving about 1 tablespoon in the pan.
- Sauté the garlic: Reduce heat to medium. Add minced garlic and cook 30–45 seconds, stirring, until fragrant. Don’t let it burn.
- Build the sauce: Stir in brown sugar, soy sauce, vinegar, and broth. Scrape up browned bits from the pan—those add big flavor.
- Simmer and reduce: Return the chicken to the pan, skin side up. Spoon sauce over the top. Reduce heat to medium-low and simmer 12–15 minutes, uncovered, until the chicken is cooked through (internal temp of 165°F/74°C) and the sauce thickens.
- Adjust thickness: If you want a stickier glaze, remove the chicken briefly and whisk in the cornstarch slurry. Simmer 1–2 minutes until glossy, then return the chicken. Stir in the butter to finish the sauce.
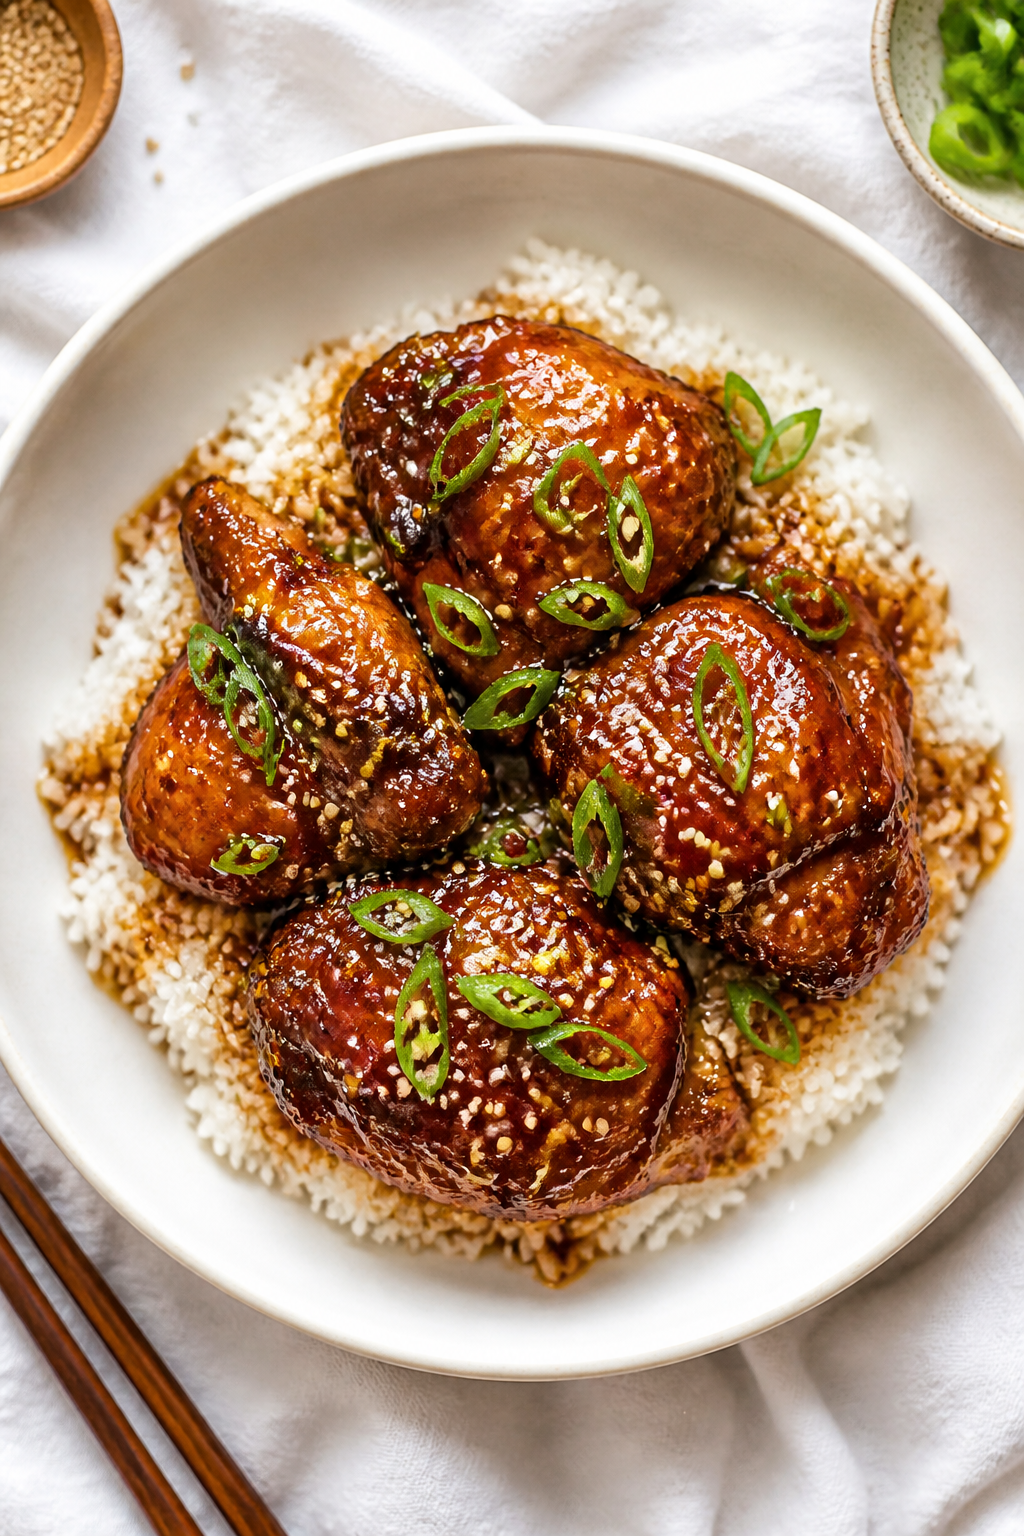
- Finish and serve: Sprinkle with red pepper flakes if using. Garnish with sliced green onions and sesame seeds. Spoon extra sauce over the chicken and serve hot.

What Makes This Special
This recipe is all about contrast: salty, sweet, garlicky, and a little tangy. The chicken thighs stay tender and juicy thanks to their higher fat content, and the sauce reduces to a glossy glaze that coats every bite.
A splash of soy sauce adds depth, while a hit of vinegar keeps the sweetness in check. Best of all, it cooks in one pan, so cleanup is simple. It’s comforting, quick, and feels a bit like takeout—without the wait.
Ingredients
- 6 bone-in, skin-on chicken thighs (about 2 to 2.5 pounds)
- 1 teaspoon kosher salt
- 1/2 teaspoon black pepper
- 1 teaspoon smoked paprika (or sweet paprika)
- 1 tablespoon neutral oil (canola, vegetable, or avocado)
- 4 cloves garlic, minced (about 1 1/2 tablespoons)
- 1/2 cup light brown sugar, packed
- 1/4 cup low-sodium soy sauce
- 2 tablespoons rice vinegar (or apple cider vinegar)
- 1/3 cup chicken broth or water
- 1 tablespoon unsalted butter
- 1 teaspoon cornstarch mixed with 1 tablespoon cold water (optional, for thicker glaze)
- 1/4 to 1/2 teaspoon crushed red pepper flakes (optional, for mild heat)
- 2 green onions, thinly sliced, for garnish
- Sesame seeds, for garnish (optional)
How to Make It
- Prep the chicken: Pat the thighs dry with paper towels.
Season both sides with salt, pepper, and paprika. Dry skin sears better and helps the sauce stick.
- Brown the thighs: Heat the oil in a large skillet over medium-high heat. Place thighs skin side down and cook for 6–8 minutes without moving, until deeply golden and crisp.
Flip and cook 3–4 minutes more. Transfer to a plate; pour off excess fat, leaving about 1 tablespoon in the pan.
- Sauté the garlic: Reduce heat to medium. Add minced garlic and cook 30–45 seconds, stirring, until fragrant.
Don’t let it burn.
- Build the sauce: Stir in brown sugar, soy sauce, vinegar, and broth. Scrape up browned bits from the pan—those add big flavor.
- Simmer and reduce: Return the chicken to the pan, skin side up. Spoon sauce over the top.
Reduce heat to medium-low and simmer 12–15 minutes, uncovered, until the chicken is cooked through (internal temp of 165°F/74°C) and the sauce thickens.
- Adjust thickness: If you want a stickier glaze, remove the chicken briefly and whisk in the cornstarch slurry. Simmer 1–2 minutes until glossy, then return the chicken. Stir in the butter to finish the sauce.
- Finish and serve: Sprinkle with red pepper flakes if using.
Garnish with sliced green onions and sesame seeds. Spoon extra sauce over the chicken and serve hot.
Keeping It Fresh
Store leftovers in an airtight container in the fridge for up to 4 days. The sauce will thicken a bit as it cools; that’s a good thing.
Reheat gently on the stove over low heat with a splash of water to loosen the glaze, or microwave in short bursts. For freezing, remove the bones and skin and freeze the meat with sauce for up to 2 months. Thaw overnight in the fridge before reheating.
Why This is Good for You
- Protein-rich: Chicken thighs offer satisfying protein to keep you full.
- Balanced flavor, mindful portions: The sauce uses brown sugar but is balanced with vinegar and soy, so a little goes a long way.
- Iron and B vitamins: Dark meat chicken has more iron and certain B vitamins than chicken breast.
- Customizable: You can control sodium by choosing low-sodium soy sauce and adjust sweetness to suit your needs.
Pitfalls to Watch Out For
- Burning the garlic: Garlic cooks fast.
Lower the heat before adding it and stir constantly.
- Watery sauce: If the sauce isn’t reducing, raise the heat slightly and simmer uncovered. Use cornstarch if you want it extra glossy.
- Soggy skin: Sear the skin well at the start and avoid covering the pan during the final simmer.
- Overcrowding the pan: If your skillet is small, brown in batches so the thighs sear instead of steam.
- Too sweet or too salty: Taste the sauce. Add a splash of vinegar to cut sweetness or a bit of water to mellow saltiness.
Alternatives
- Chicken options: Use boneless, skinless thighs; reduce simmer time to about 8–10 minutes after browning.
Chicken breasts work too—sear and simmer gently to avoid drying out.
- Bake instead: Brown the thighs, then bake at 400°F/205°C for 18–22 minutes, basting with sauce halfway through. Finish under the broiler for 1–2 minutes for extra stickiness.
- Sauce swaps: Try honey instead of some of the brown sugar, or add a tablespoon of hoisin for deeper sweetness. Lemon juice can replace vinegar for a brighter twist.
- Add vegetables: Toss in snap peas, bell peppers, or broccoli during the last 5–7 minutes of simmering.
They’ll soak up the sauce and round out the meal.
- Gluten-free: Use tamari or certified gluten-free soy sauce. Check your broth and vinegar labels to be sure.
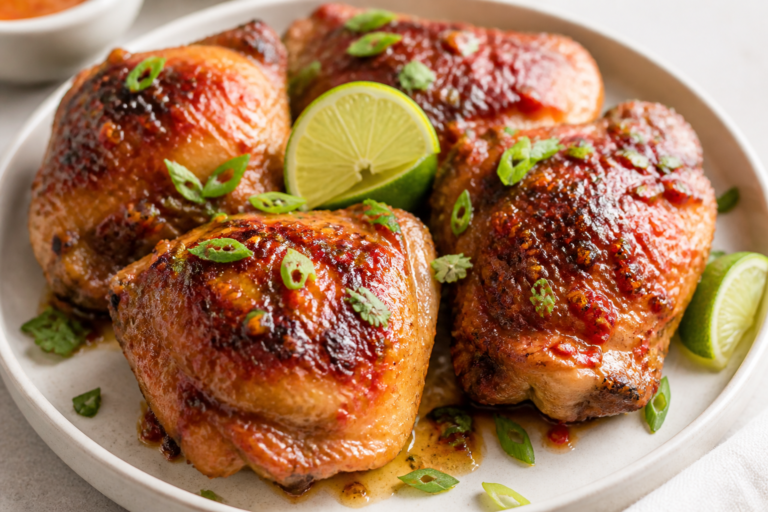
- Spice it up: Add sriracha, gochujang, or a pinch of cayenne for more heat.
FAQ
Can I make this ahead?
Yes. Cook the chicken and cool completely.
Store the chicken and sauce together in the fridge. Reheat gently on the stove with a splash of water and baste to restore the glaze.
What should I serve with it?
Steamed jasmine rice, coconut rice, or garlicky mashed potatoes are perfect. For something lighter, try cauliflower rice, sautéed greens, or a crisp cucumber salad to balance the sweetness.
Do I have to use bone-in, skin-on thighs?
No, but they deliver the best texture and flavor.
Boneless thighs or breasts cook faster; just watch doneness closely and keep the sauce at a gentle simmer to prevent drying out.
How do I know the sauce is thick enough?
When you drag a spoon through it, the trail should hold for a second before closing. It should coat the back of a spoon and look glossy. If it’s thin, keep simmering or whisk in a bit of cornstarch slurry.
Can I reduce the sugar?
Yes.
Start with 1/3 cup brown sugar and taste as it reduces. Keep in mind that less sugar means a less sticky glaze, so consider the cornstarch option for body.
What if I don’t have rice vinegar?
Use apple cider vinegar or white wine vinegar. Add it gradually and taste—vinegars vary in sharpness.
A squeeze of lemon works in a pinch.
How do I avoid greasy sauce?
After browning, pour off excess fat, leaving about a tablespoon in the pan. If needed, skim the sauce at the end or blot lightly with a paper towel.
Is this good for meal prep?
Yes. Pack with rice or quinoa and steamed veggies.
The sauce keeps the chicken moist, and it reheats well without drying out.
Final Thoughts
Sticky Garlic Brown Sugar Chicken Thighs are simple, bold, and dependable. With a quick sear and a short simmer, you get tender meat and a shiny glaze that tastes like you worked harder than you did. Keep the ingredients on hand, tweak the sweetness and heat to your taste, and this will become a weeknight favorite you can rely on.
Serve it over rice, pass extra sauce at the table, and watch the plates come back clean.
Printable Recipe Card
Want just the essential recipe details without scrolling through the article? Get our printable recipe card with just the ingredients and instructions.