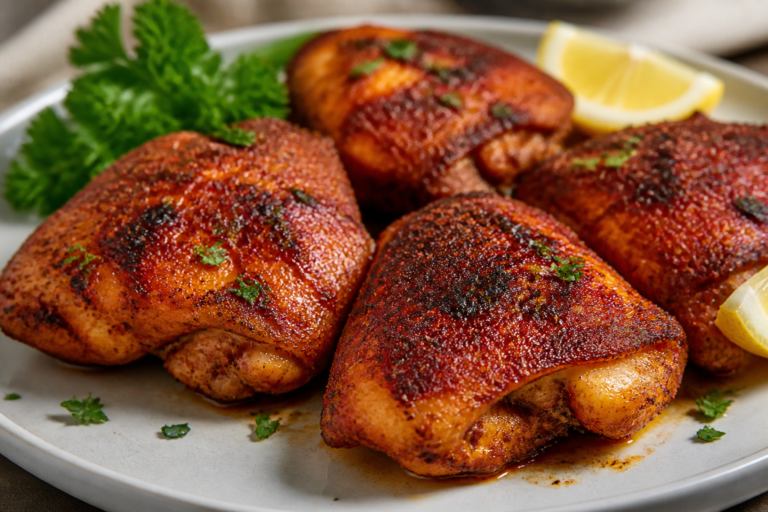
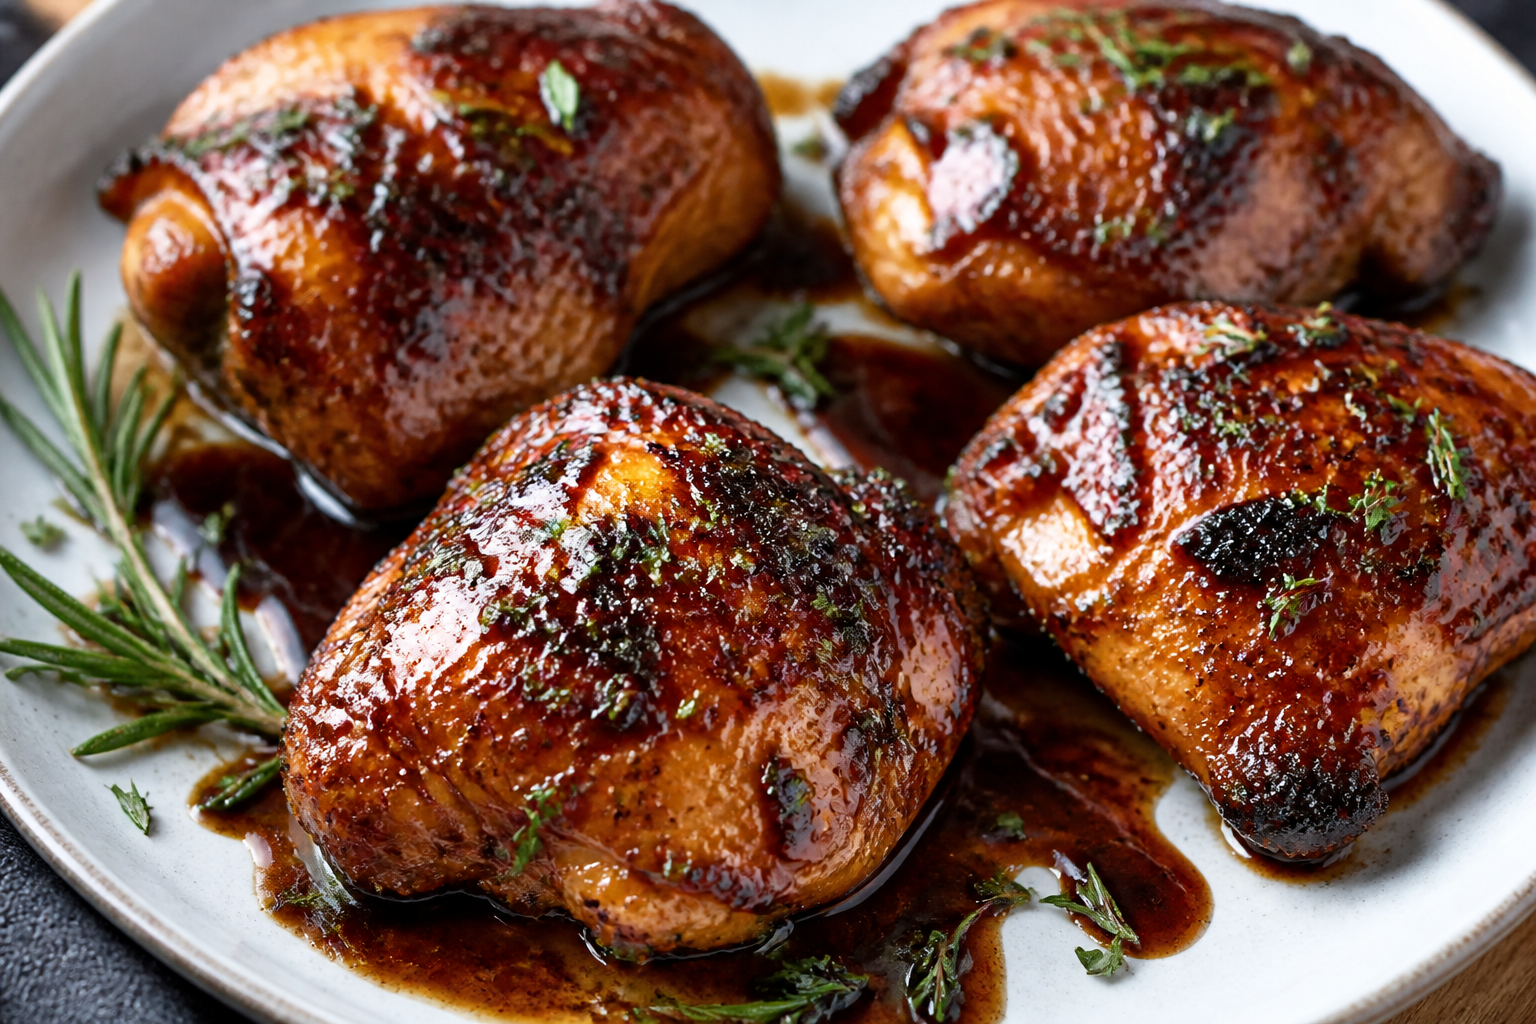
Balsamic Glazed Chicken Thighs – Sweet, Tangy, and Perfect for Weeknights
This is the kind of meal you make once and instantly add to your regular rotation. Balsamic glazed chicken thighs are juicy, sticky, and full of bold flavor with just a handful of ingredients. The glaze cooks down into a glossy sauce that clings to every bite.
It’s simple enough for a Tuesday night, but special enough for guests. You’ll want extra napkins—and maybe an extra thigh or two.
Ingredients
Method
- Pat dry and season: Blot chicken thighs with paper towels. Season both sides with 1 to 1.5 teaspoons salt and 1/2 teaspoon black pepper. This step helps crisp the skin and deepen flavor.
- Make the glaze: In a bowl or measuring cup, whisk together balsamic vinegar, honey, soy sauce, Dijon, and minced garlic. Add a pinch of red pepper flakes if you like heat.
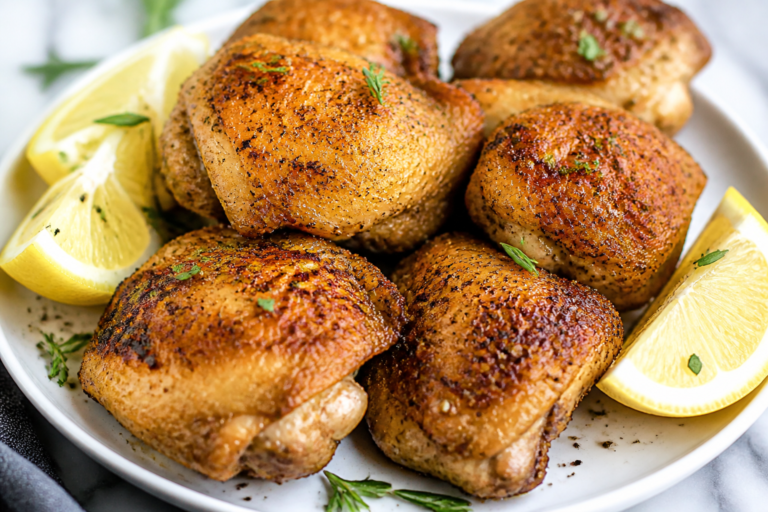
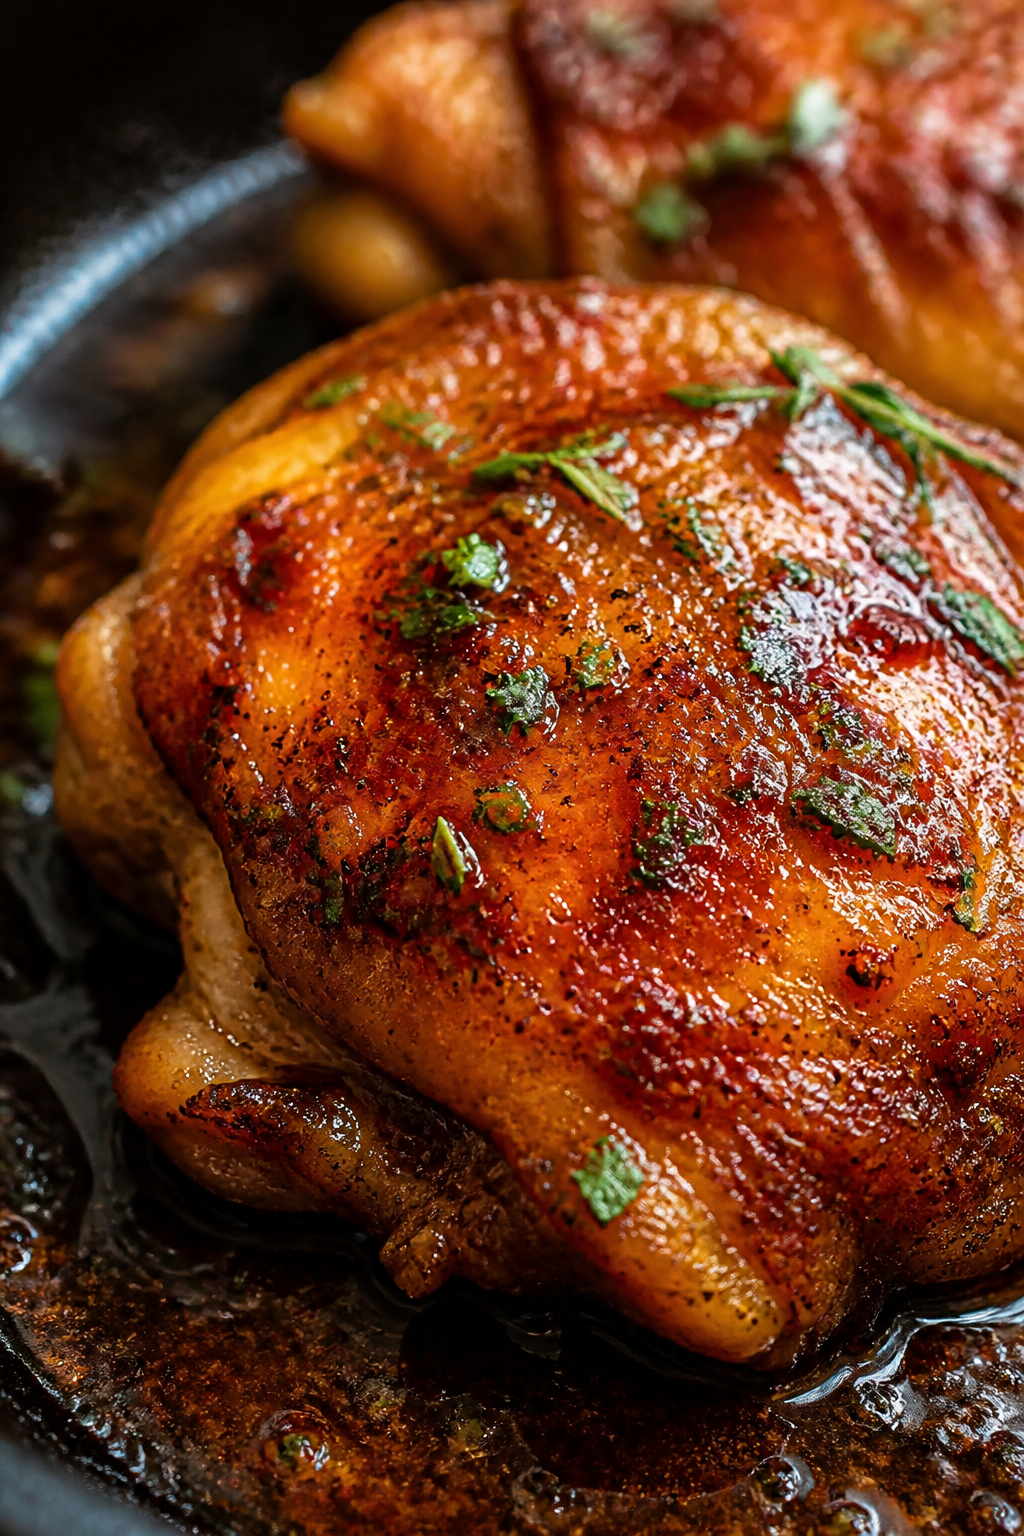
- Sear the chicken: Heat olive oil in a large oven-safe skillet over medium-high heat. Place thighs skin-side down and cook 6–8 minutes, until the skin is deep golden and crisp. Don’t move them too much; let the heat do the work. Flip and cook the other side for 2–3 minutes.
- Add glaze and herbs: Pour the balsamic mixture around the chicken (not directly on the crisp skin just yet). Tuck in thyme or rosemary sprigs if using. Reduce heat to medium and simmer 2–3 minutes to start thickening.
- Finish in the oven: Transfer the skillet to a 400°F (200°C) oven. Roast 12–15 minutes, until the chicken reaches 175°F–185°F in the thickest part. Thighs like higher temps; they get more tender.
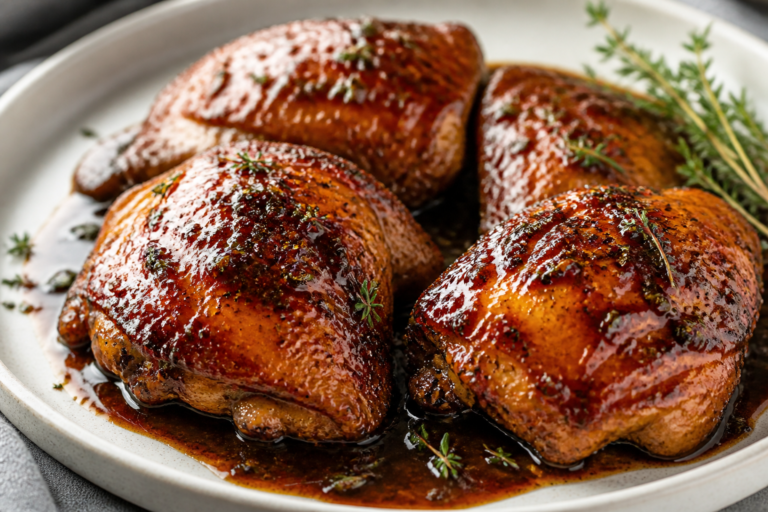
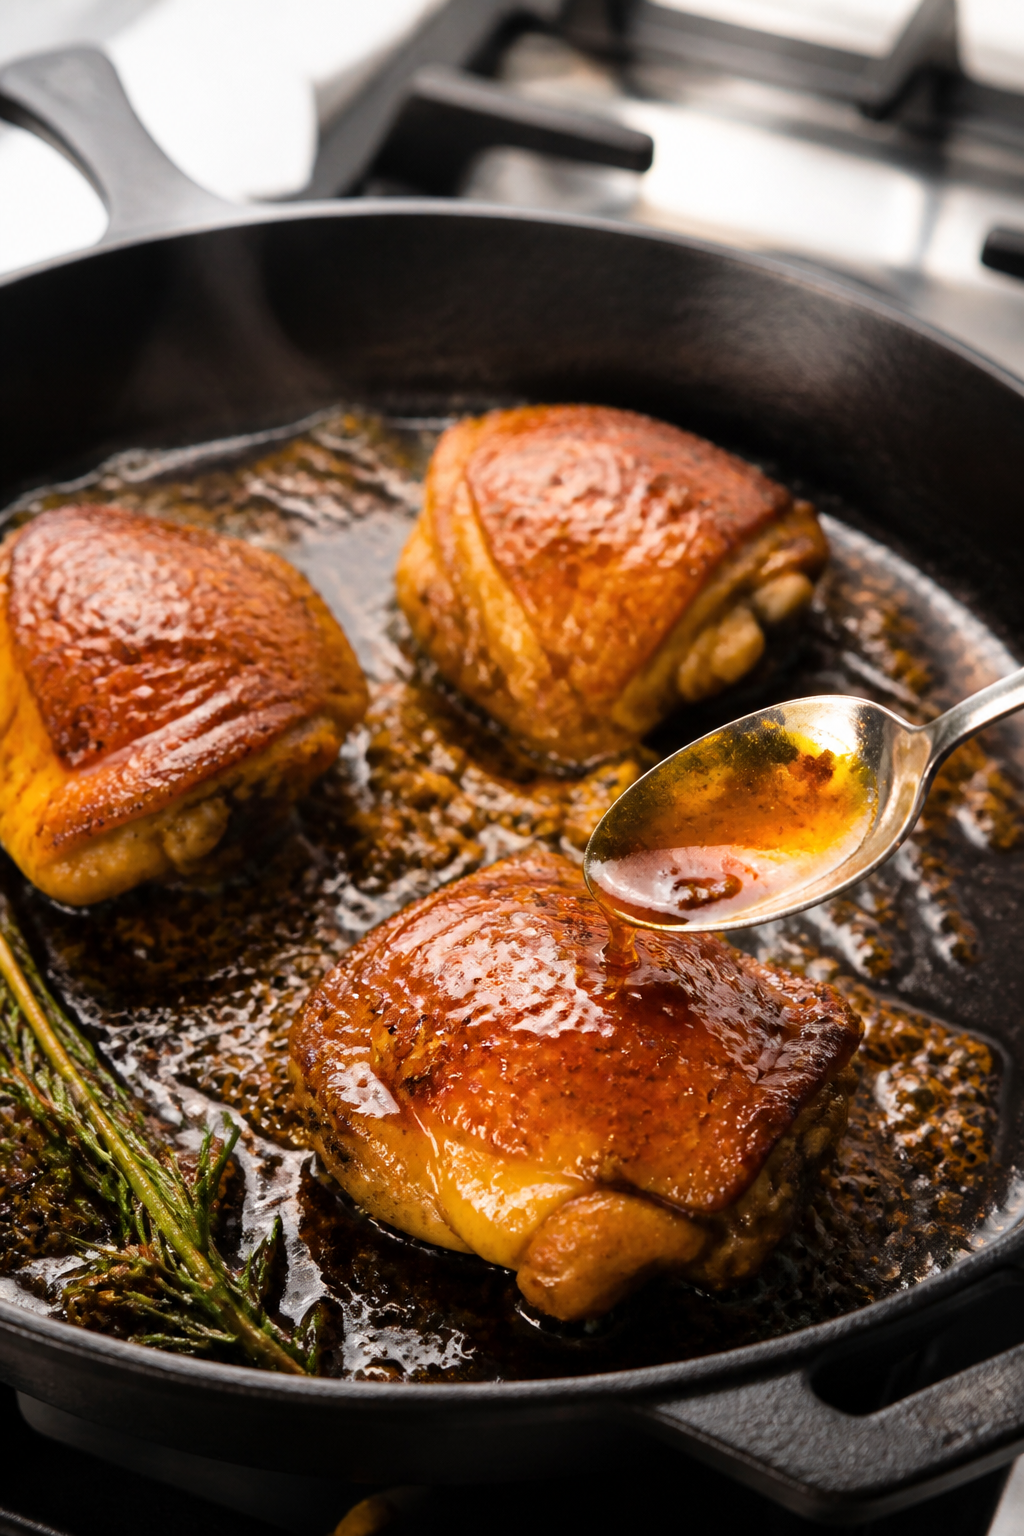
- Glaze to glossy: Return the skillet to the stovetop over medium heat. Remove the herbs. Spoon the sauce over the chicken, letting it bubble and reduce for 2–4 minutes until it’s syrupy and coats the back of a spoon. Stir in butter for extra sheen, if you like.
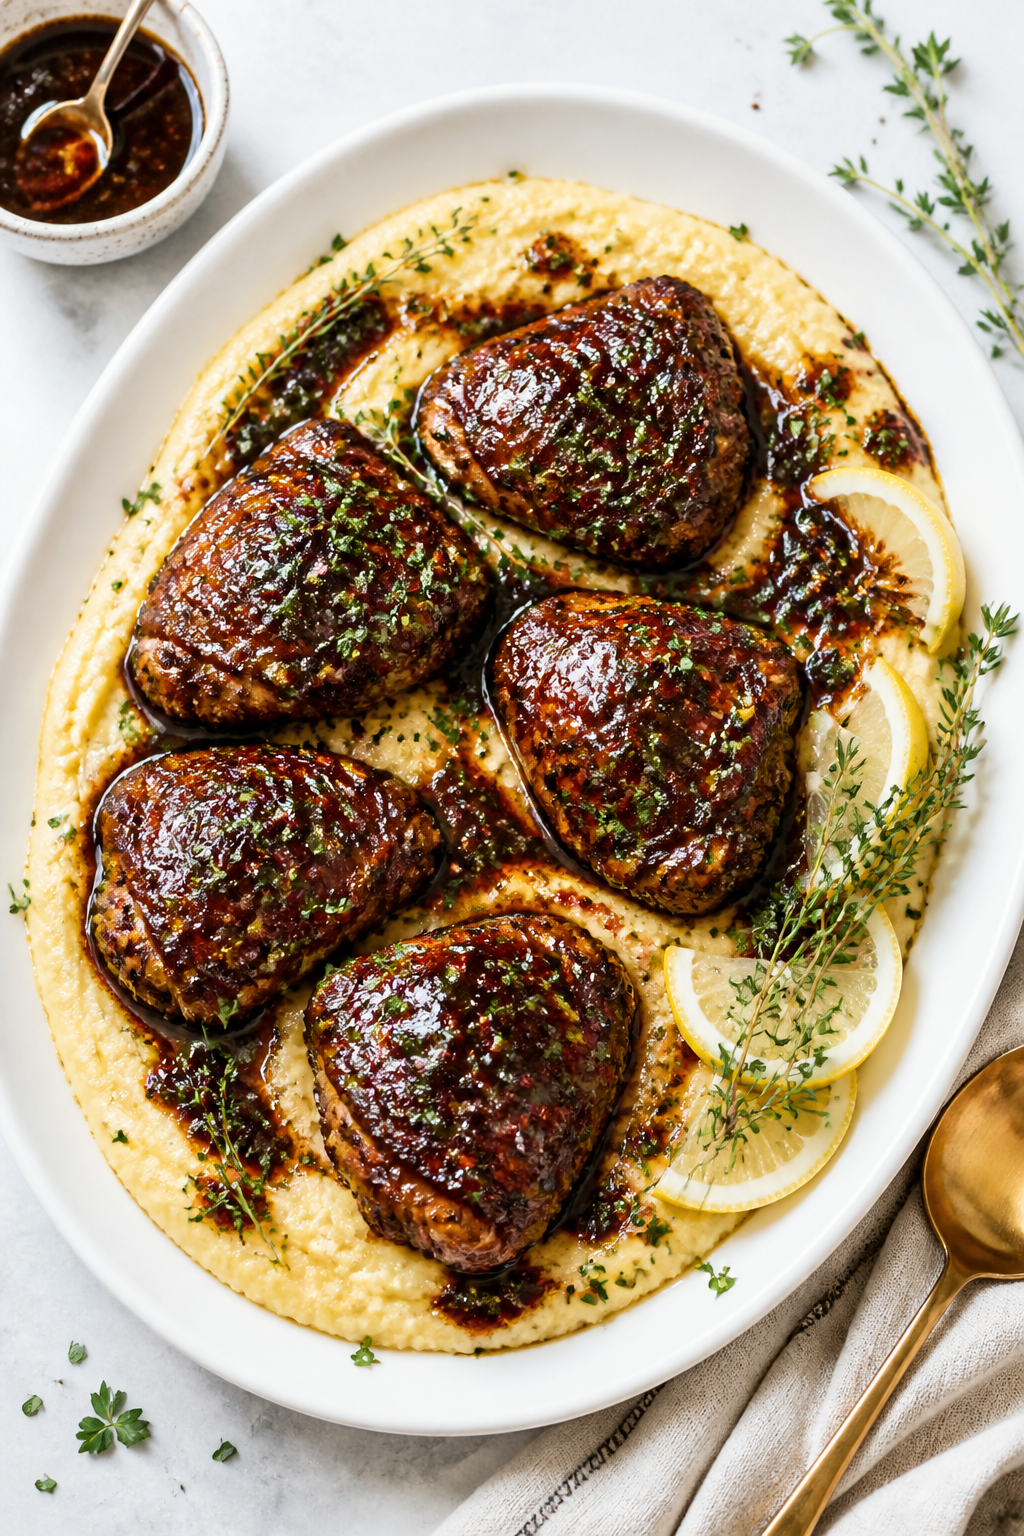
- Rest and finish: Let the chicken rest 5 minutes. Spoon glaze over the skin again. Scatter chopped parsley and add a light squeeze of lemon for brightness.
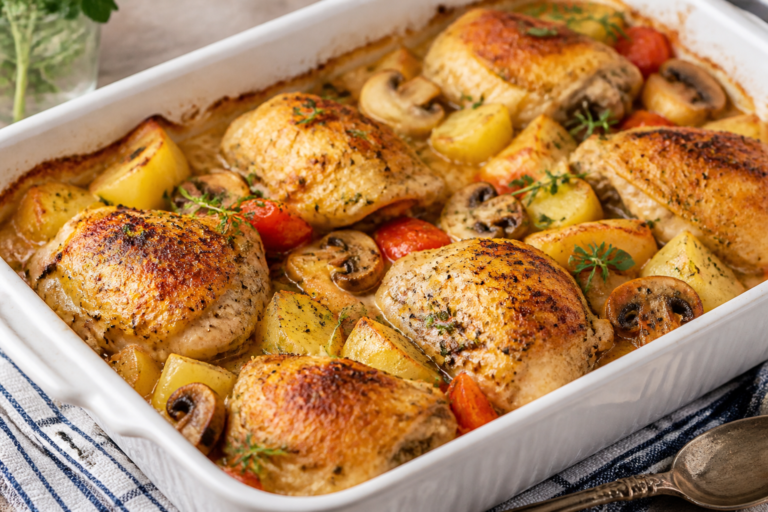
- Serve: Plate with sides that soak up sauce—mashed potatoes, creamy polenta, rice, or roasted carrots and green beans.

What Makes This Recipe So Good
- Maximum flavor, minimal effort: A short ingredient list turns into a rich, restaurant-style glaze with almost no fuss.
- Foolproof juiciness: Chicken thighs stay tender and moist, even if you cook them a touch longer.
- Balanced sweet and tangy: Balsamic vinegar, honey, and garlic create a bold, slightly sweet sauce with a savory edge.
- Works with pantry staples: You likely have most of the ingredients on hand already.
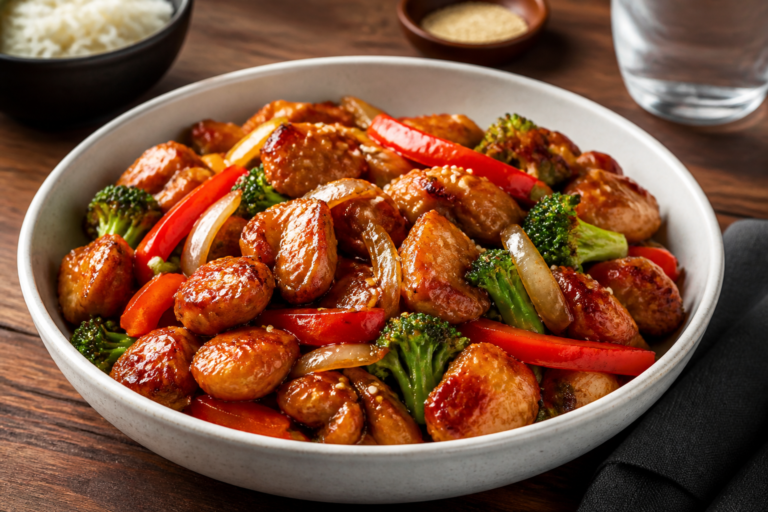
- Versatile serving options: Pairs well with rice, mashed potatoes, polenta, roasted veggies, or a crisp salad.
Shopping List
- Bone-in, skin-on chicken thighs (6 to 8 pieces, about 2 to 2.5 pounds)
- Balsamic vinegar (1/2 cup)
- Honey (3 tablespoons; maple syrup works too)
- Soy sauce (2 tablespoons; or tamari for gluten-free)
- Dijon mustard (1 tablespoon)
- Garlic (4 cloves, minced)
- Olive oil (2 tablespoons)
- Salt and black pepper
- Crushed red pepper flakes (optional, for heat)
- Fresh thyme or rosemary (optional, a few sprigs)
- Butter (1 tablespoon, optional for a silkier glaze)
- Fresh parsley (optional, for garnish)
- Lemon (optional, for a finishing squeeze)
Instructions
- Pat dry and season: Blot chicken thighs with paper towels. Season both sides with 1 to 1.5 teaspoons salt and 1/2 teaspoon black pepper.
This step helps crisp the skin and deepen flavor.
- Make the glaze: In a bowl or measuring cup, whisk together balsamic vinegar, honey, soy sauce, Dijon, and minced garlic. Add a pinch of red pepper flakes if you like heat.
- Sear the chicken: Heat olive oil in a large oven-safe skillet over medium-high heat. Place thighs skin-side down and cook 6–8 minutes, until the skin is deep golden and crisp.
Don’t move them too much; let the heat do the work. Flip and cook the other side for 2–3 minutes.
- Add glaze and herbs: Pour the balsamic mixture around the chicken (not directly on the crisp skin just yet). Tuck in thyme or rosemary sprigs if using.
Reduce heat to medium and simmer 2–3 minutes to start thickening.
- Finish in the oven: Transfer the skillet to a 400°F (200°C) oven. Roast 12–15 minutes, until the chicken reaches 175°F–185°F in the thickest part. Thighs like higher temps; they get more tender.
- Glaze to glossy: Return the skillet to the stovetop over medium heat.
Remove the herbs. Spoon the sauce over the chicken, letting it bubble and reduce for 2–4 minutes until it’s syrupy and coats the back of a spoon. Stir in butter for extra sheen, if you like.
- Rest and finish: Let the chicken rest 5 minutes.
Spoon glaze over the skin again. Scatter chopped parsley and add a light squeeze of lemon for brightness.
- Serve: Plate with sides that soak up sauce—mashed potatoes, creamy polenta, rice, or roasted carrots and green beans.
Storage Instructions
- Refrigerate: Cool completely, then store in an airtight container for up to 4 days.
- Reheat: Warm gently on the stovetop over low heat with a splash of water to loosen the glaze, or in a 325°F oven for 10–12 minutes. Avoid microwaving too long to keep the skin from going rubbery.
- Freeze: Freeze in a freezer-safe container for up to 3 months.
Thaw overnight in the fridge, then reheat as above.
- Leftover tip: Shred the meat and toss with glaze for sandwiches, grain bowls, or wraps.
Why This is Good for You
- Protein-rich: Chicken thighs provide satisfying protein to keep you full and energized.
- Healthy fats: Using olive oil adds heart-healthy monounsaturated fats. The skin also adds satiety, so smaller portions feel satisfying.
- Real ingredients: The glaze relies on pantry staples, not artificial thickeners or additives.
- Flexible balance: You control the sweetness and sodium. Use less honey or low-sodium soy sauce if needed.
What Not to Do
- Don’t skip drying the chicken: Moisture prevents the skin from crisping and dilutes flavor.
- Don’t crowd the pan: Overcrowding traps steam and stops browning.
Use two pans if needed.
- Don’t boil the glaze too hard: A rolling boil can burn honey and turn the sauce bitter. Keep it at a lively simmer.
- Don’t under-season: The glaze is bold, but the meat still needs salt and pepper to shine.
- Don’t stop at 165°F for thighs: Unlike breasts, thighs are juicier and more tender at 175°F–185°F.
Variations You Can Try
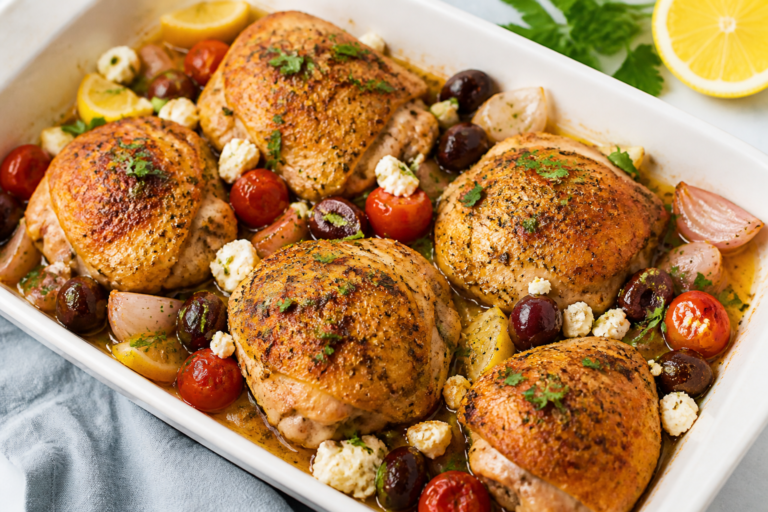
- Caprese twist: Add cherry tomatoes to the skillet for the last 10 minutes and top with fresh mozzarella and basil before serving.
- Smoky balsamic: Stir in 1 teaspoon smoked paprika and a splash of Worcestershire for a deeper, barbecue-like note.
- Maple-mustard: Swap honey for maple syrup and increase Dijon by 1 teaspoon for extra tang.
- Garlic-lover’s version: Double the garlic and add 1/2 teaspoon garlic powder to the rub.
- Boneless/skinless option: Use boneless thighs, sear 3–4 minutes per side, and reduce oven time to 8–10 minutes.
- Sheet pan shortcut: Toss thighs with olive oil, salt, and pepper. Roast at 425°F for 20 minutes, then brush with reduced balsamic glaze and roast 5–8 more minutes.
FAQ
Can I use chicken breasts instead of thighs?
Yes, but adjust the method.
Sear the breasts 3–4 minutes per side, then roast just until they reach 160°F; rest to 165°F. Keep the glaze gentle to avoid overcooking.
How do I prevent the glaze from turning bitter?
Use moderate heat and keep it at a simmer, not a raging boil. Avoid reducing it too far; it should coat a spoon but still be pourable.
If it tastes sharp, whisk in a teaspoon of honey or a small knob of butter.
What sides go best with balsamic glazed chicken?
Creamy or starchy sides pair well: mashed potatoes, polenta, risotto, rice, or couscous. For veg, try roasted Brussels sprouts, green beans, or a simple arugula salad.
Can I make the glaze ahead?
Absolutely. Mix the glaze up to 3 days ahead and store it covered in the fridge.
Whisk before using and simmer a minute to wake up the flavors.
Is there a non-soy alternative?
Use coconut aminos or a mix of extra salt and a splash of Worcestershire. Taste and adjust honey and acidity as needed.
How do I know when the glaze is ready?
It should bubble and reduce until glossy, with slow, syrupy drips from a spoon. If it firms up too much off heat, add a tablespoon of water and warm gently.
Can I cook this entirely on the stovetop?
Yes.
After searing, lower the heat to medium-low, add the glaze, cover, and cook 10–12 minutes, flipping once. Uncover and simmer to thicken the sauce.
In Conclusion
Balsamic glazed chicken thighs are reliable, flavorful, and weeknight-easy. With crisp skin, tender meat, and a shiny sweet-tangy sauce, they check every box.
Keep the ingredients on hand, and you can have a crowd-pleasing dinner in under an hour. Once you taste that glossy glaze, you’ll wonder why you didn’t make them sooner.
Printable Recipe Card
Want just the essential recipe details without scrolling through the article? Get our printable recipe card with just the ingredients and instructions.