Brown Sugar Garlic Chicken Thighs – Sweet, Savory, and Weeknight Easy
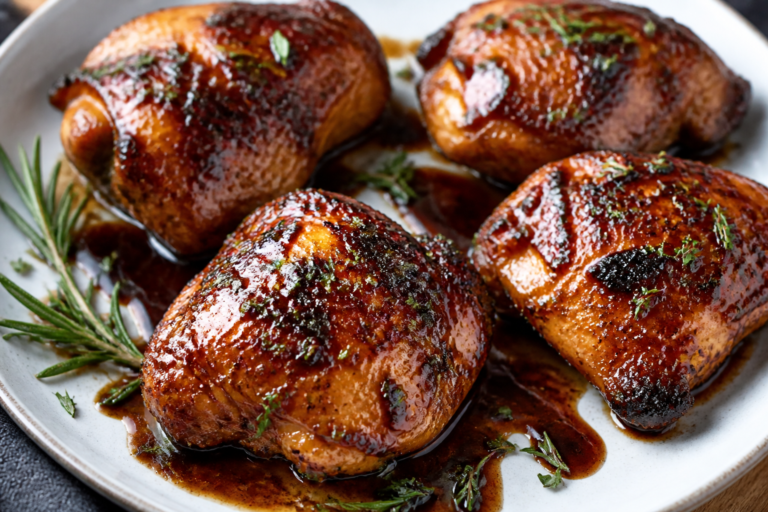
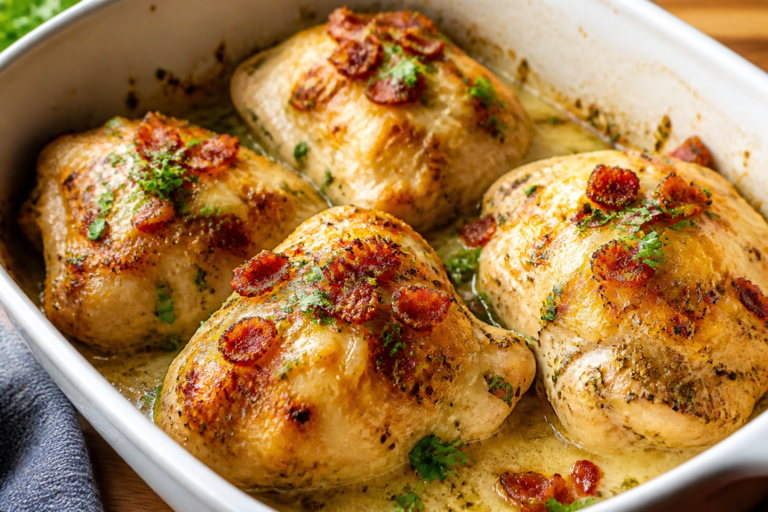
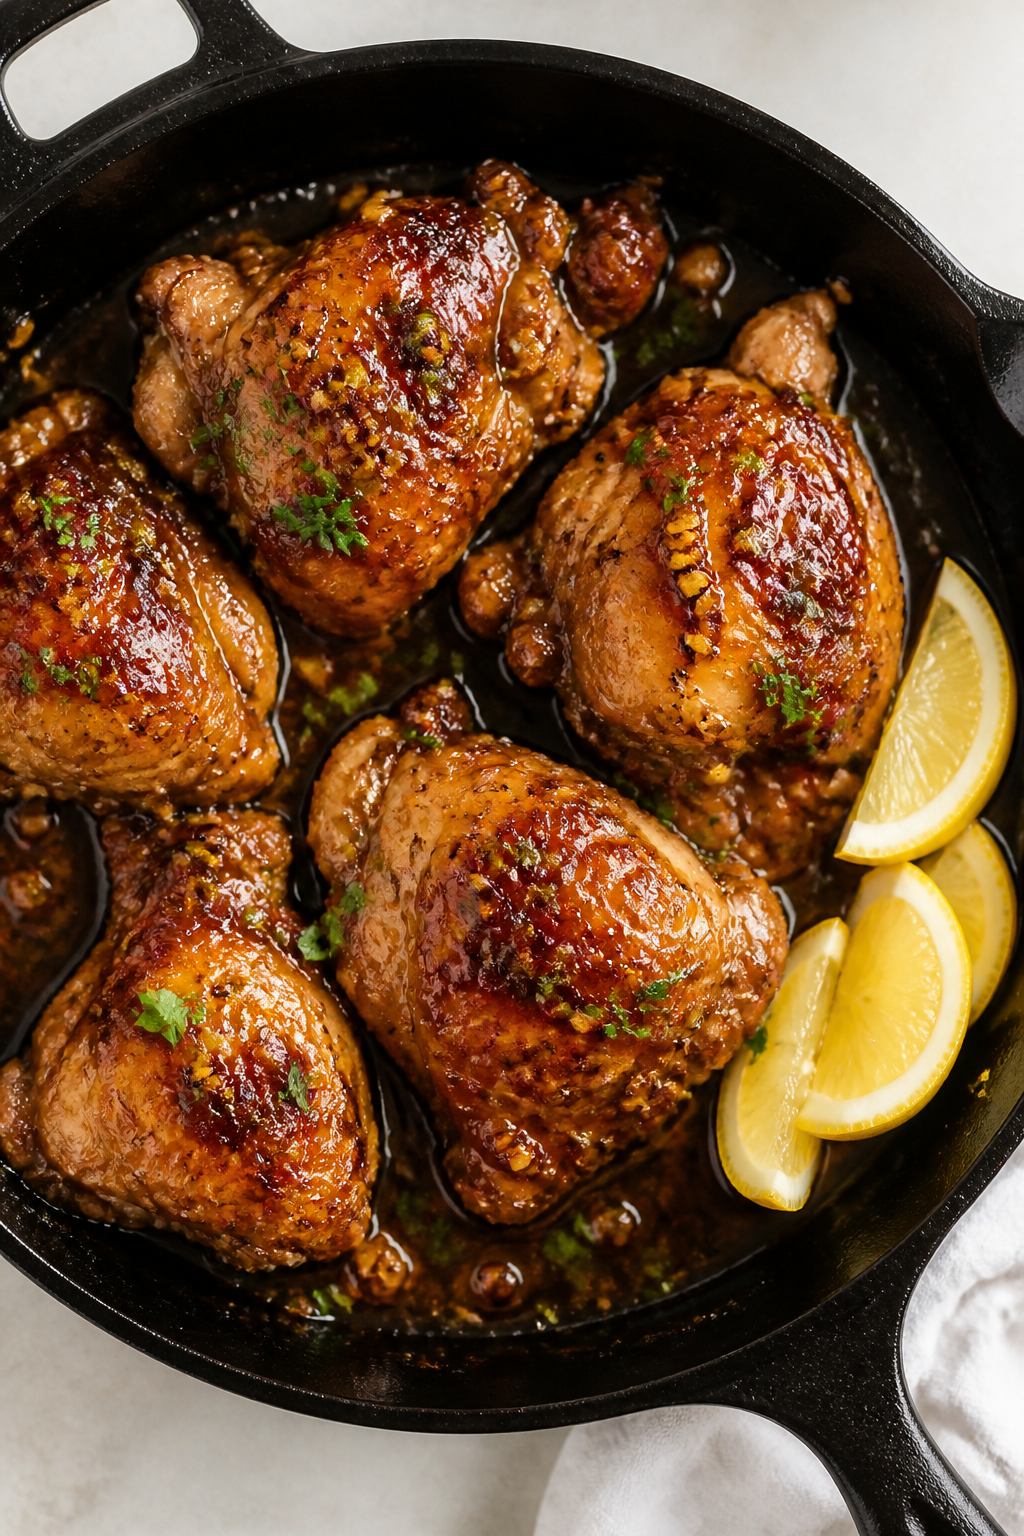
Few dinners hit that sweet spot of simple and satisfying like brown sugar garlic chicken thighs. This recipe gives you juicy, crisp-skinned chicken with a glossy, garlicky glaze that tastes like you spent all afternoon cooking. In reality, it’s weeknight-friendly and uses pantry staples you probably already have.
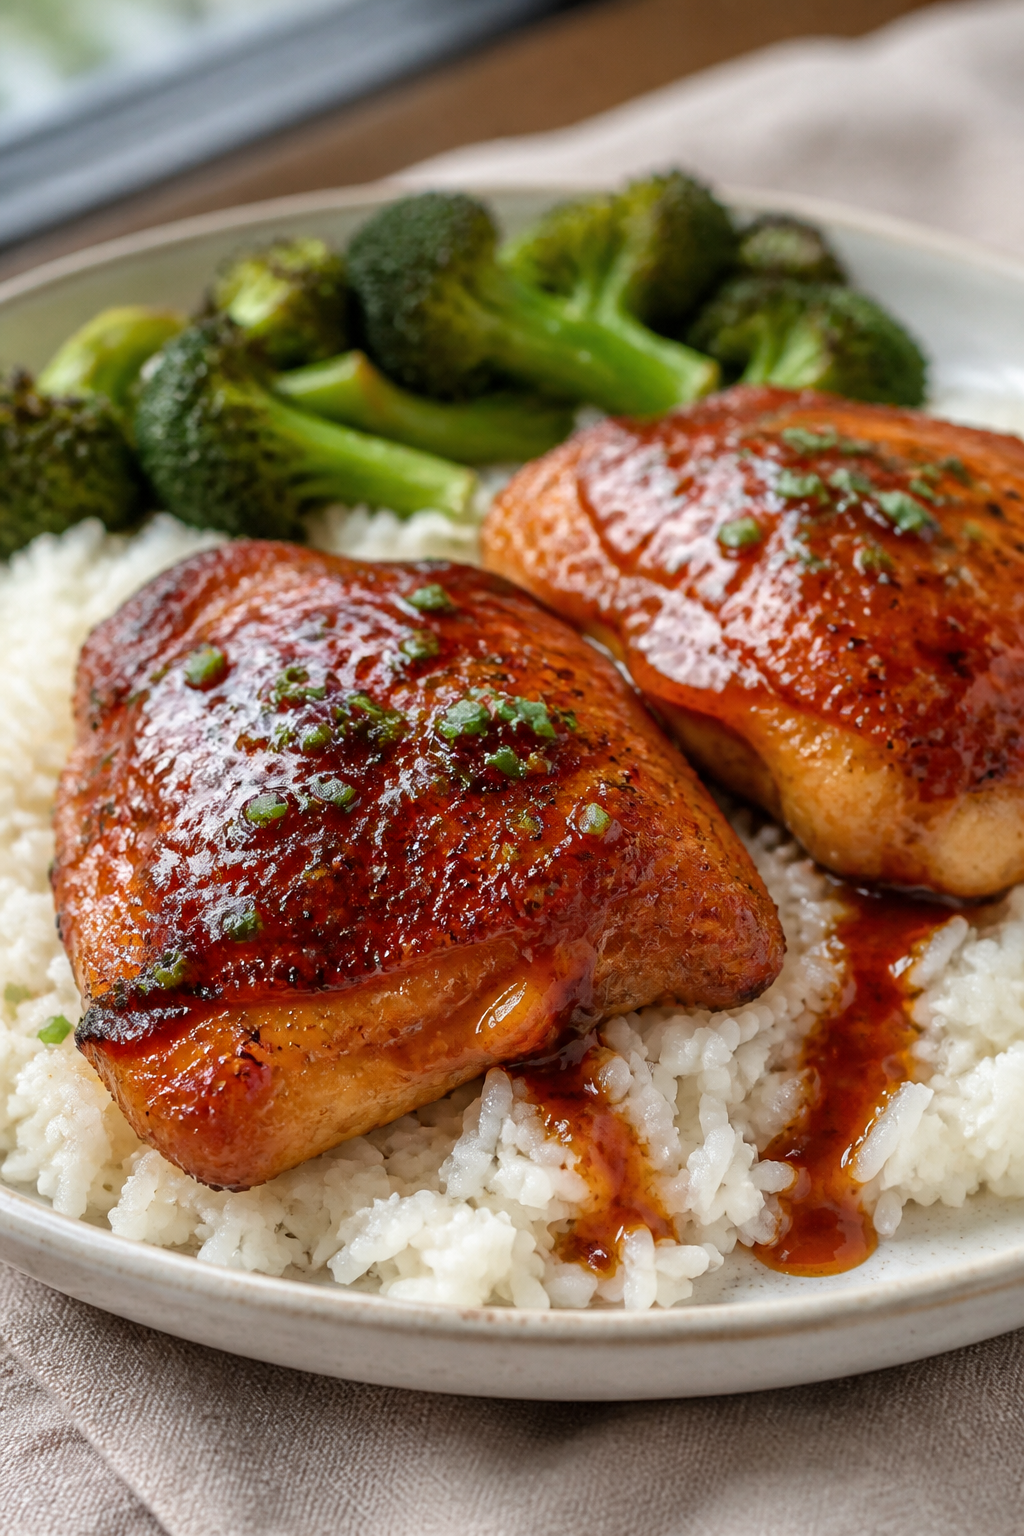
The balance of sweet brown sugar, bold garlic, and a hint of tang makes every bite pop. Serve it with rice, mashed potatoes, or roasted vegetables, and you’re set.
Ingredients
Method
- Prep the chicken. Pat the chicken thighs very dry with paper towels. This is key for crisp skin. Season both sides with salt and pepper.
- Make the glaze. In a small bowl, stir together brown sugar, garlic, soy sauce, vinegar, smoked paprika, chili flakes (if using), and onion powder. The mixture will be thick and sandy—perfect.
- Start in a hot pan. Heat olive oil in a large oven-safe skillet over medium-high. When the oil shimmers, place chicken thighs skin-side down. Don’t crowd the pan; work in batches if needed.
- Render and crisp. Sear skin-side down for 6–8 minutes without moving, until deeply golden and most of the fat has rendered. Flip and cook the other side for 3 minutes. Reduce heat to medium.
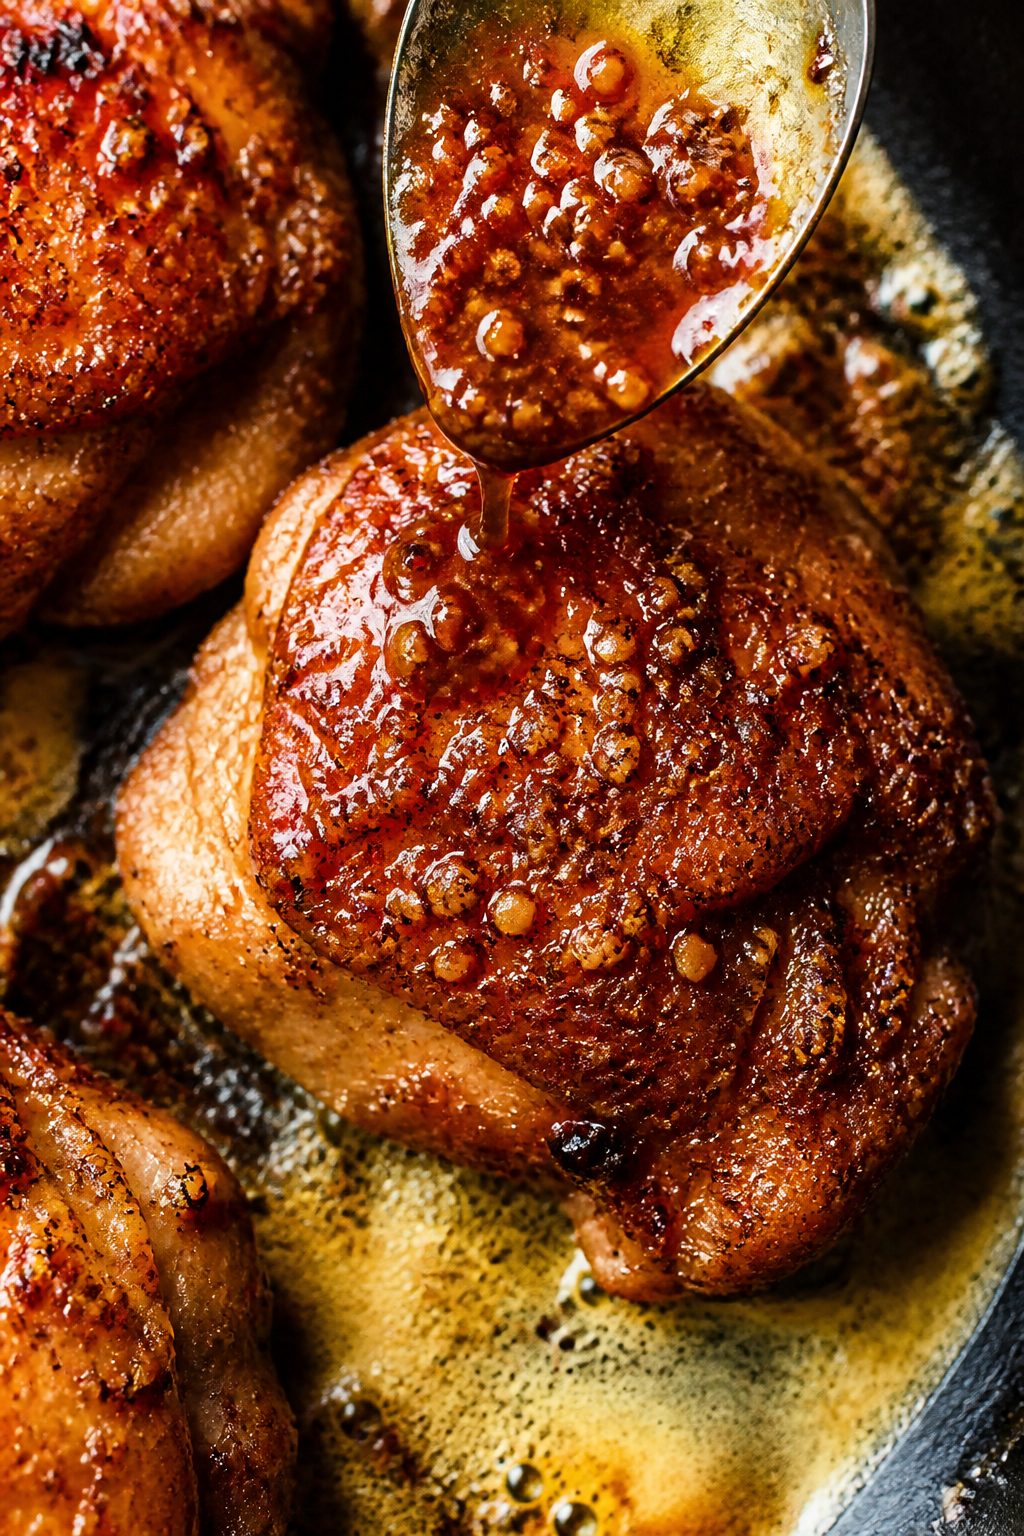
- Add butter and glaze. Add the butter to the skillet. When it melts, spoon in the brown sugar garlic mixture. Toss and turn the thighs to coat, then return them skin-side up. Spoon some sauce over the top, but keep the skin exposed so it can stay crisp.
- Finish cooking. Continue cooking on the stovetop for 6–10 minutes, basting often, until the chicken reaches an internal temperature of 175°F for bone-in thighs. If the sauce reduces too quickly, add 2–3 tablespoons of water to loosen.
- Optional oven finish. For extra even cooking, transfer the skillet to a 375°F oven for 8–10 minutes. Keep an eye on the glaze so it doesn’t burn; it should be glossy and slightly thick.
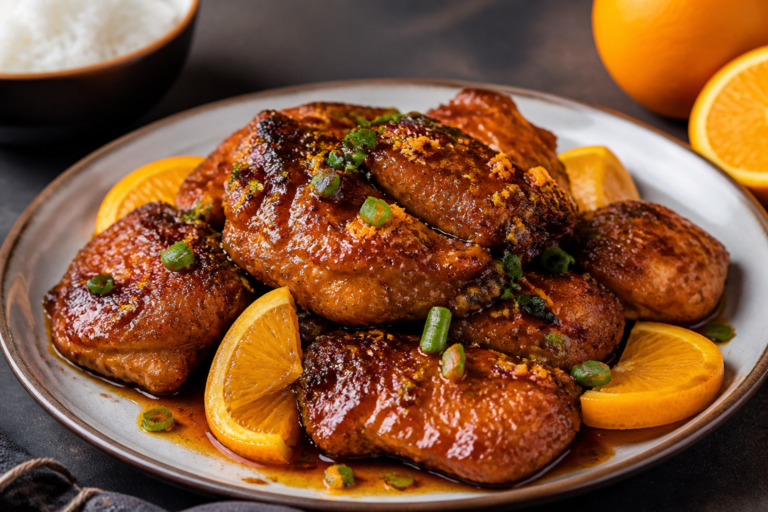
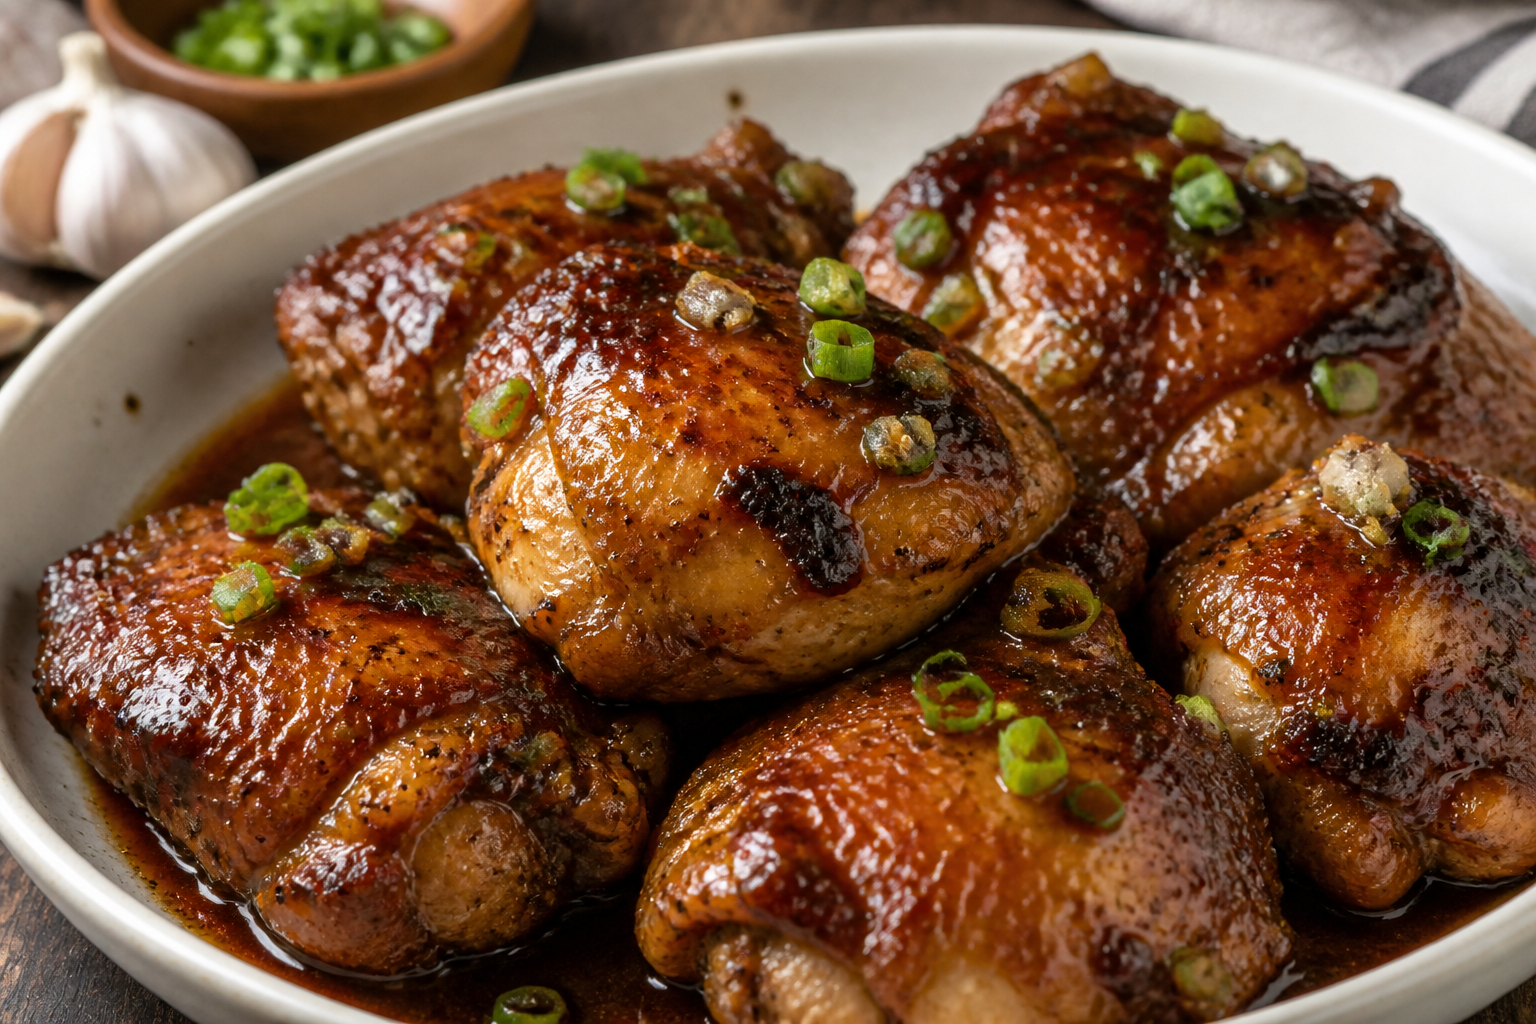
- Rest and serve. Let the chicken rest 5 minutes. Spoon more sauce over, garnish with chopped parsley, and serve with lemon wedges if you like a little brightness.

What Makes This Special
This dish shines because it keeps things uncomplicated while delivering big flavor. Chicken thighs are hard to mess up—they stay moist and tender even if you cook them a few minutes longer.
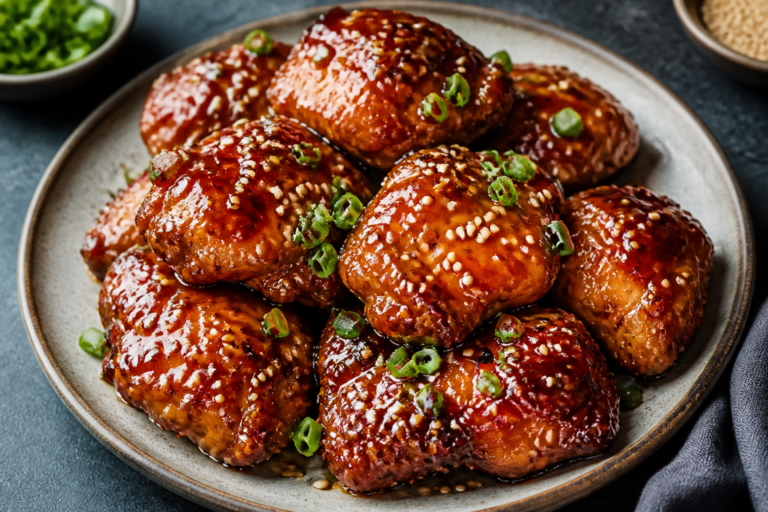
The brown sugar caramelizes beautifully, giving the chicken a sticky, golden crust without deep frying. Meanwhile, the garlic gets toasty and aromatic, and a splash of soy sauce and vinegar balances the sweetness.
It’s also a flexible base. You can make it in a skillet, finish in the oven, or even adapt it for the air fryer.
Add chili flakes for heat, swap herbs, or throw in a squeeze of lemon. However you tweak it, the core flavor stays reliable and crowd-pleasing.
What You’ll Need
- 6 bone-in, skin-on chicken thighs (about 2 to 2.5 pounds)
- 1/2 cup light brown sugar, packed
- 6 cloves garlic, minced (or 2 tablespoons)
- 2 tablespoons soy sauce (low-sodium preferred)
- 1 tablespoon apple cider vinegar (or rice vinegar)
- 1 teaspoon smoked paprika (or sweet paprika)
- 1/2 teaspoon chili flakes (optional, for heat)
- 1 teaspoon onion powder
- 1/2 teaspoon black pepper
- 1 teaspoon kosher salt (plus more to taste)
- 2 tablespoons unsalted butter
- 1 tablespoon olive oil
- Fresh parsley or chives, chopped, for garnish (optional)
- Lemon wedges, for serving (optional)
Instructions
- Prep the chicken. Pat the chicken thighs very dry with paper towels. This is key for crisp skin.
Season both sides with salt and pepper.
- Make the glaze. In a small bowl, stir together brown sugar, garlic, soy sauce, vinegar, smoked paprika, chili flakes (if using), and onion powder. The mixture will be thick and sandy—perfect.
- Start in a hot pan. Heat olive oil in a large oven-safe skillet over medium-high. When the oil shimmers, place chicken thighs skin-side down.
Don’t crowd the pan; work in batches if needed.
- Render and crisp. Sear skin-side down for 6–8 minutes without moving, until deeply golden and most of the fat has rendered. Flip and cook the other side for 3 minutes. Reduce heat to medium.
- Add butter and glaze. Add the butter to the skillet.
When it melts, spoon in the brown sugar garlic mixture. Toss and turn the thighs to coat, then return them skin-side up. Spoon some sauce over the top, but keep the skin exposed so it can stay crisp.
- Finish cooking. Continue cooking on the stovetop for 6–10 minutes, basting often, until the chicken reaches an internal temperature of 175°F for bone-in thighs.
If the sauce reduces too quickly, add 2–3 tablespoons of water to loosen.
- Optional oven finish. For extra even cooking, transfer the skillet to a 375°F oven for 8–10 minutes. Keep an eye on the glaze so it doesn’t burn; it should be glossy and slightly thick.
- Rest and serve. Let the chicken rest 5 minutes. Spoon more sauce over, garnish with chopped parsley, and serve with lemon wedges if you like a little brightness.
Storage Instructions
- Refrigerate: Cool completely, then store in an airtight container for up to 4 days.
- Reheat: Warm gently in a skillet over medium-low with a splash of water to loosen the glaze, or microwave in 30-second bursts.
Avoid high heat so the sugar doesn’t scorch.
- Freeze: You can freeze cooked thighs for up to 2 months. Thaw overnight in the fridge. Note that the glaze may thin a bit after freezing.
Health Benefits
Chicken thighs provide high-quality protein, which supports muscle repair and helps keep you full.
Dark meat also contains iron, zinc, and B vitamins like niacin and B6, which support energy metabolism. Cooking with the skin keeps the meat moist, so you don’t need heavy breading or deep frying.
Garlic brings antioxidants and allicin, which may support heart health. Using soy sauce and vinegar adds big flavor, so you can keep added fats modest.
If you’re watching sugar, you can reduce the brown sugar slightly and rely on searing and aromatics to carry the flavor.
Common Mistakes to Avoid
- Skipping the pat-dry step: Wet chicken won’t brown well. Dry skin equals crisp skin.
- Overcrowding the pan: Too many thighs at once steam instead of sear. Work in batches for a better crust.
- Cranking the heat too high with sugar: Brown sugar can burn.
Keep it at medium once the glaze is in, and add a splash of water if it tightens up.
- Underseasoning: Salt is essential to balance the sweetness. Taste the sauce and adjust.
- Serving immediately: Resting a few minutes helps the juices settle and the glaze set.
Recipe Variations
- Air Fryer: Toss seasoned thighs with 1 teaspoon oil. Air fry at 380°F for 18–22 minutes, flipping halfway.
Warm the glaze in a small pan until slightly thick, then brush over the thighs and air fry 2–3 more minutes to set.
- No-Soy Option: Use coconut aminos and an extra pinch of salt. It’s slightly sweeter, so reduce brown sugar by 1 tablespoon.
- Mustard Kick: Whisk 1 tablespoon Dijon into the glaze for a sharper, tangy bite.
- Herb Forward: Add 1 teaspoon dried thyme or Italian seasoning to the glaze and finish with fresh rosemary.
- Spicy Version: Increase chili flakes to 1 teaspoon or add 1 teaspoon sriracha to the glaze.
- Maple Swap: Replace half the brown sugar with pure maple syrup for a deeper, woodsy sweetness.
FAQ
Can I use boneless, skinless thighs?
Yes. They cook faster and don’t get crispy skin, but they stay juicy.
Sear 3–4 minutes per side, then simmer in the glaze until they reach 170°F. Reduce the total cook time by a few minutes.
Will chicken breasts work?
They can, but watch the timing closely. Use thinner, halved breasts or pound to even thickness.
Sear quickly and finish gently in the sauce to 160–165°F to avoid drying out.
How do I keep the garlic from burning?
Add it as part of the glaze once the heat is reduced, not during the initial high-heat sear. If it starts browning too fast, lower the heat and add a spoonful of water to cool the pan.
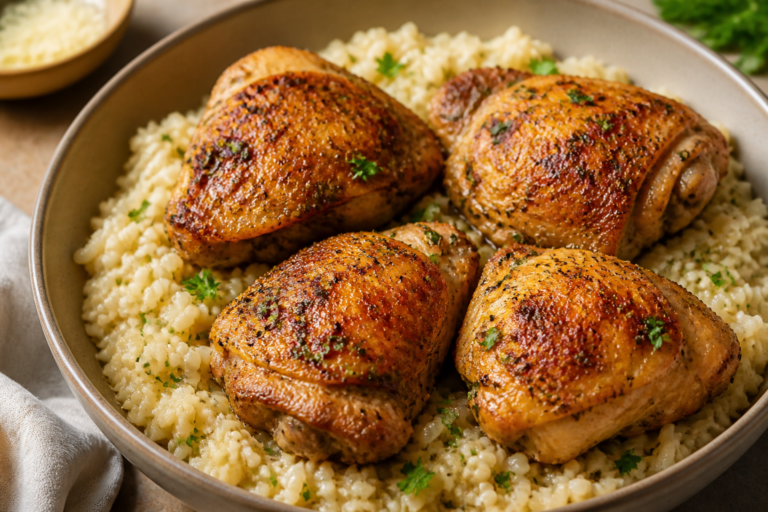
What sides go best with this?
Rice, mashed potatoes, or buttered noodles soak up the glaze perfectly. For vegetables, try green beans, roasted broccoli, or a simple salad with lemony dressing.
Can I make it ahead?
Yes.
Cook the chicken, cool, and refrigerate. Reheat gently in a skillet with a splash of water. For the crispiest skin, re-crisp under the broiler for 1–2 minutes, watching closely.
Is it very sweet?
It’s balanced.
The soy sauce, vinegar, garlic, and paprika keep it from being dessert-sweet. If you prefer less sweetness, reduce brown sugar by 1–2 tablespoons and add a small squeeze of lemon at the end.
Final Thoughts
Brown sugar garlic chicken thighs are the kind of recipe you keep on standby. It’s fast, flexible, and delivers a glossy, craveable sauce that tastes like comfort.
With a handful of pantry ingredients and a good sear, you get a dinner that feels special without extra work. Try it once as written, then make it your own with a little mustard, heat, or fresh herbs. Either way, you’ll end up with plates wiped clean and a new weeknight favorite.
Printable Recipe Card
Want just the essential recipe details without scrolling through the article? Get our printable recipe card with just the ingredients and instructions.