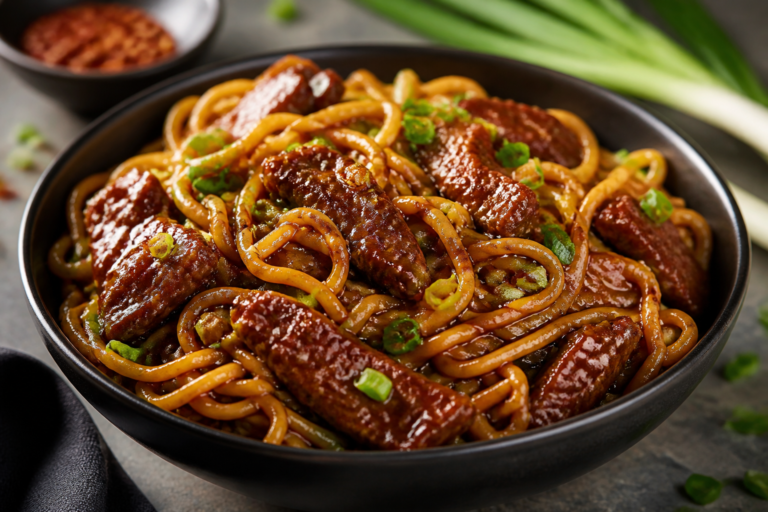
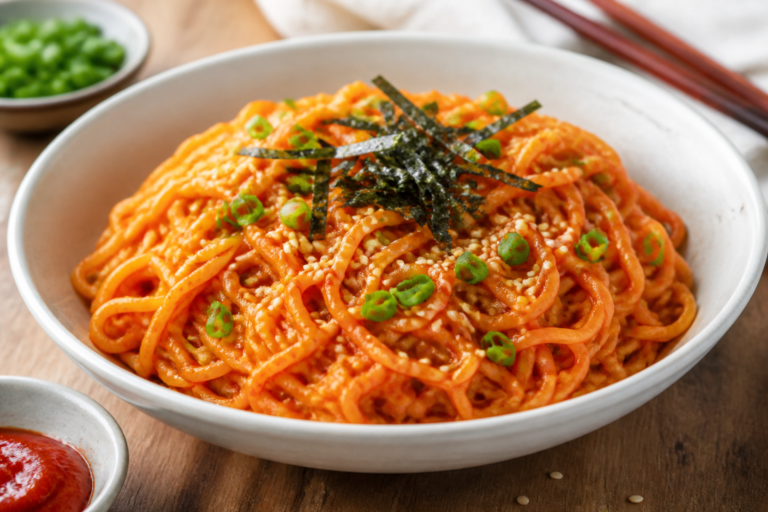
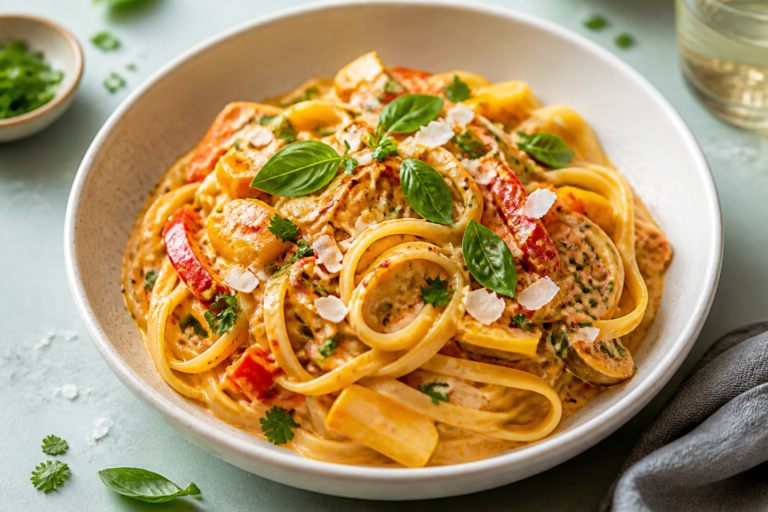
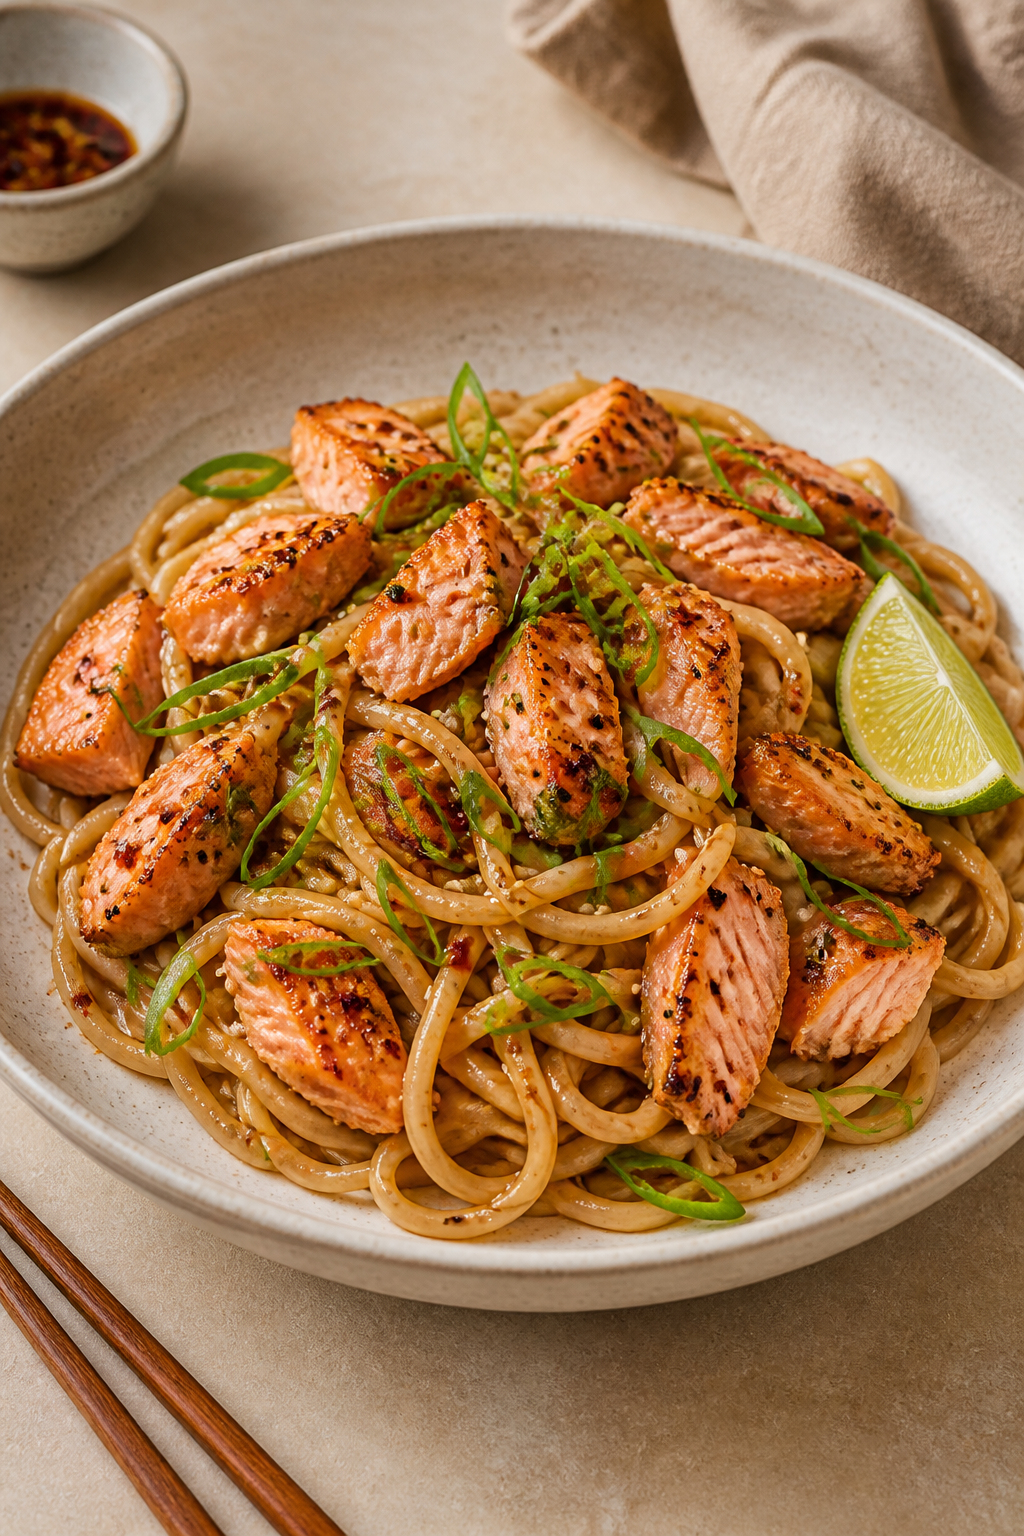
Miso Butter Salmon Noodles – Cozy, Flavor-Packed Weeknight Comfort
Tender salmon, springy noodles, and a silky miso butter sauce come together in a bowl that tastes like a warm hug. It’s fast enough for a Tuesday night but special enough to serve to friends. The flavors are rich and savory without feeling heavy, and the whole dish is built in layers, so every bite has something going on.
You’ll make the sauce in one pan, flake the salmon right into it, and toss with noodles for an easy, satisfying finish.
Ingredients
Method
- Prep the salmon. Pat it dry and season both sides with salt and pepper. If using skin-on salmon, score the skin lightly to prevent curling.
- Boil the noodles. Cook according to package directions until just shy of tender. Reserve 1 cup of the starchy cooking water, then drain and set aside.
- Sear the salmon. Heat 1–2 tbsp oil in a large skillet over medium-high. Place salmon in the pan (skin-side down if applicable) and sear 3–4 minutes. Flip and cook 2–4 minutes more, depending on thickness, until just opaque in the center. Transfer to a plate to rest.
- Make the miso butter base. Lower heat to medium. Add 2 tbsp butter to the same pan. Stir in garlic and ginger and cook 30–45 seconds until fragrant, not browned.
- Build the sauce. Whisk in miso paste with the remaining 2 tbsp butter, soy sauce, and rice vinegar. Add a splash of noodle water to loosen into a silky sauce. Taste and adjust with more soy (salt), vinegar (brightness), or a touch of honey (balance).
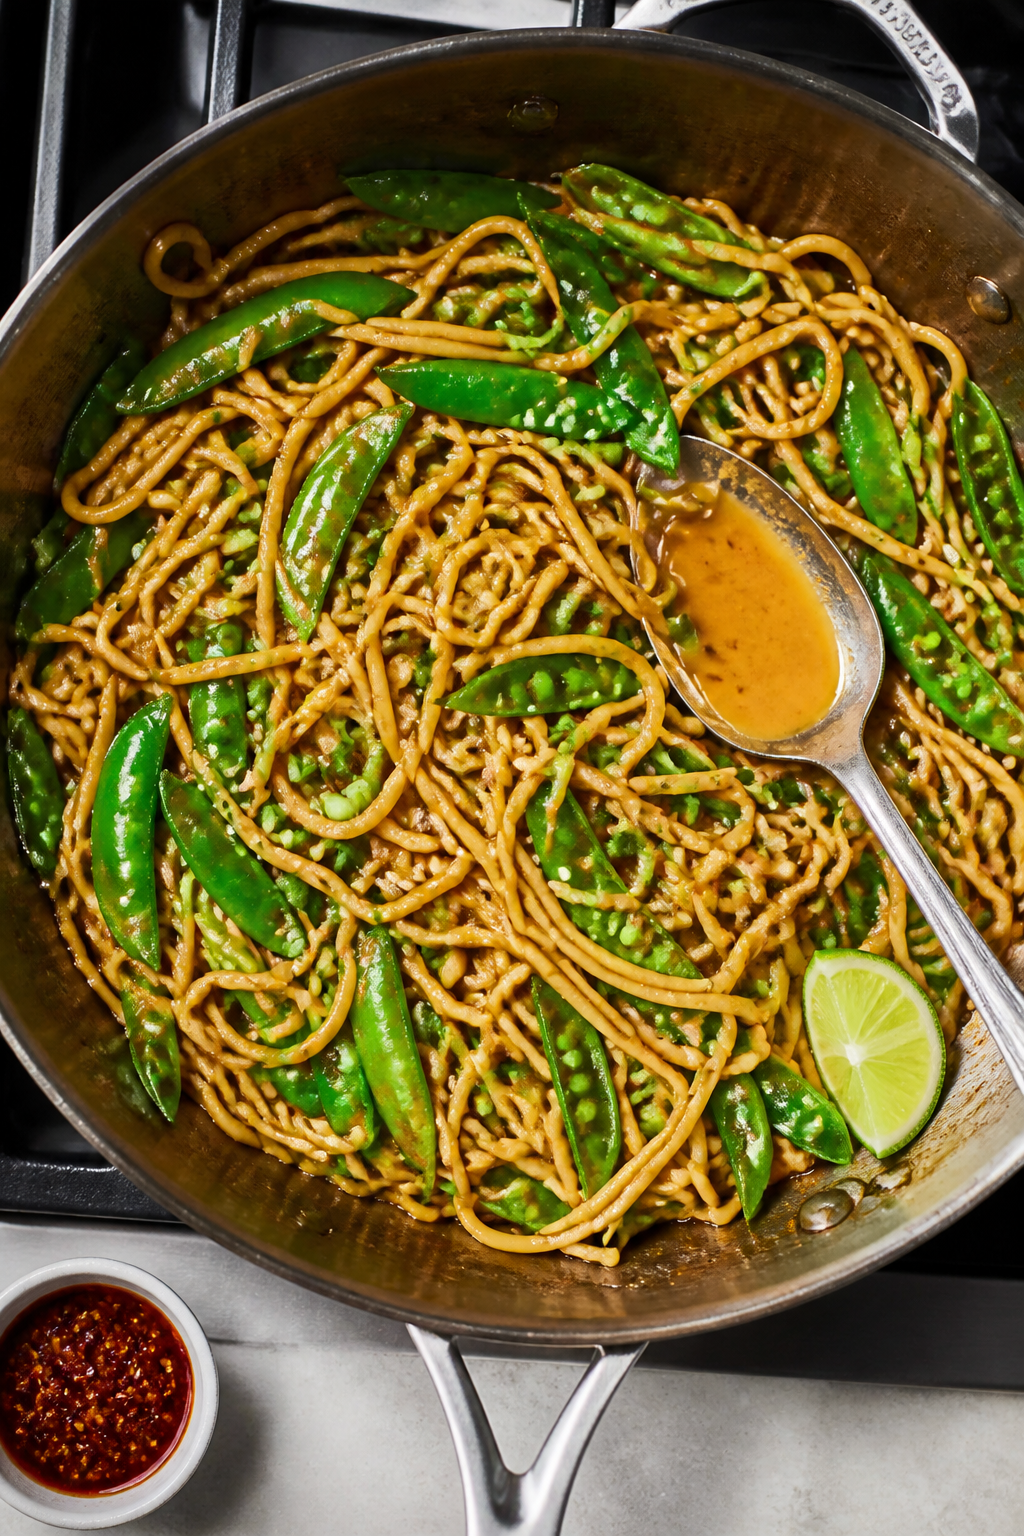
- Add vegetables (optional). Toss in a few handfuls of spinach or snap peas. Cook 1–2 minutes until just wilted or crisp-tender.
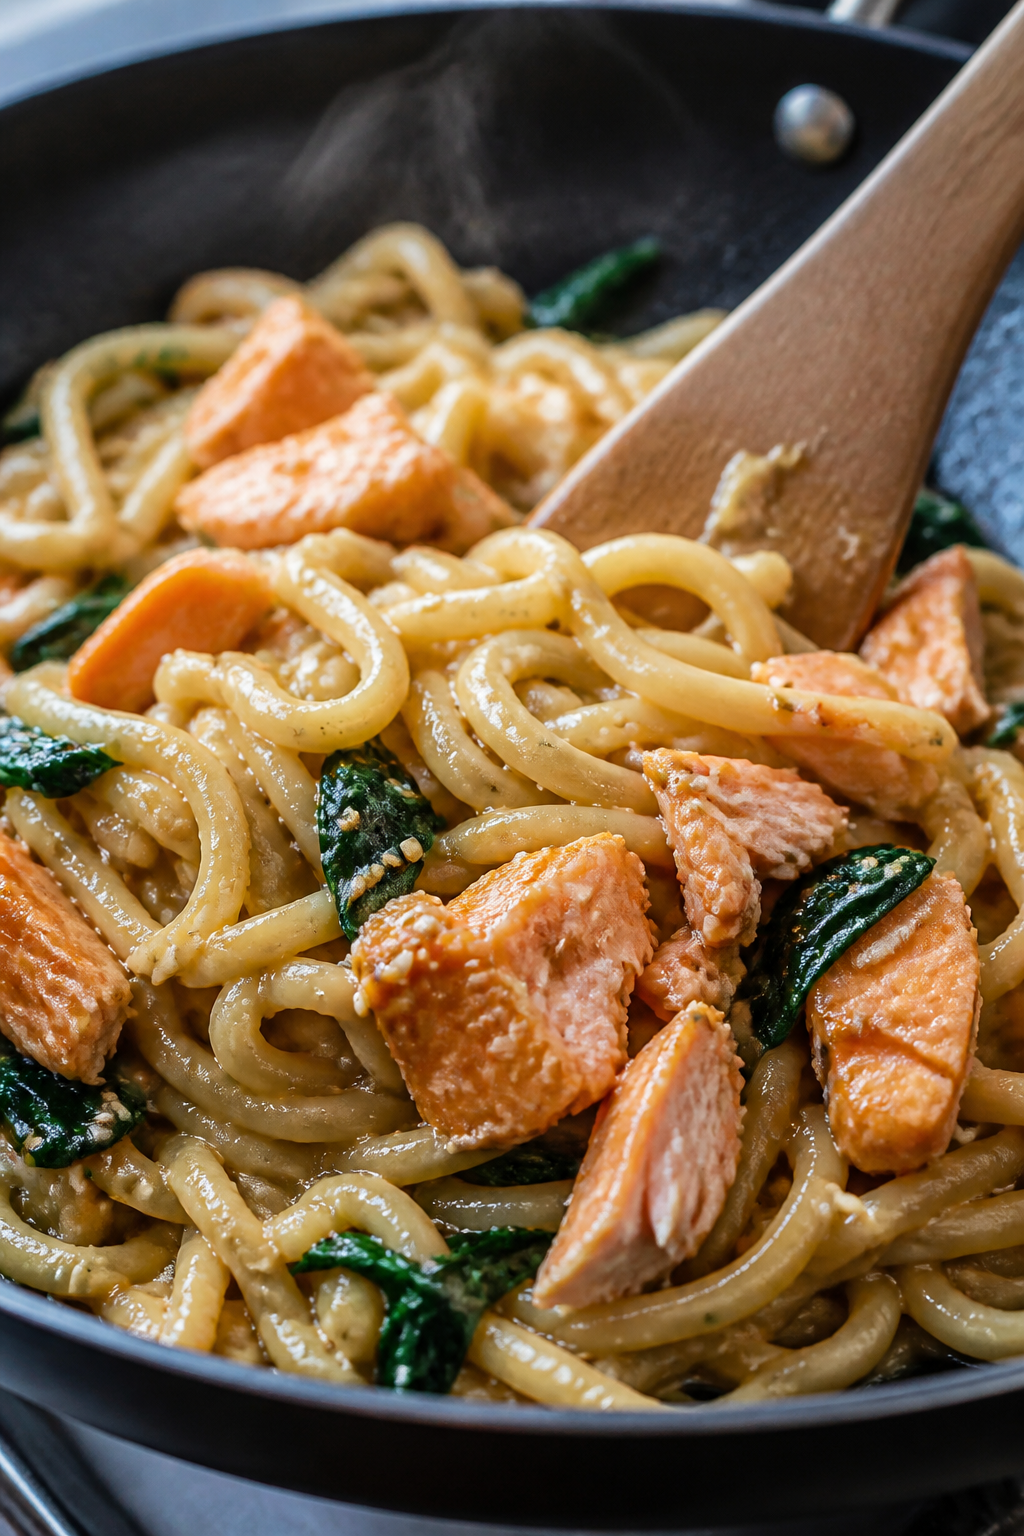
- Flake the salmon. Gently break the salmon into large flakes, discarding skin if you prefer. Add to the pan and fold into the sauce.
- Toss with noodles. Add the drained noodles and a splash more noodle water. Toss until coated and glossy. The sauce should cling, not pool. Adjust seasoning and consistency as needed.
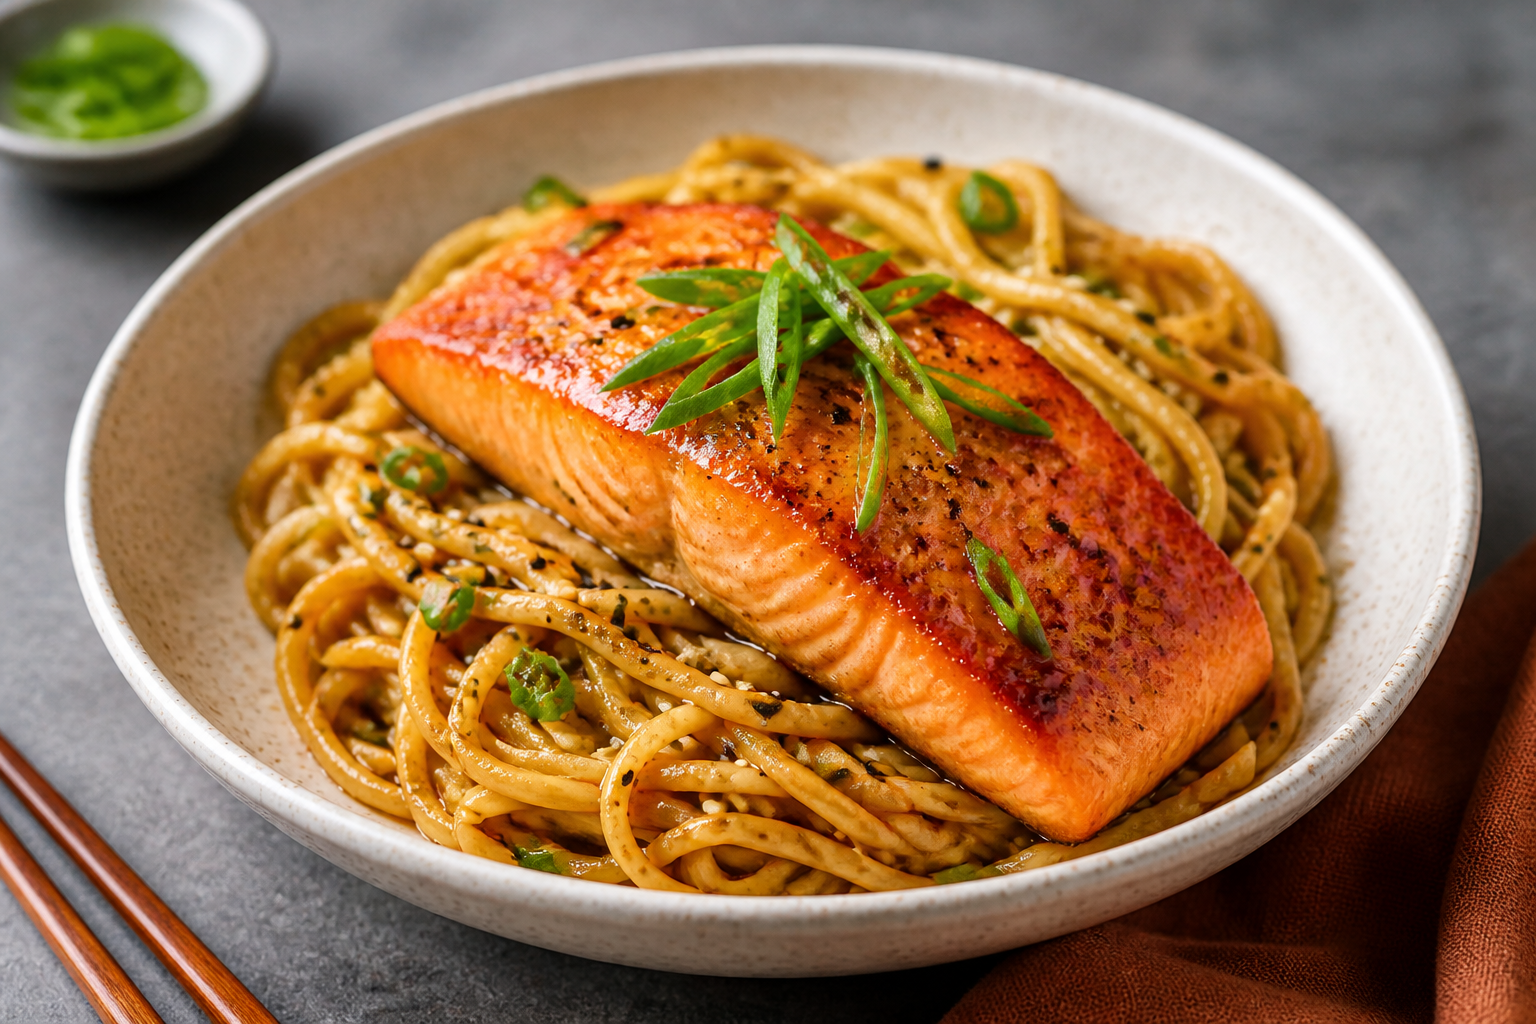
- Finish and serve. Top with scallions, sesame seeds, and a squeeze of lime. Add chili crisp or red pepper flakes for heat. Serve immediately.

Why This Recipe Works
This recipe leans on miso and butter to create a creamy, umami-rich sauce that clings to the noodles. The salmon is cooked gently so it stays juicy and flakes beautifully into the sauce. A touch of soy and rice vinegar balances salt and acidity, while ginger and garlic wake everything up.
Tossing the noodles directly in the pan with the sauce lets the starch help the sauce coat every strand. A quick sprinkle of scallions, sesame seeds, and lime brings brightness at the end.
What You’ll Need
- Salmon fillet (about 12–14 oz), skin-on or skinless
- Salt and black pepper, to season
- Noodles (10–12 oz): udon, ramen, soba, or spaghetti in a pinch
- Unsalted butter (4 tbsp), divided
- White or yellow miso paste (2 tbsp)
- Soy sauce or tamari (2–3 tbsp, to taste)
- Rice vinegar (1–2 tsp)
- Honey or maple syrup (1–2 tsp), optional for balance
- Garlic (2 cloves), finely minced
- Fresh ginger (1 tbsp), finely grated
- Neutral oil (1–2 tbsp): avocado, canola, or grapeseed
- Scallions (3), thinly sliced
- Sesame seeds (1 tbsp), toasted if possible
- Lime or lemon, for finishing
- Optional veggies: baby spinach, snap peas, or bok choy
- Optional heat: chili crisp, red pepper flakes, or sriracha
Step-by-Step Instructions
- Prep the salmon. Pat it dry and season both sides with salt and pepper. If using skin-on salmon, score the skin lightly to prevent curling.
- Boil the noodles. Cook according to package directions until just shy of tender.
Reserve 1 cup of the starchy cooking water, then drain and set aside.
- Sear the salmon. Heat 1–2 tbsp oil in a large skillet over medium-high. Place salmon in the pan (skin-side down if applicable) and sear 3–4 minutes. Flip and cook 2–4 minutes more, depending on thickness, until just opaque in the center.
Transfer to a plate to rest.
- Make the miso butter base. Lower heat to medium. Add 2 tbsp butter to the same pan. Stir in garlic and ginger and cook 30–45 seconds until fragrant, not browned.
- Build the sauce. Whisk in miso paste with the remaining 2 tbsp butter, soy sauce, and rice vinegar.
Add a splash of noodle water to loosen into a silky sauce. Taste and adjust with more soy (salt), vinegar (brightness), or a touch of honey (balance).
- Add vegetables (optional). Toss in a few handfuls of spinach or snap peas. Cook 1–2 minutes until just wilted or crisp-tender.
- Flake the salmon. Gently break the salmon into large flakes, discarding skin if you prefer.
Add to the pan and fold into the sauce.
- Toss with noodles. Add the drained noodles and a splash more noodle water. Toss until coated and glossy. The sauce should cling, not pool.
Adjust seasoning and consistency as needed.
- Finish and serve. Top with scallions, sesame seeds, and a squeeze of lime. Add chili crisp or red pepper flakes for heat. Serve immediately.
Keeping It Fresh
Leftovers keep well for up to 2 days in an airtight container in the fridge.
The sauce will thicken, so splash in a little water when reheating on the stovetop over low heat. If you plan for leftovers, cook the salmon slightly under so it won’t dry out when reheated. Store the garnishes (scallions, sesame, lime) separately and add fresh when serving.
Avoid freezing; the texture of both salmon and noodles suffers.
Why This is Good for You
Salmon is rich in omega-3 fatty acids, which support heart and brain health. Miso brings fermented goodness and deep flavor, so you don’t need heavy cream to make the sauce feel luxurious. Ginger and garlic add antioxidants and a gentle kick without extra calories.
If you add greens like spinach or bok choy, you get fiber and vitamins that round out the bowl.
Common Mistakes to Avoid
- Overcooking the salmon. Pull it when the center is just opaque and flakes easily. It will keep cooking slightly off heat.
- Letting the garlic brown. Burnt garlic turns bitter. Keep heat moderate and stir constantly once it hits the pan.
- Skipping noodle water. The starch helps the sauce cling and creates that glossy finish.
- Over-salting early. Miso and soy are salty.
Taste the sauce before adding extra salt.
- Using too much heat for miso. Boiling miso can mute its flavor. Keep the sauce at a gentle simmer.
Recipe Variations
- Spicy Miso Butter: Add 1–2 tsp gochujang or a spoon of chili crisp to the sauce.
- Citrus Lift: Swap lime for yuzu juice or add zest of lemon for a brighter finish.
- Greens Galore: Stir in shredded kale, baby bok choy, or broccoli florets for more veg.
- Gluten-Free: Use tamari and gluten-free noodles like rice noodles or GF spaghetti.
- Creamy Twist: Whisk in 2 tbsp full-fat coconut milk for extra silkiness.
- Crispy Salmon Skin: Fry the skin separately until crackly, then crumble on top as a garnish.
- Pantry Swap: No miso? Use a smaller amount of anchovy paste and a dab of butter for umami; it won’t be the same, but it’s tasty.
FAQ
Can I use canned salmon?
Yes.
Drain it well and fold it into the sauce at the end. It won’t have the same seared texture, but it’s convenient and still delicious.
What kind of miso is best?
White or yellow miso is ideal for a mellow, slightly sweet flavor. Red miso is stronger and saltier; use less and adjust to taste.
Which noodles work best?
Udon gives a chewy bite, ramen is bouncy, and soba adds nuttiness.
Even spaghetti works in a pinch. Just cook to al dente so it holds up in the sauce.
Can I make it dairy-free?
Yes. Replace butter with a dairy-free butter or a mix of olive oil and a spoon of tahini.
The flavor shifts slightly, but it stays rich and satisfying.
How do I know the salmon is done?
Look for flesh that turns opaque and flakes easily with a fork. An instant-read thermometer should read about 120–125°F for medium-rare to medium.
Is there a way to make it spicier without overpowering the miso?
Add heat in layers: a little chili oil in the pan, then finish with a small spoon of chili crisp. You’ll get warmth and texture without drowning the miso butter.
Can I meal-prep this?
Yes, but keep the noodles and sauce separate.
Reheat the sauce gently with a splash of water, then toss with warmed noodles right before eating.
What vegetables pair well?
Spinach, bok choy, snap peas, shiitake mushrooms, and thinly sliced carrots all work. Keep them crisp-tender for contrast.
Can I bake the salmon instead?
Absolutely. Roast at 400°F for 8–12 minutes, depending on thickness.
Flake and fold into the sauce just as you would with pan-seared salmon.
Wrapping Up
Miso Butter Salmon Noodles deliver big flavor with simple steps and familiar pantry staples. The sauce is silky and savory, the salmon stays tender, and the noodles tie it all together. Once you make it, you’ll have a new weeknight favorite that’s flexible, fast, and deeply satisfying.
Keep the basics the same, play with the add-ins, and make it your own.
Printable Recipe Card
Want just the essential recipe details without scrolling through the article? Get our printable recipe card with just the ingredients and instructions.