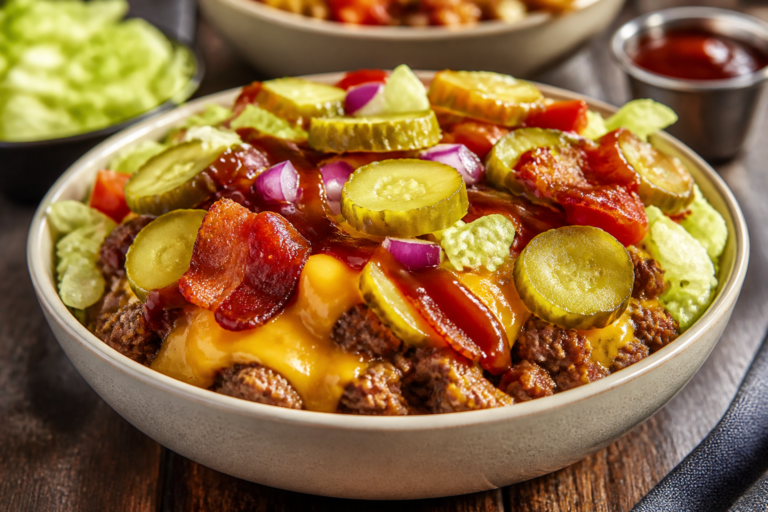
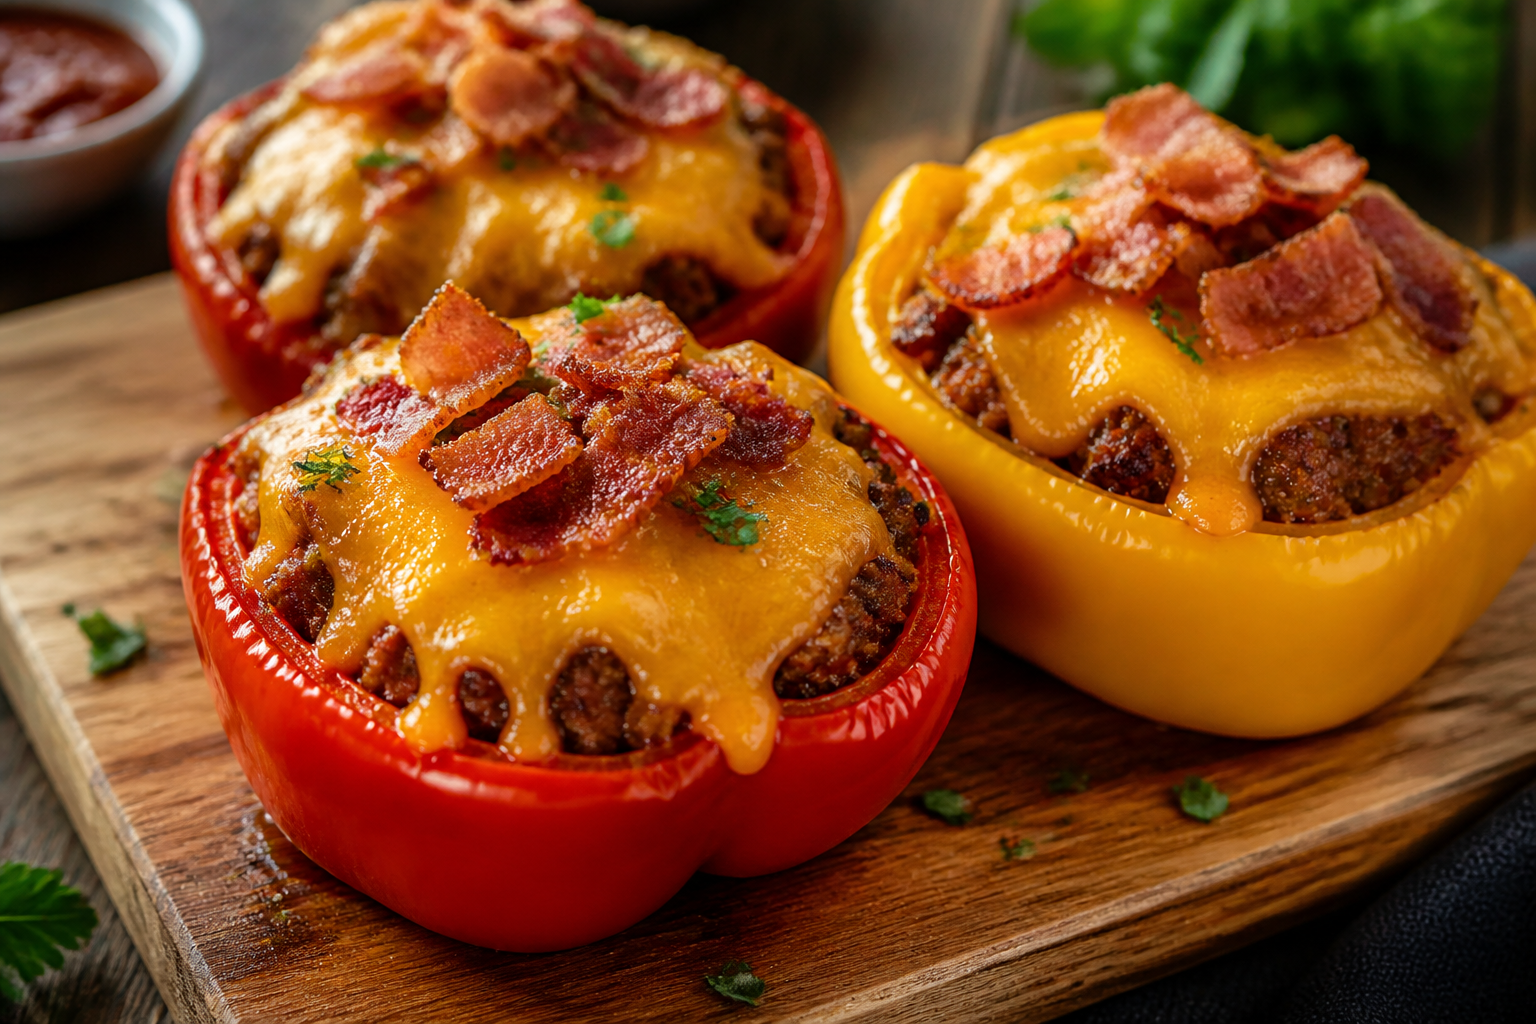
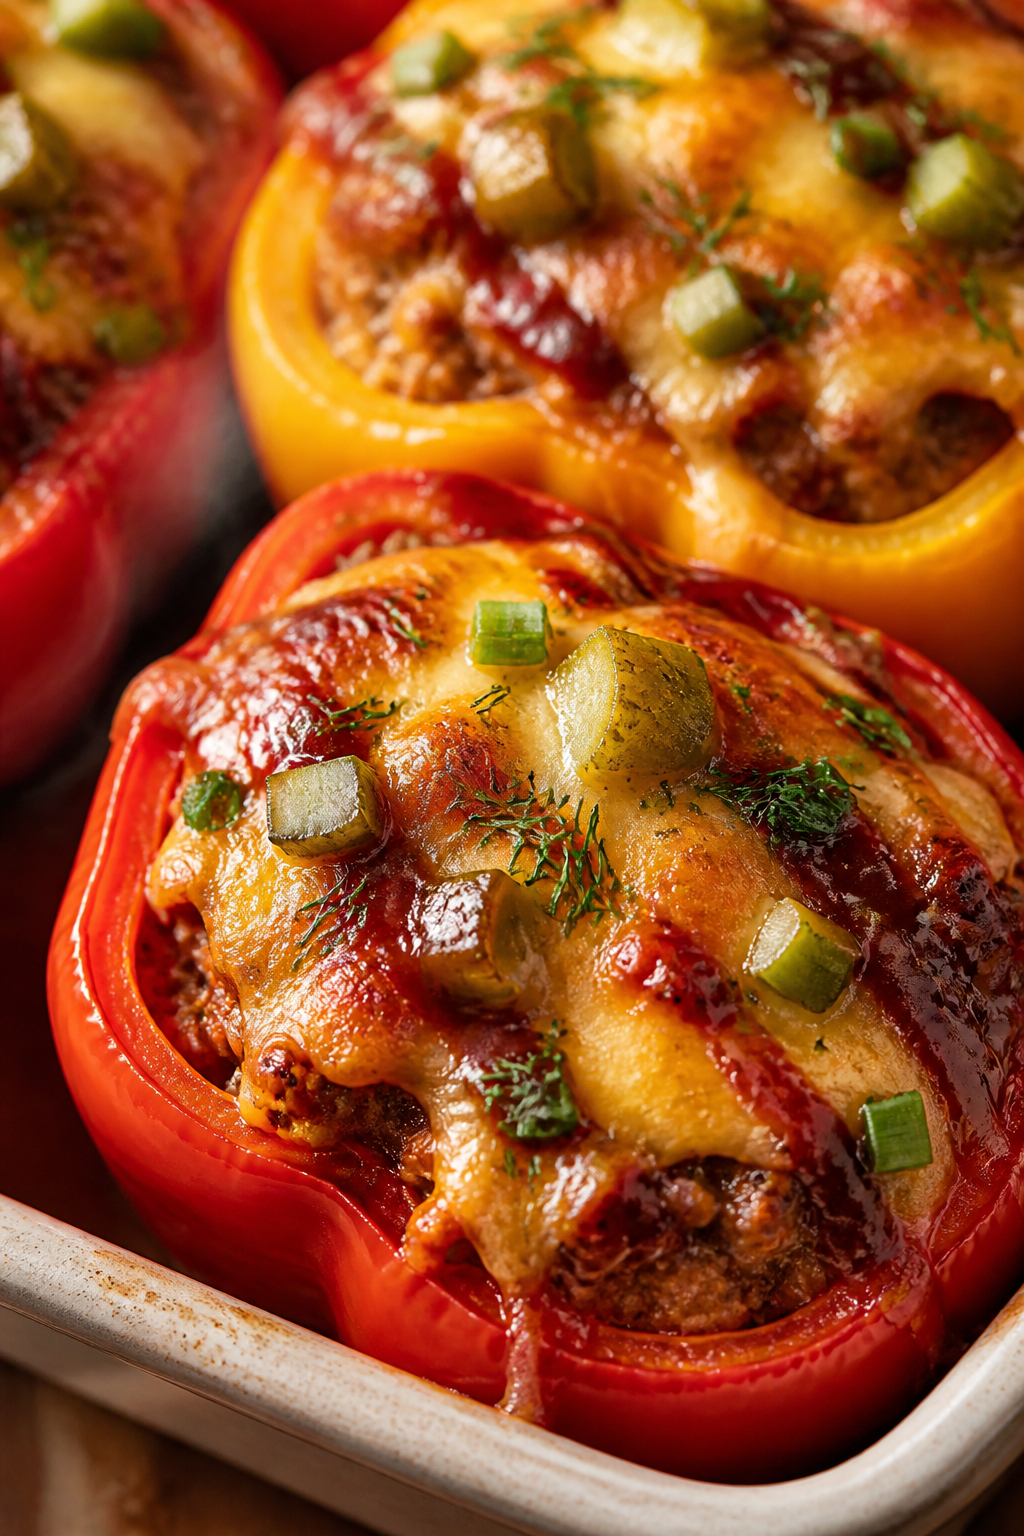
BBQ Bacon Cheeseburger Stuffed Peppers – A Crowd-Pleasing Weeknight Favorite
If you love a juicy bacon cheeseburger but want something lighter and a little more fun, these BBQ Bacon Cheeseburger Stuffed Peppers are your answer. They bring all the smoky, cheesy, tangy flavors you crave without the bun. The peppers stay tender-crisp, so every bite has a fresh snap alongside melty cheese and savory beef.
This recipe is easy to prep, great for meal prep, and perfect for feeding a hungry crew. It’s familiar comfort food with a fresh twist.
BBQ Bacon Cheeseburger Stuffed Peppers - A Crowd-Pleasing Weeknight Favorite
Ingredients
Method
- Prep the peppers: Heat oven to 375°F (190°C). Slice the tops off the bell peppers and remove seeds and membranes. If they wobble, shave a thin slice off the bottom to help them stand.
- Pre-bake for tenderness: Place peppers cut-side up in a baking dish. Drizzle with olive oil and a pinch of salt. Add 1/4 cup water or broth to the dish. Cover with foil and bake for 12–15 minutes to soften slightly.
- Crisp the bacon: In a large skillet over medium heat, cook chopped bacon until crisp. Use a slotted spoon to transfer bacon to a plate. Leave 1–2 tablespoons of bacon fat in the pan.
- Sauté aromatics: Add the onion to the skillet. Cook 3–4 minutes until softened. Stir in garlic and cook 30 seconds until fragrant.
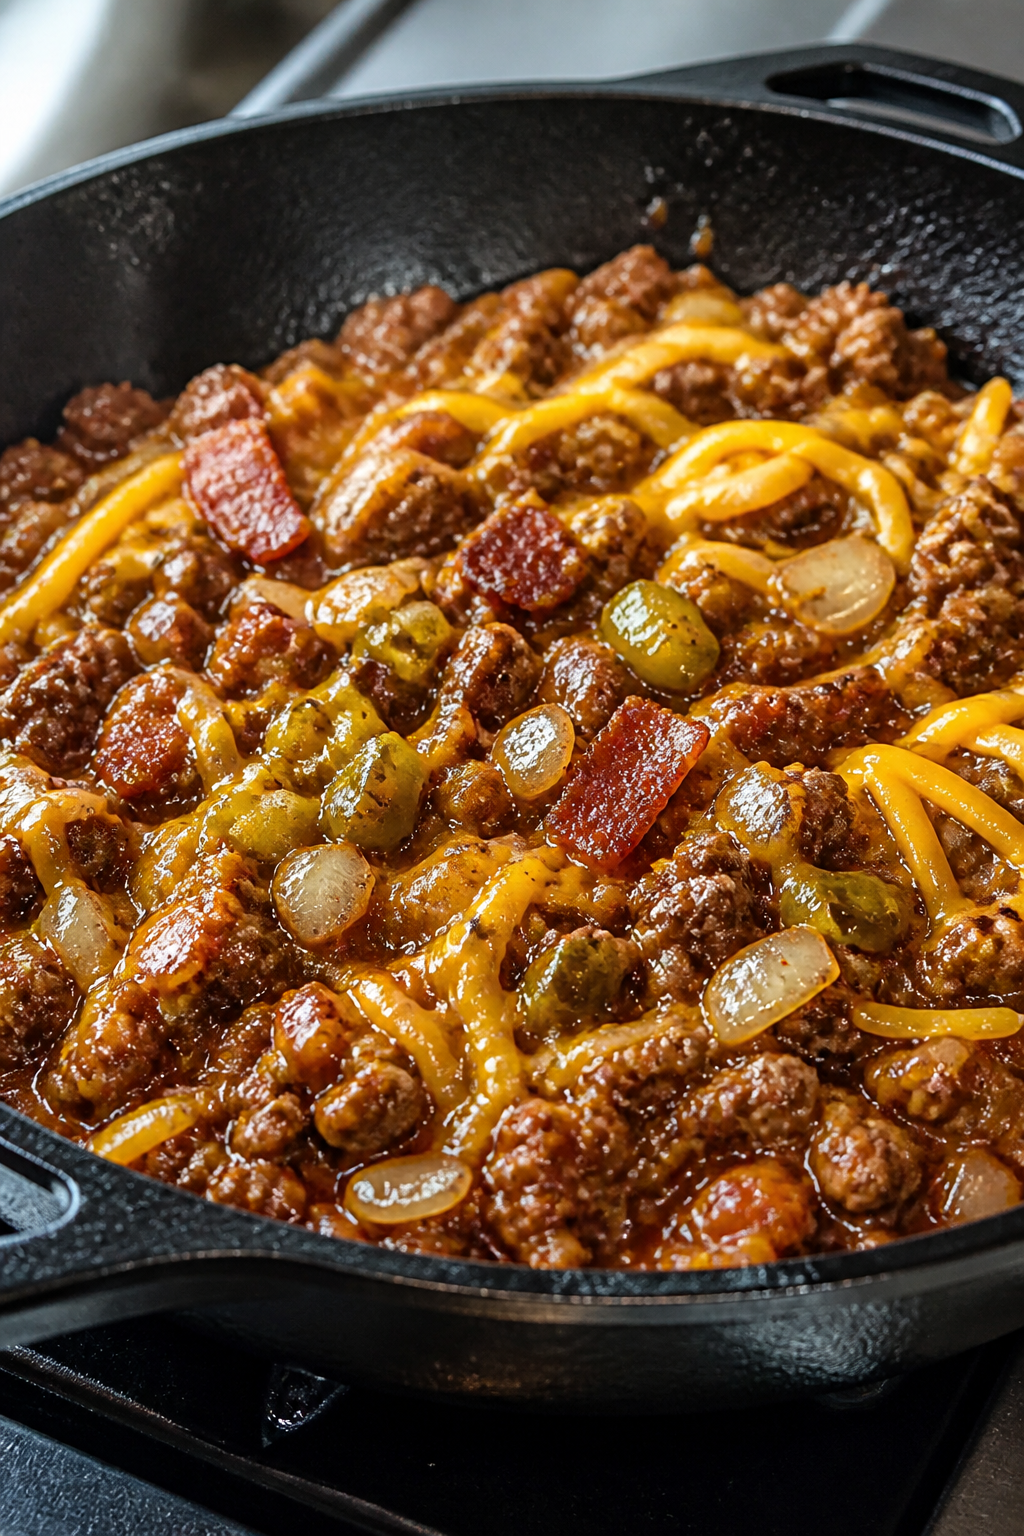
- Brown the beef: Add ground beef, breaking it up with a spoon. Season with salt, pepper, smoked paprika, and chili powder if using. Cook until browned and no longer pink, about 5–7 minutes. Drain excess fat if needed.
- Build the burger flavor: Stir in BBQ sauce, ketchup, mustard, and Worcestershire. Simmer 2–3 minutes until glossy and slightly thickened. Taste and adjust seasoning.
- Add the mix-ins: Remove from heat. Fold in half the cheddar, the crisp bacon, and chopped pickles. This gives you gooey pockets of cheese and that signature burger tang.
- Stuff the peppers: Remove peppers from the oven. Spoon the beef mixture into each pepper, packing it in. Top with the remaining cheddar.
- Bake to finish: Return peppers to the oven (uncovered) for 10–15 minutes, until the cheese is melted and bubbly and peppers are tender.
- Garnish and serve: Drizzle a little extra BBQ sauce on top, sprinkle with green onions and extra pickles, and serve hot.
Why This Recipe Works
- Balanced flavors: Sweet, tangy BBQ sauce pairs with smoky bacon, sharp cheddar, and beef for classic cheeseburger vibes.
- Right textures: The beef is juicy, the bacon is crisp, and the peppers stay tender with a bit of bite.
- Make-ahead friendly: You can prep the filling, stuff the peppers, and bake when you’re ready.
- Customizable: Swap cheeses, switch the meat, or punch it up with jalapeños—this recipe adapts easily.
- Lighter than a burger: Skipping the bun keeps it satisfying without feeling heavy.
Ingredients
- 4 large bell peppers (any color; red or yellow are sweeter)
- 1 lb (450 g) ground beef (80/20 or 85/15 for best flavor)
- 6 slices bacon, chopped
- 1 small yellow onion, finely diced
- 2 cloves garlic, minced
- 1/2 cup BBQ sauce (plus extra for drizzling)
- 1 tablespoon ketchup (optional, for classic burger flavor)
- 1 tablespoon yellow mustard
- 1 tablespoon Worcestershire sauce
- 1 teaspoon smoked paprika
- 1/2 teaspoon chili powder (optional for heat)
- Salt and black pepper, to taste
- 1 1/2 cups shredded sharp cheddar cheese (divided)
- 1/4 cup dill pickles, finely chopped (plus extra for garnish)
- 2 green onions, thinly sliced (for garnish)
- 1 tablespoon olive oil
- 1/4 cup water or beef broth (for baking)
How to Make It
- Prep the peppers: Heat oven to 375°F (190°C). Slice the tops off the bell peppers and remove seeds and membranes.
If they wobble, shave a thin slice off the bottom to help them stand.
- Pre-bake for tenderness: Place peppers cut-side up in a baking dish. Drizzle with olive oil and a pinch of salt. Add 1/4 cup water or broth to the dish.
Cover with foil and bake for 12–15 minutes to soften slightly.
- Crisp the bacon: In a large skillet over medium heat, cook chopped bacon until crisp. Use a slotted spoon to transfer bacon to a plate. Leave 1–2 tablespoons of bacon fat in the pan.
- Sauté aromatics: Add the onion to the skillet.
Cook 3–4 minutes until softened. Stir in garlic and cook 30 seconds until fragrant.
- Brown the beef: Add ground beef, breaking it up with a spoon. Season with salt, pepper, smoked paprika, and chili powder if using.
Cook until browned and no longer pink, about 5–7 minutes. Drain excess fat if needed.
- Build the burger flavor: Stir in BBQ sauce, ketchup, mustard, and Worcestershire. Simmer 2–3 minutes until glossy and slightly thickened.
Taste and adjust seasoning.
- Add the mix-ins: Remove from heat. Fold in half the cheddar, the crisp bacon, and chopped pickles. This gives you gooey pockets of cheese and that signature burger tang.
- Stuff the peppers: Remove peppers from the oven.
Spoon the beef mixture into each pepper, packing it in. Top with the remaining cheddar.
- Bake to finish: Return peppers to the oven (uncovered) for 10–15 minutes, until the cheese is melted and bubbly and peppers are tender.
- Garnish and serve: Drizzle a little extra BBQ sauce on top, sprinkle with green onions and extra pickles, and serve hot.
Storage Instructions
- Refrigerate: Store leftovers in an airtight container for up to 4 days.
- Reheat: Warm in a 350°F (175°C) oven for 10–15 minutes, or microwave in 45–60 second bursts until hot.
- Freeze: Cool completely, wrap each pepper tightly, and freeze up to 2 months. Thaw overnight in the fridge before reheating.
- Meal prep tip: Keep garnishes (extra BBQ sauce, green onions, pickles) separate and add after reheating for freshness.
Why This is Good for You
- Veg-forward base: Using bell peppers instead of buns adds fiber, vitamin C, and antioxidants.
- Protein-rich: Ground beef and cheese make this satisfying and supportive of active lifestyles.
- Balanced indulgence: You get big flavor with built-in portion control and fewer refined carbs.
- Customizable fats: Choose leaner beef or turkey and reduce cheese if you prefer a lighter option.
Pitfalls to Watch Out For
- Undercooked peppers: Skip pre-baking and you might end up with peppers that are too firm.
Give them that initial soften time.
- Watery filling: Don’t skip draining excess fat and simmering the sauce briefly. Too much moisture can pool in the peppers.
- Bland seasoning: Season the beef while it cooks and taste after adding sauces. BBQ sauces vary in sweetness and saltiness.
- Cheese burn: If your cheese browns too fast, loosely tent with foil for the last minutes of baking.
- Toppling peppers: Level the bottoms or nestle peppers snugly in the pan to keep them upright.
Recipe Variations
- Turkey or chicken: Swap in ground turkey or chicken.
Add a teaspoon of olive oil if it seems dry.
- Spicy kick: Use pepper jack, add diced jalapeños, or finish with a spicy BBQ sauce.
- Bacon alternative: Try turkey bacon or crumbled cooked pancetta for a similar smoky note.
- Low-sugar: Choose a no-sugar-added BBQ sauce and skip the ketchup.
- Mushroom boost: Add 1 cup finely chopped mushrooms when sautéing onions for extra umami and moisture.
- Pickle lovers: Mix in relish instead of chopped pickles for a sweeter tang.
- Cheese swap: American, Colby-Jack, smoked gouda, or a cheddar-mozz blend all melt beautifully.
- Grill finish: After baking, move peppers to a hot grill for 2–3 minutes to add smoky char.
FAQ
Do I have to pre-cook the peppers?
Pre-baking helps them soften so the final texture isn’t too crunchy. If you prefer very firm peppers, you can skip it, but you may need to bake a little longer after stuffing.
Can I make these ahead of time?
Yes. Assemble the stuffed peppers up to 24 hours in advance, cover, and refrigerate.
Bake straight from the fridge, adding 5–10 extra minutes.
What’s the best BBQ sauce to use?
Use one you like dipping fries in—sweet and smoky sauces work great. If your sauce is very sweet, balance it with extra mustard or a splash of apple cider vinegar.
How do I keep the filling from being greasy?
Use 85/15 beef and drain excess fat after browning. Let the sauce simmer a few minutes to tighten up before stuffing.
Can I make this dairy-free?
Yes.
Use your favorite dairy-free shredded cheese or skip the cheese and add extra pickles and a drizzle of creamy dairy-free sauce.
What sides go well with these stuffed peppers?
Try a simple green salad, roasted potato wedges, corn on the cob, or coleslaw. Keep it fresh and crunchy to balance the rich filling.
How do I know when they’re done?
The peppers should be fork-tender, and the cheese fully melted and bubbling. This typically takes 10–15 minutes after stuffing, depending on pepper size.
Can I use mini peppers for appetizers?
Absolutely.
Use mini sweet peppers, skip pre-baking, and fill with the cooked mixture. Bake 8–10 minutes until the cheese melts.
In Conclusion
BBQ Bacon Cheeseburger Stuffed Peppers deliver the comfort of a backyard burger in a lighter, family-friendly package. They’re easy to assemble, flexible with ingredients, and full of bold flavor.
Whether you’re feeding kids, meal prepping for the week, or hosting friends, this recipe checks every box. Keep it simple, make it your own, and enjoy every cheesy, smoky bite.
Printable Recipe Card
Want just the essential recipe details without scrolling through the article? Get our printable recipe card with just the ingredients and instructions.