Sticky Honey Garlic Chicken Thighs – Sweet, Savory, and Perfectly Glazed
If you love big flavor with minimal effort, these Sticky Honey Garlic Chicken Thighs will be a new favorite. They’re juicy, golden, and coated in a glossy sauce that clings to every bite. The balance of sweet honey, savory soy, and punchy garlic makes this weeknight-friendly dish feel special.
It’s easy enough for a busy evening and impressive enough for guests. Serve it with rice, noodles, or a crisp salad, and you’re set.
Ingredients
Method
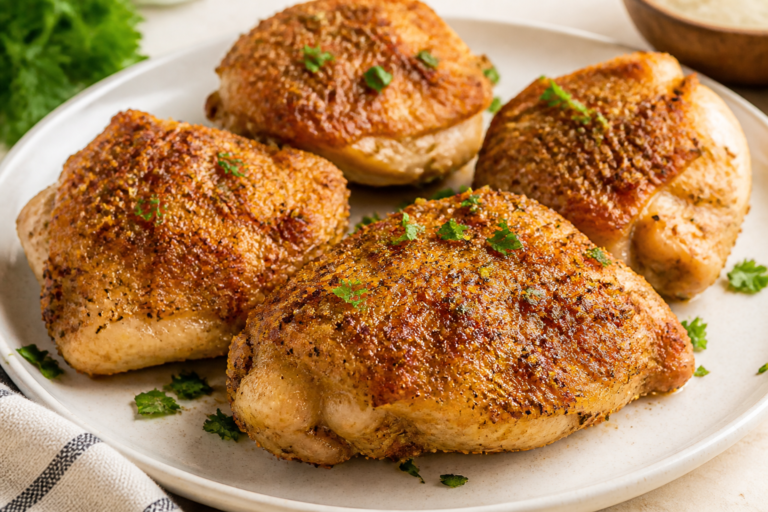
- Prep the chicken: Pat the chicken thighs dry with paper towels. Season both sides with salt and pepper. Dry chicken browns better and helps the sauce stick.
- Make the sauce base: In a small bowl, whisk together honey, soy sauce, and vinegar. Add red pepper flakes if you like a little heat. Set aside.
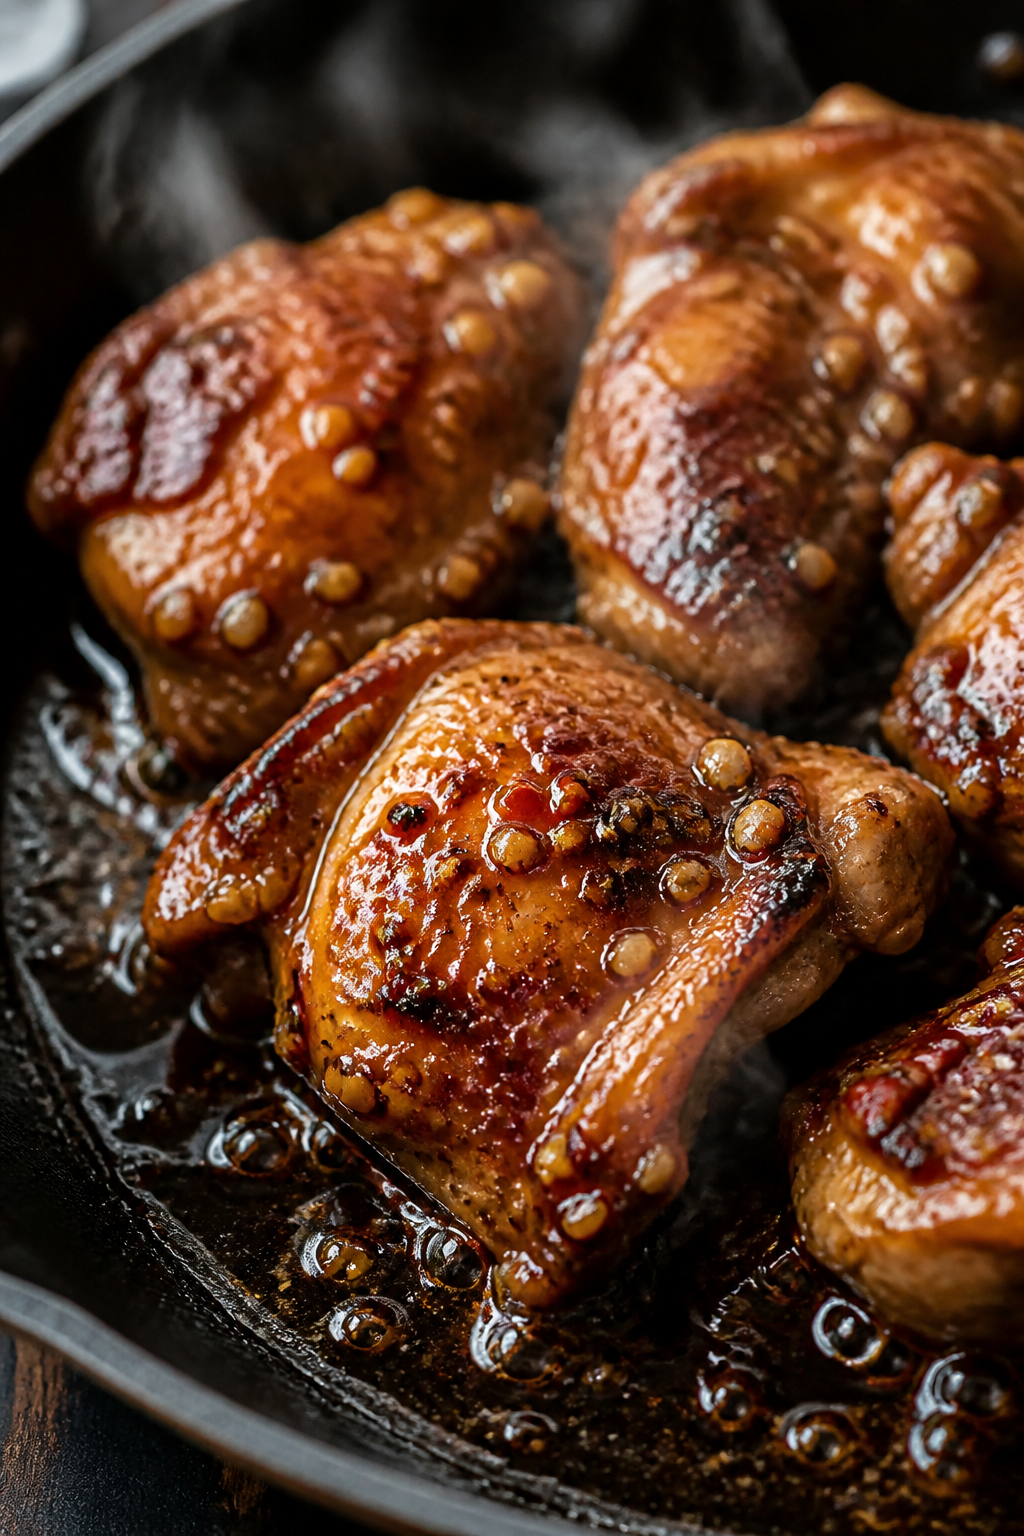
- Heat the pan: Place a large skillet over medium-high heat. Add the oil, and when it shimmers, add the chicken in a single layer. Don’t crowd the pan—work in batches if needed.
- Brown the chicken: Sear for 4–5 minutes per side until deeply golden. You’re not aiming to cook it through yet, just build color and flavor. Transfer to a plate.
- Sauté aromatics: Reduce heat to medium. In the same pan, add garlic and ginger. Stir for 30–45 seconds until fragrant. Don’t let the garlic burn.
- Deglaze and combine: Pour in the honey-soy mixture and stir, scraping up any browned bits. Let it bubble gently for 1–2 minutes to start thickening.
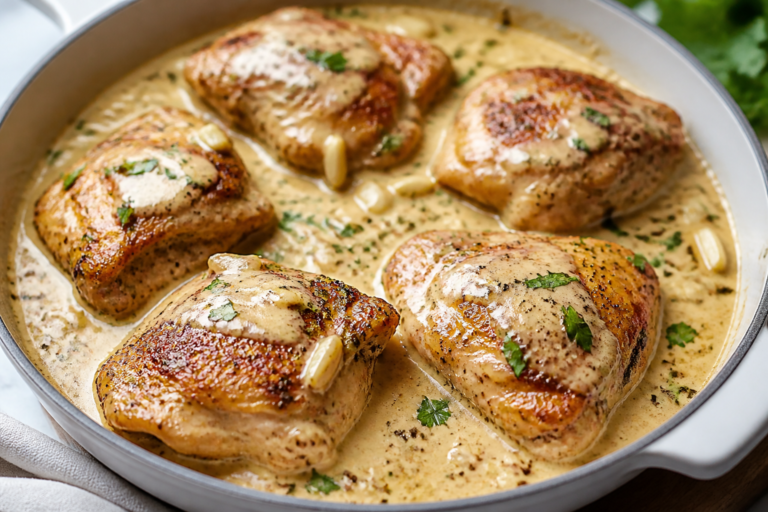
- Return the chicken: Add the thighs back to the pan with any juices. Spoon sauce over the top. Simmer for 5–7 minutes, turning occasionally, until the chicken reaches 165°F (74°C).
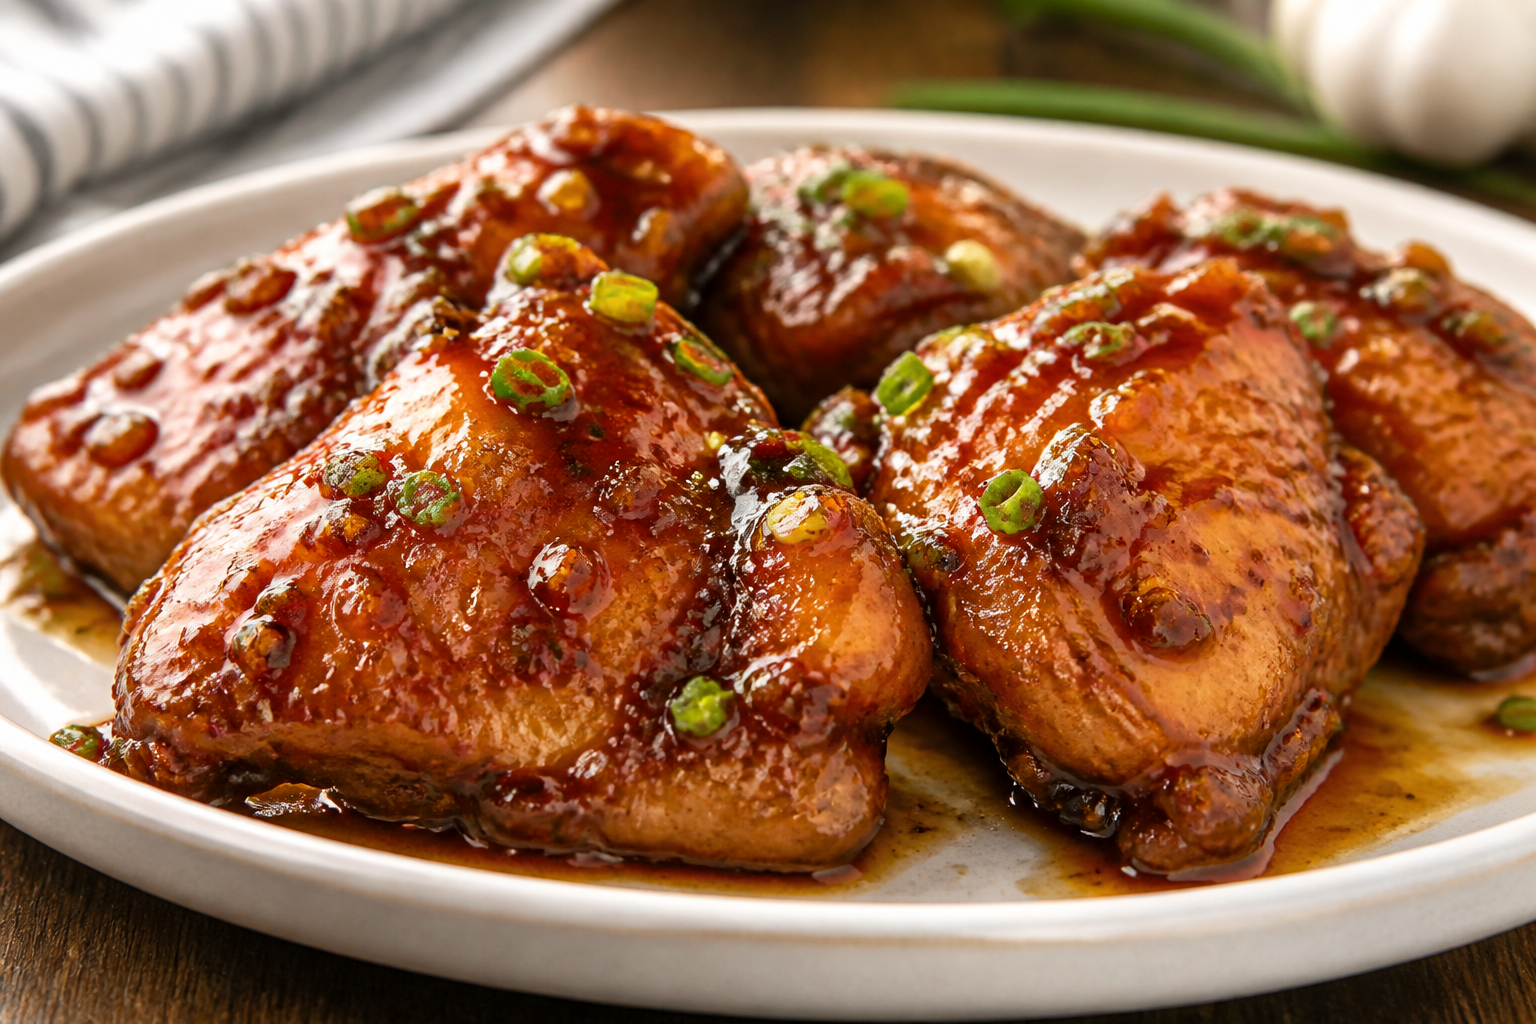
- Finish the glaze: Stir in butter and sesame oil. Simmer 1 more minute. The sauce should be glossy and cling to the chicken. If it’s thin, keep simmering; if it’s too thick, add a splash of water.
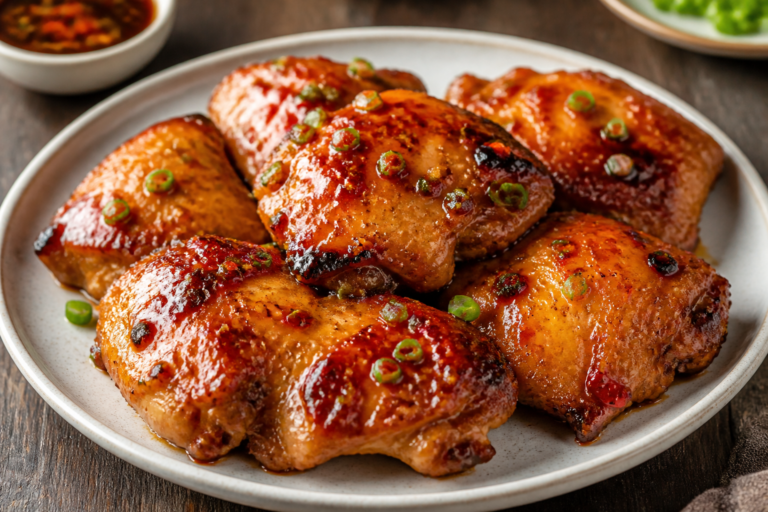
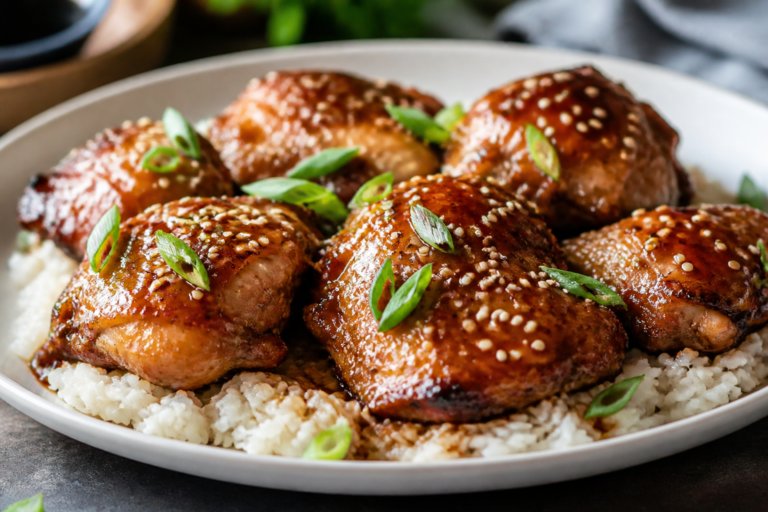
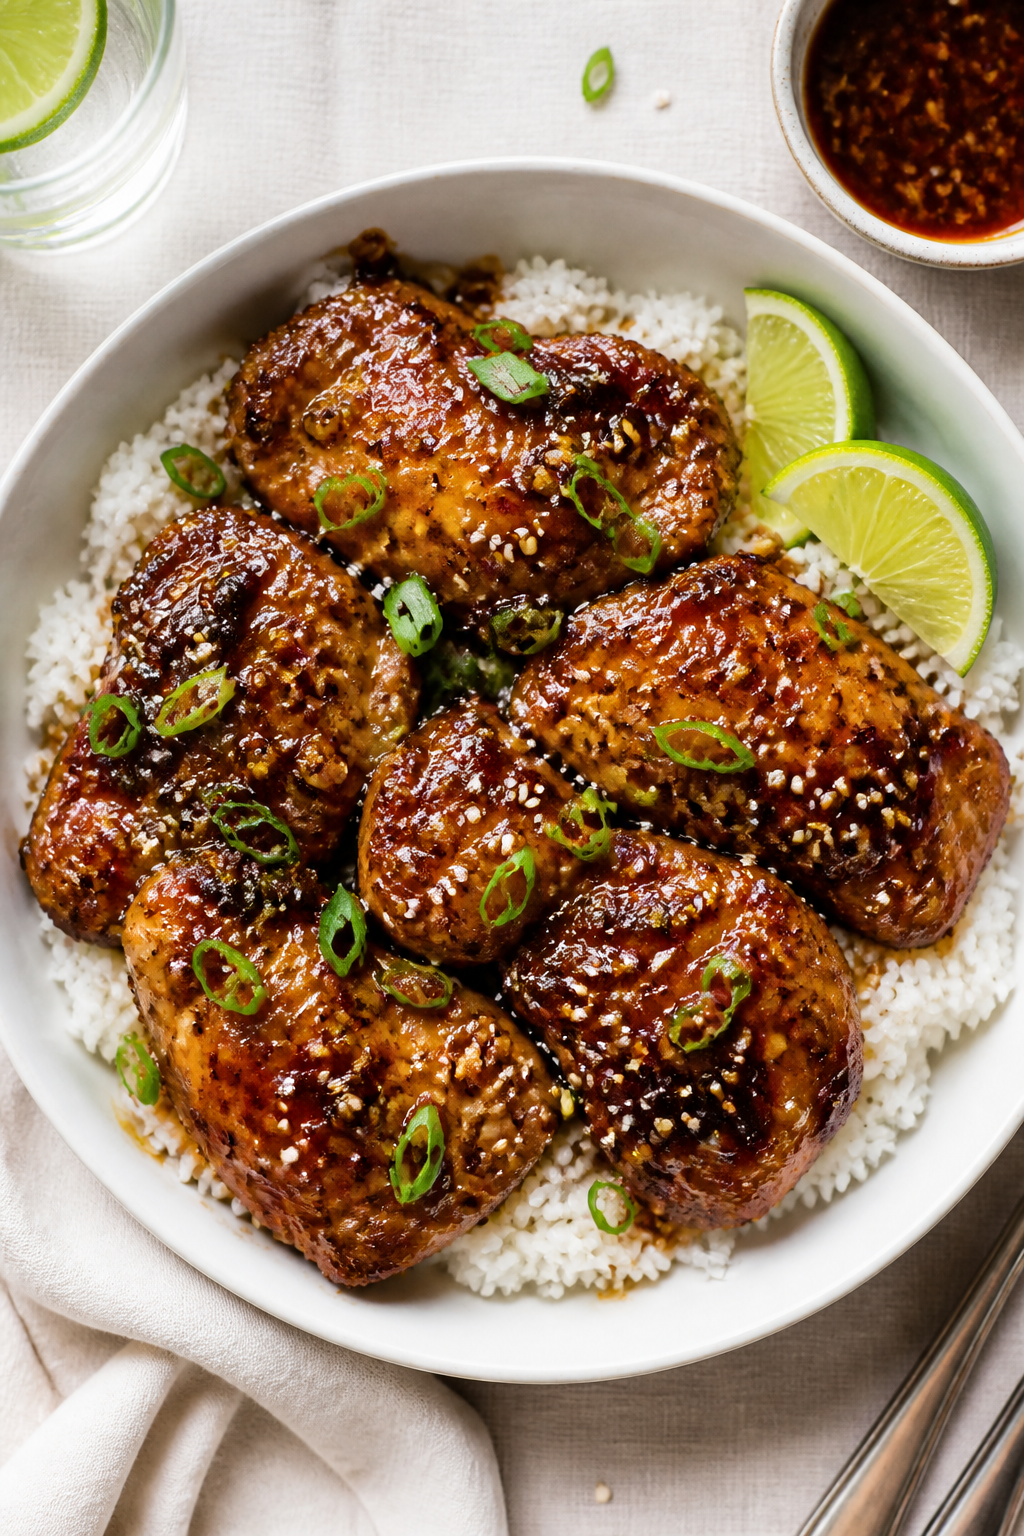
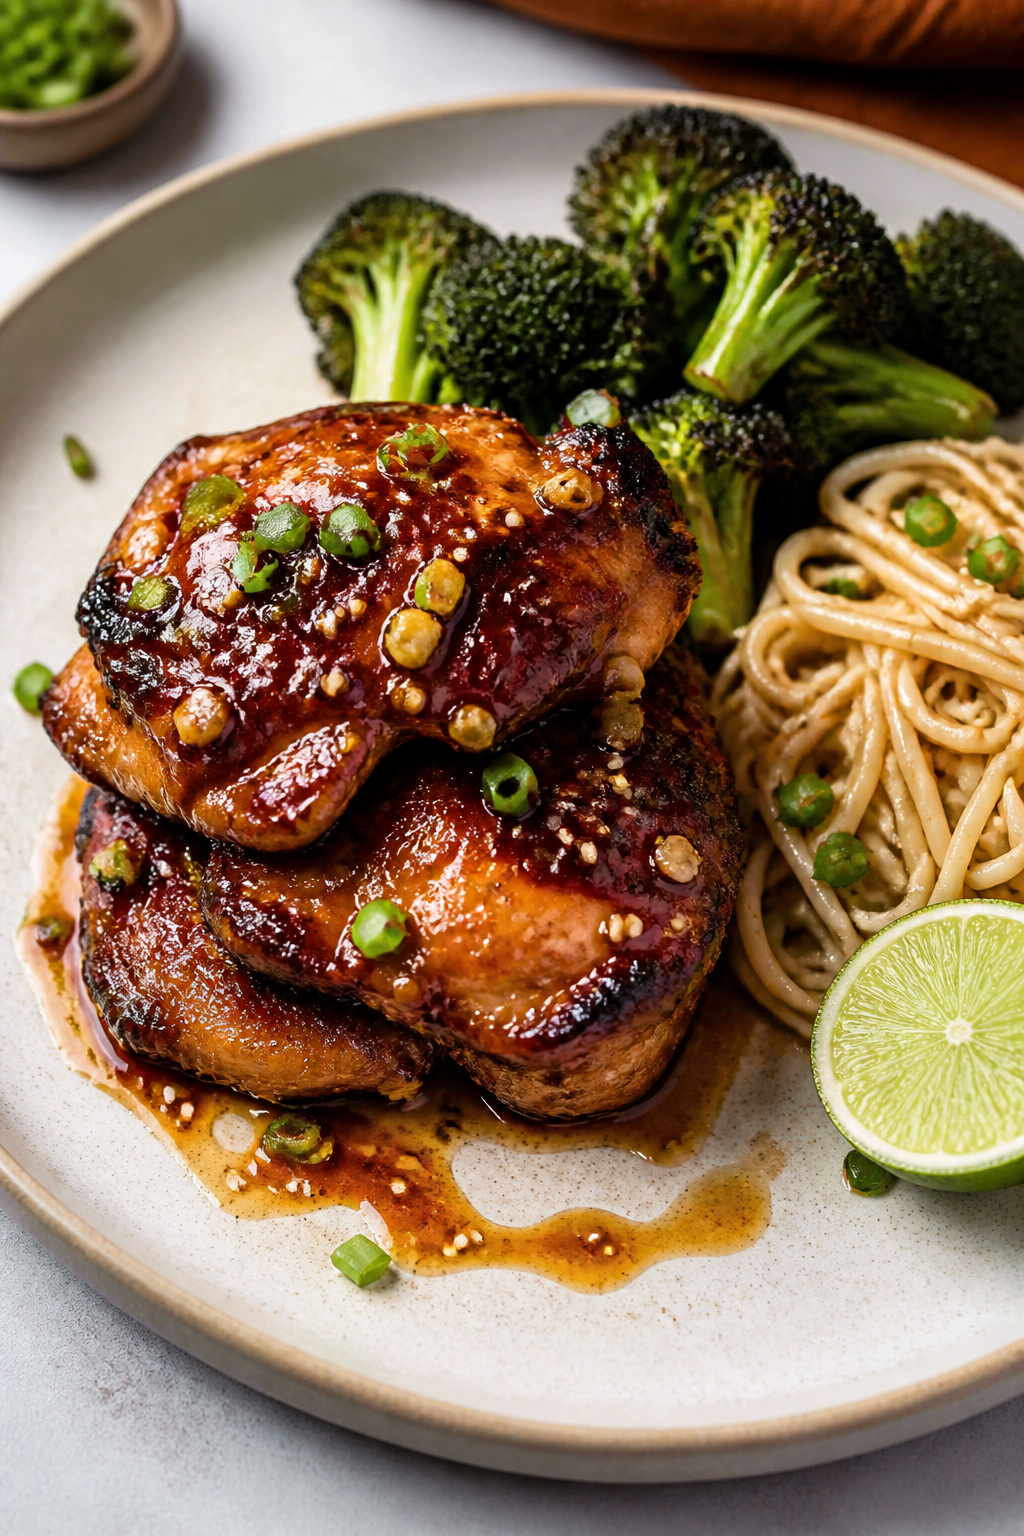
- Garnish and serve: Top with green onions and sesame seeds. Serve hot with steamed rice, roasted veggies, or a bright cucumber salad. A squeeze of lime wakes everything up.

What Makes This Special
This recipe focuses on a few pantry staples that deliver bold flavor fast. Chicken thighs stay moist and tender, even if you cook them a minute too long.
The sauce is a simple reduction: it thickens on the stove without cornstarch, thanks to honey. A quick sear adds caramelized edges, while a short simmer infuses the chicken with that sticky, garlicky glaze. It’s the kind of dish that tastes like you worked hard, even though you didn’t.
Shopping List
- 2 pounds boneless, skinless chicken thighs (about 6–8 pieces)
- Salt and black pepper
- 2 tablespoons neutral oil (canola, avocado, or light olive oil)
- 4–5 cloves garlic, minced
- 1 teaspoon fresh ginger, grated (optional but recommended)
- 1/3 cup honey
- 1/4 cup low-sodium soy sauce (or tamari for gluten-free)
- 1 tablespoon rice vinegar (or apple cider vinegar)
- 1 tablespoon unsalted butter (optional for richness)
- 1/2 teaspoon red pepper flakes (optional, for heat)
- 2 teaspoons sesame oil (optional, for aroma)
- 2 green onions, thinly sliced (for garnish)
- Sesame seeds, for garnish (optional)
- Lime wedges, for serving (optional)
Instructions
- Prep the chicken: Pat the chicken thighs dry with paper towels.
Season both sides with salt and pepper. Dry chicken browns better and helps the sauce stick.
- Make the sauce base: In a small bowl, whisk together honey, soy sauce, and vinegar. Add red pepper flakes if you like a little heat.
Set aside.
- Heat the pan: Place a large skillet over medium-high heat. Add the oil, and when it shimmers, add the chicken in a single layer. Don’t crowd the pan—work in batches if needed.
- Brown the chicken: Sear for 4–5 minutes per side until deeply golden.
You’re not aiming to cook it through yet, just build color and flavor. Transfer to a plate.
- Sauté aromatics: Reduce heat to medium. In the same pan, add garlic and ginger.
Stir for 30–45 seconds until fragrant. Don’t let the garlic burn.
- Deglaze and combine: Pour in the honey-soy mixture and stir, scraping up any browned bits. Let it bubble gently for 1–2 minutes to start thickening.
- Return the chicken: Add the thighs back to the pan with any juices.
Spoon sauce over the top. Simmer for 5–7 minutes, turning occasionally, until the chicken reaches 165°F (74°C).
- Finish the glaze: Stir in butter and sesame oil. Simmer 1 more minute.
The sauce should be glossy and cling to the chicken. If it’s thin, keep simmering; if it’s too thick, add a splash of water.
- Garnish and serve: Top with green onions and sesame seeds. Serve hot with steamed rice, roasted veggies, or a bright cucumber salad.
A squeeze of lime wakes everything up.
Keeping It Fresh
Leftovers keep well for up to 4 days in an airtight container in the fridge. The sauce will thicken as it cools. To reheat, warm gently in a skillet over low heat with a splash of water to loosen the glaze. Microwave on medium power in short bursts to avoid drying out the chicken.
For meal prep, portion chicken with rice and a simple veg like steamed broccoli.
If you plan to freeze, cool completely, then freeze for up to 2 months. Thaw overnight in the fridge and reheat on the stovetop. The texture stays surprisingly tender.
Health Benefits
- Protein-rich: Chicken thighs provide high-quality protein to support muscle health and keep you satisfied.
- Iron and zinc: Dark meat offers more iron and zinc than chicken breast, supporting energy levels and immune function.
- Balanced fats: Thighs contain more fat than breasts, which helps with flavor and satiety.
You can trim visible fat to lighten it up.
- Controlled sweetness: Honey gives natural sweetness and helps the sauce thicken without heavy starches. You can reduce the honey by a tablespoon or two if you prefer.
- Garlic and ginger: These aromatics bring antioxidants and anti-inflammatory compounds, along with big flavor.
Common Mistakes to Avoid
- Skipping the pat-dry step: Wet chicken won’t brown well. Moisture in the pan causes steaming, not searing.
- Crowding the pan: Too many pieces at once lower the temperature and prevent caramelization.
Work in batches for a better crust.
- Burning the garlic: Add it after searing the chicken and lower the heat. Bitter garlic will throw off the whole sauce.
- Over-reducing the sauce: Honey thickens quickly. Pull the pan off the heat once the sauce coats a spoon and clings to the chicken.
- Forgetting to rest: Give the chicken a minute off heat before serving.
Juices settle, and the glaze sets nicely.
Variations You Can Try
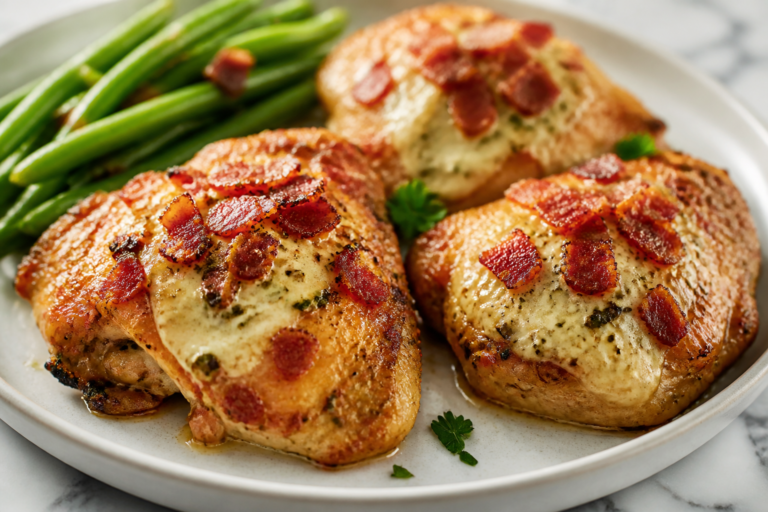
- Crispy skin-on: Use bone-in, skin-on thighs. Render skin side down until very crisp, then finish in the sauce. Adjust simmer time to cook through.
- Orange twist:
- Extra heat: Stir in sriracha or gochujang with the honey-soy mix for a spicy kick.
- Garlic-lime: Swap vinegar for lime juice and finish with extra lime zest for a bright, tangy finish.
- Gluten-free: Use tamari or coconut aminos and confirm your vinegar is gluten-free.
- Veg boost: Add snap peas, broccoli florets, or bell peppers to the pan during the simmer for a one-pan meal.
FAQ
Can I Use Chicken Breasts Instead?
Yes, but watch the timing.
Cut breasts into cutlets or chunks for faster, more even cooking. Breasts dry out faster, so simmer just until they reach 165°F and keep the sauce slightly looser.
How Do I Prevent the Sauce From Burning?
Reduce the heat to medium once you add the honey-soy mixture. Keep the sauce bubbling gently, not vigorously.
Stir often and add a splash of water if it starts to thicken too fast.
Do I Need Cornstarch to Thicken the Glaze?
No. Honey naturally reduces into a thick, glossy glaze. If you prefer a thicker sauce quickly, you can whisk 1/2 teaspoon cornstarch into 1 tablespoon water and stir it in, but it’s not necessary.
What Sides Go Best With This?
Steamed jasmine rice, coconut rice, or garlicky noodles are great.
For vegetables, try roasted broccoli, sautéed green beans, or a crisp cucumber salad with rice vinegar and sesame.
Can I Bake Instead of Pan-Sear?
Yes. Bake seasoned thighs at 425°F (220°C) for 18–22 minutes, then simmer the sauce on the stove and toss the cooked chicken in to coat. You won’t get the same deep sear, but it’s hands-off and still tasty.
How Do I Scale the Recipe?
Double the sauce and cook the chicken in batches to avoid crowding.
Use a large skillet or two medium pans so everything browns properly.
Is This Recipe Kid-Friendly?
Usually yes. Keep the red pepper flakes out and serve lime on the side. The sweet-savory balance tends to be a hit.
In Conclusion
Sticky Honey Garlic Chicken Thighs are proof that simple ingredients can deliver big results.
With a quick sear and a short simmer, you get tender chicken wrapped in a glossy, flavorful glaze. Keep the pantry staples on hand, and this becomes a reliable go-to for busy nights or casual dinners with friends. Make it once, and it’ll earn a permanent spot in your rotation.
Printable Recipe Card
Want just the essential recipe details without scrolling through the article? Get our printable recipe card with just the ingredients and instructions.