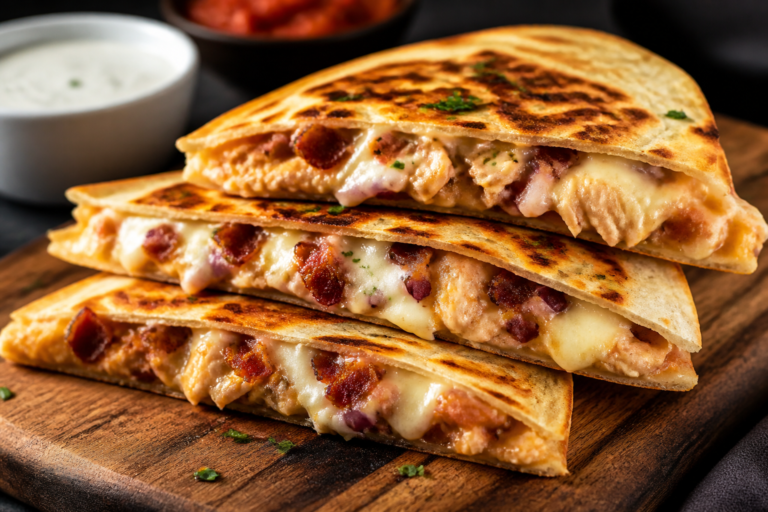
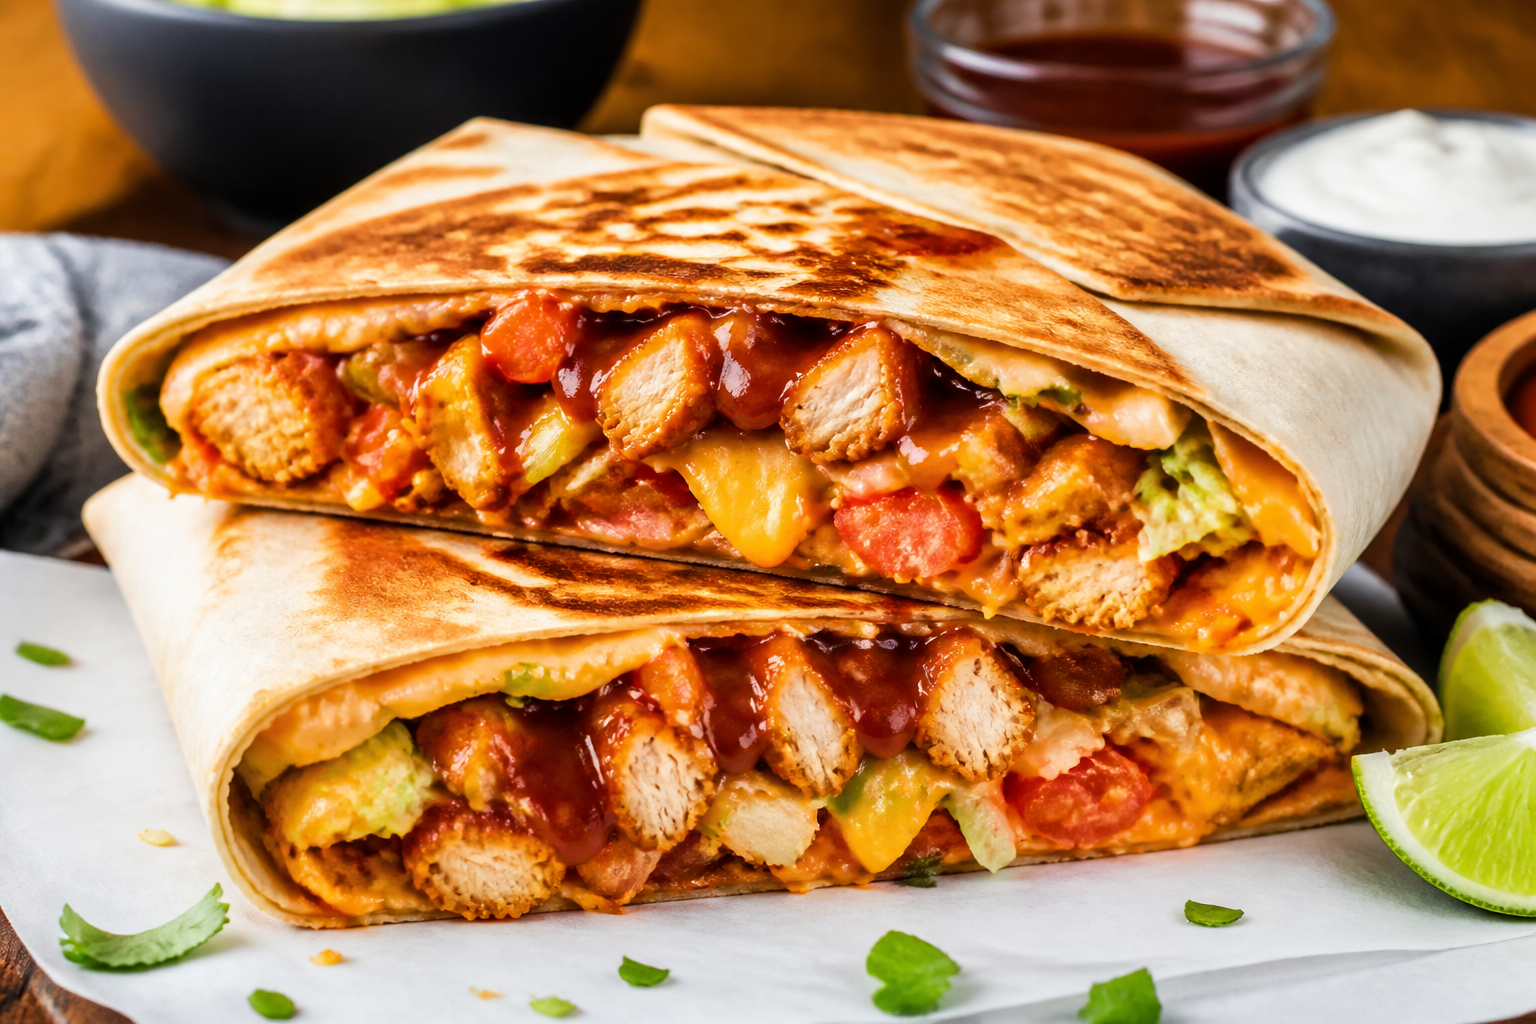
BBQ Chicken Crunchwraps – A Crispy, Saucy Weeknight Favorite
Think of everything you love about a loaded barbecue chicken sandwich, then wrap it up in a crispy, hand-held package. That’s the magic of BBQ Chicken Crunchwraps. They’re smoky, cheesy, and crunchy in all the right places, and they cook fast on the stovetop.
Perfect for busy nights, game-day spreads, or an easy lunch you can make with leftovers. If you’re craving big flavor without a lot of fuss, this is your new go-to.
Ingredients
Method
- Prep the chicken: In a bowl, toss the shredded chicken with enough BBQ sauce to coat generously. Season with salt and pepper if needed. Warm it briefly in a skillet or microwave so it’s hot and saucy.
- Mix a quick slaw: In a small bowl, combine coleslaw mix with a squeeze of lime, a spoonful of sour cream or Greek yogurt, a pinch of salt, and a little pepper. You want it lightly dressed, not soupy.
- Warm the tortillas: Heat the large flour tortillas for 10–15 seconds per side in a dry skillet or microwave until pliable. This prevents cracking when you fold.
- Create the crunch layer: If using corn tortillas, toast them in a dry skillet until crisp. If using tostada shells, you’re good to go. The crunch should be about the size of your palm.
- Assemble the base: Lay a large flour tortilla on a clean surface. Add a handful of shredded cheese in the center, forming a circle about 5–6 inches wide.
- Build the layers: Spoon on a mound of BBQ chicken over the cheese. Top with the crunchy tortilla or tostada shell. Add a scoop of slaw, some green onions, and pickled jalapeños if you like heat. Finish with another light sprinkle of cheese to help “glue” the top layer.
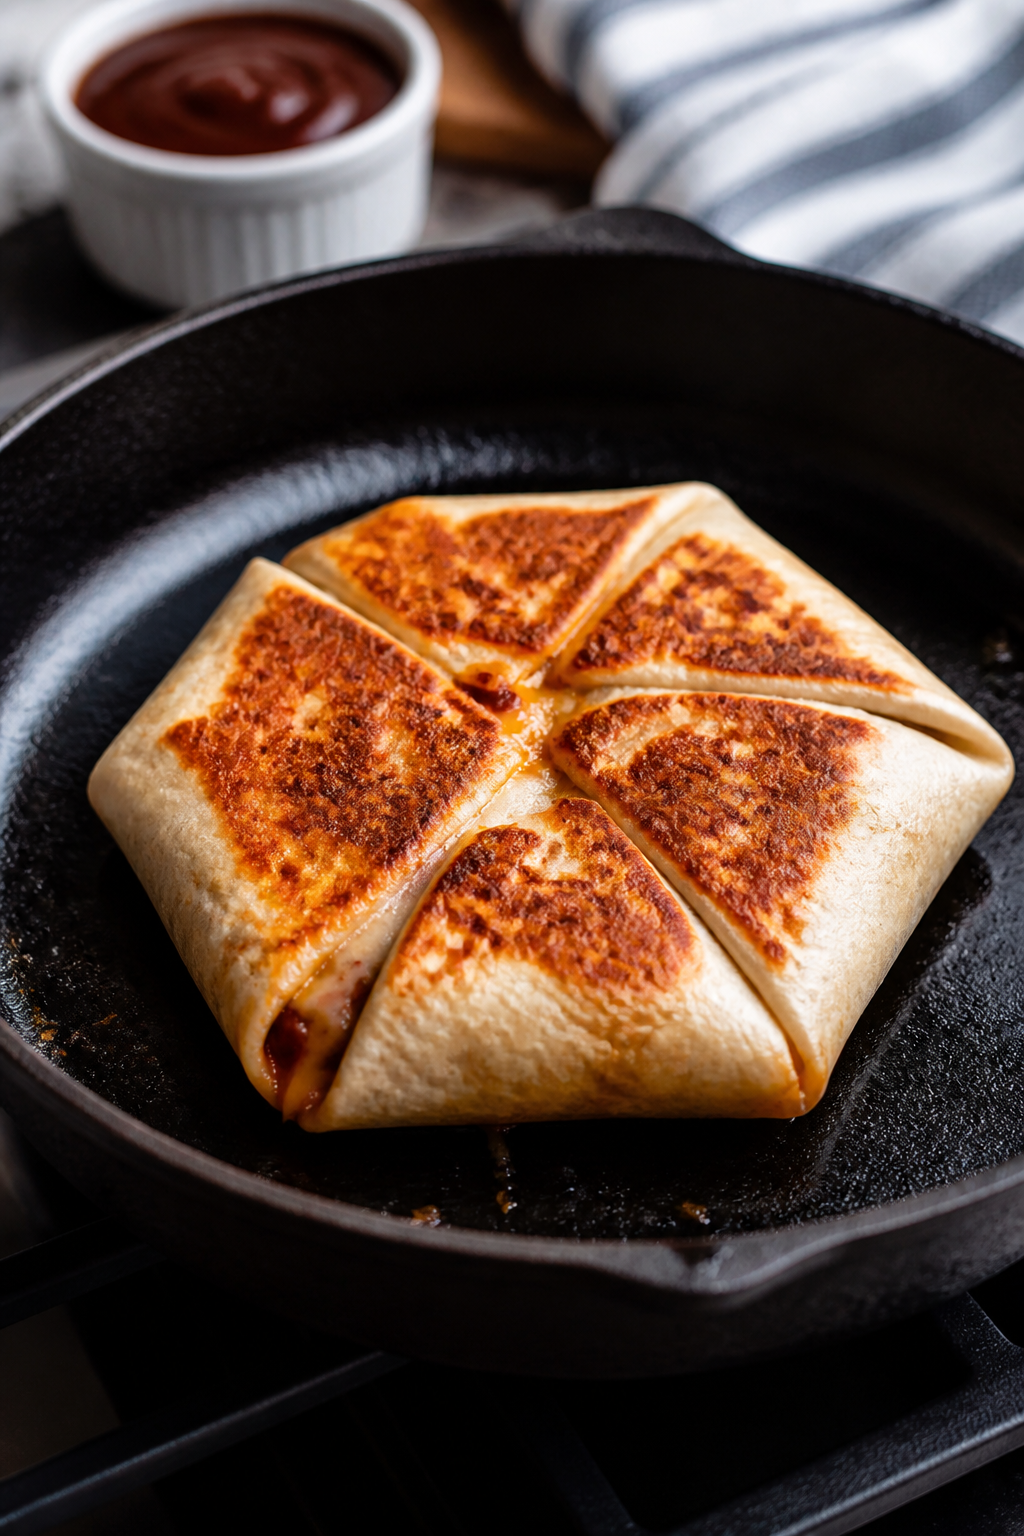
- Fold the wrap: Working around the circle, fold the edge of the flour tortilla toward the center, creating pleats as you go. Keep it snug so nothing spills out. If the tortilla doesn’t fully close, place a small piece of tortilla on top as a patch before the last fold.
- Pan-sear: Heat a skillet over medium with a small drizzle of oil or a pat of butter. Place the crunchwrap seam-side down and cook 3–4 minutes until golden and crisp. Flip carefully and cook another 2–3 minutes until the second side is browned and the cheese is melted.
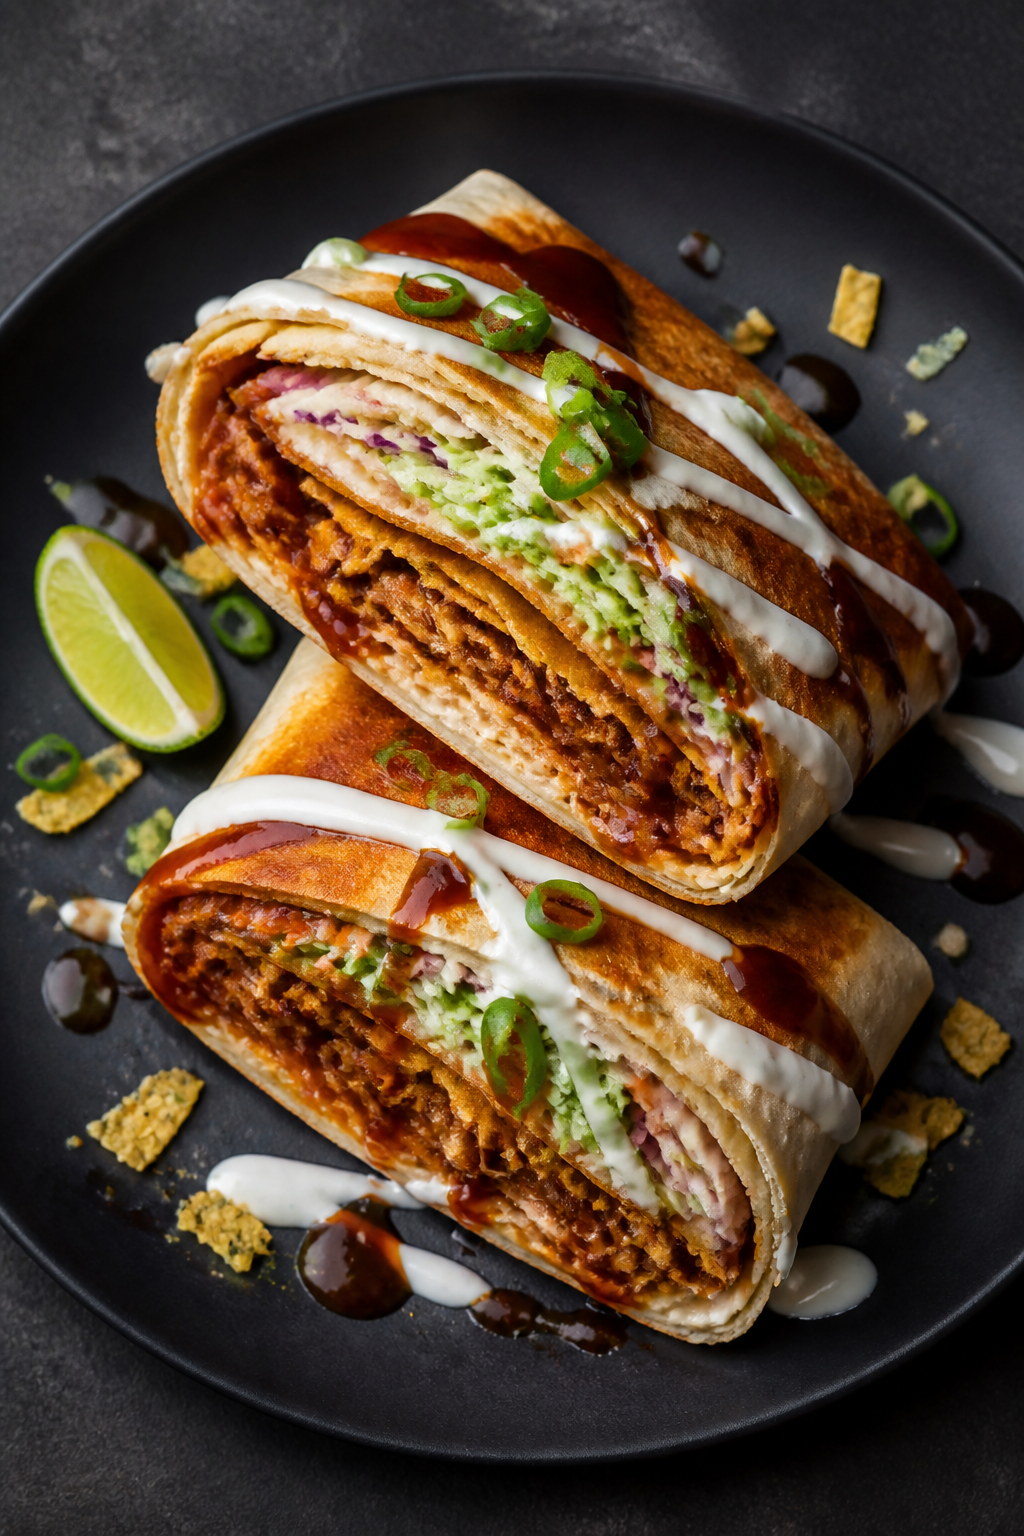
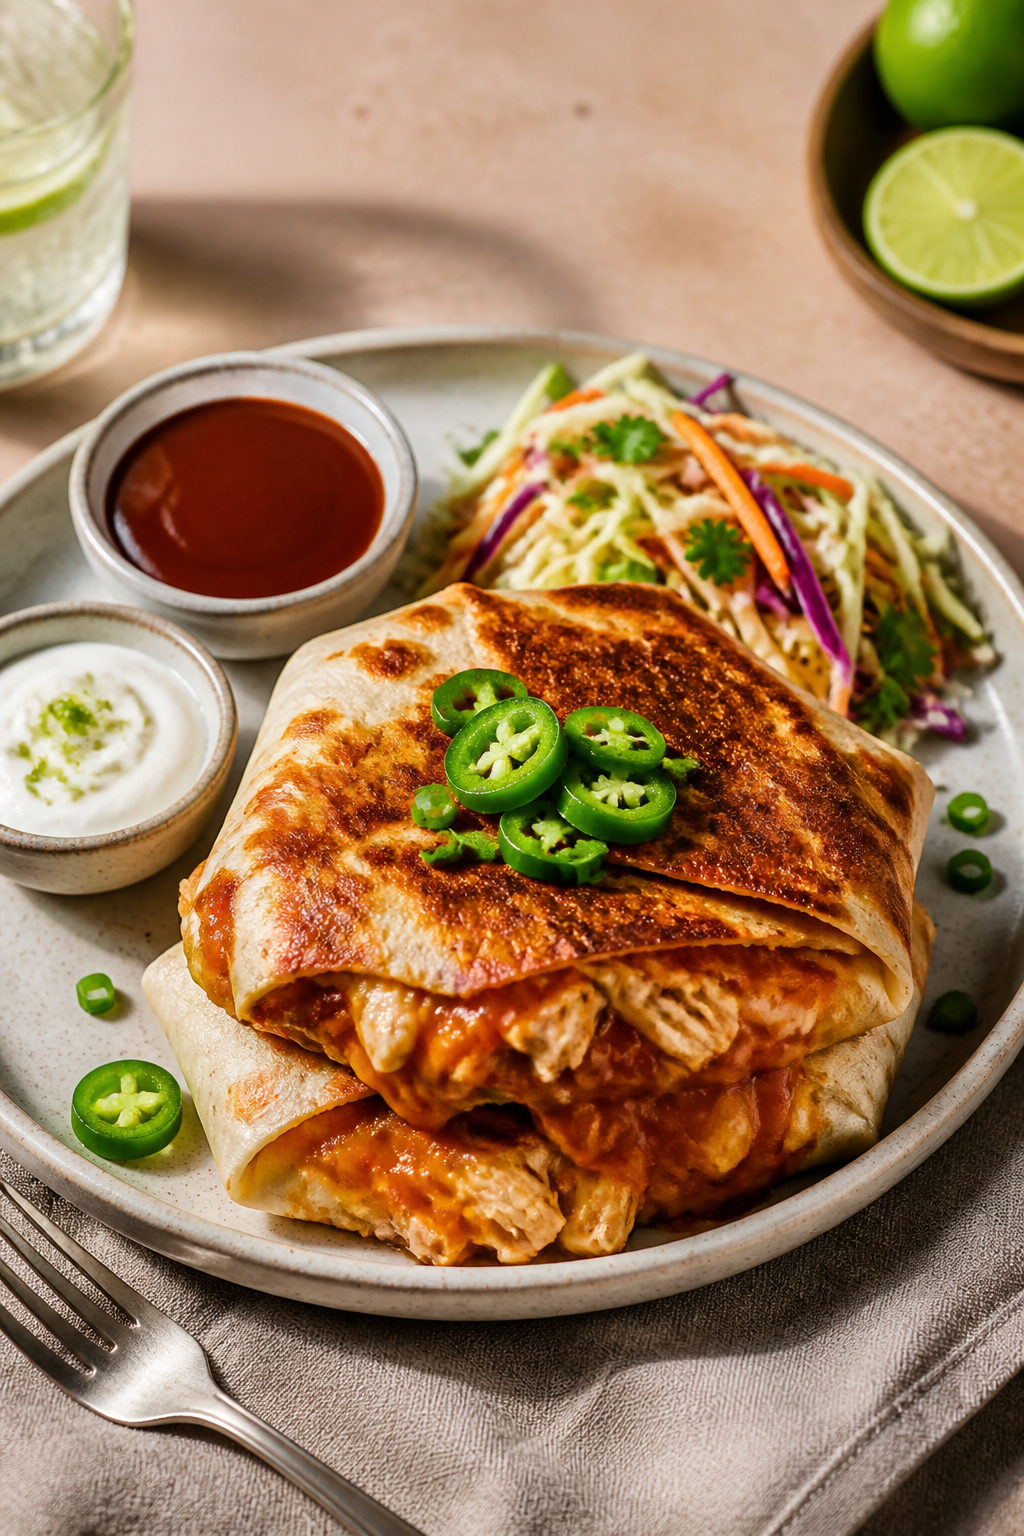
- Rest and slice: Let the crunchwrap sit for 1 minute so the fillings settle. Slice in half for easier eating and serve with extra BBQ sauce or a limey sour cream drizzle.
- Repeat: Assemble and sear the remaining crunchwraps. Keep finished ones warm in a low oven if cooking for a crowd.
What Makes This Special
This recipe blends comfort food with smart assembly. You get the bold kick of barbecue sauce, the creaminess of melted cheese, and the snap of a crunchy tortilla chip layer—all in one bite.
It’s easy to customize, so you can use rotisserie chicken, leftover grilled chicken, or even a plant-based swap. The fold-and-sear method locks everything in place and gives you that satisfying griddled crust on both sides.
Best of all, it’s weeknight-friendly. Most of the work is just assembling and pressing.
No oven required, minimal dishes, and every component is straightforward. Once you learn the fold, you’ll make these on repeat.
What You’ll Need
- Large flour tortillas (burrito-size, 10-inch)
- Small corn tortillas or tostada shells (for the crunch layer)
- Cooked chicken, shredded or chopped (rotisserie works great)
- BBQ sauce (your favorite style: smoky, sweet, or spicy)
- Shredded cheese (cheddar, Monterey Jack, or a blend)
- Coleslaw mix or shredded cabbage
- Green onions, thinly sliced
- Pickled jalapeños (optional, for heat)
- Sour cream or Greek yogurt
- Lime (for a quick slaw dressing)
- Olive oil or butter (for searing)
- Salt and pepper, to taste
- Optional add-ins: black beans, corn, crispy bacon bits, red onion
How to Make It
- Prep the chicken: In a bowl, toss the shredded chicken with enough BBQ sauce to coat generously. Season with salt and pepper if needed.
Warm it briefly in a skillet or microwave so it’s hot and saucy.
- Mix a quick slaw: In a small bowl, combine coleslaw mix with a squeeze of lime, a spoonful of sour cream or Greek yogurt, a pinch of salt, and a little pepper. You want it lightly dressed, not soupy.
- Warm the tortillas: Heat the large flour tortillas for 10–15 seconds per side in a dry skillet or microwave until pliable. This prevents cracking when you fold.
- Create the crunch layer: If using corn tortillas, toast them in a dry skillet until crisp.
If using tostada shells, you’re good to go. The crunch should be about the size of your palm.
- Assemble the base: Lay a large flour tortilla on a clean surface. Add a handful of shredded cheese in the center, forming a circle about 5–6 inches wide.
- Build the layers: Spoon on a mound of BBQ chicken over the cheese.
Top with the crunchy tortilla or tostada shell. Add a scoop of slaw, some green onions, and pickled jalapeños if you like heat. Finish with another light sprinkle of cheese to help “glue” the top layer.
- Fold the wrap: Working around the circle, fold the edge of the flour tortilla toward the center, creating pleats as you go.
Keep it snug so nothing spills out. If the tortilla doesn’t fully close, place a small piece of tortilla on top as a patch before the last fold.
- Pan-sear: Heat a skillet over medium with a small drizzle of oil or a pat of butter. Place the crunchwrap seam-side down and cook 3–4 minutes until golden and crisp.
Flip carefully and cook another 2–3 minutes until the second side is browned and the cheese is melted.
- Rest and slice: Let the crunchwrap sit for 1 minute so the fillings settle. Slice in half for easier eating and serve with extra BBQ sauce or a limey sour cream drizzle.
- Repeat: Assemble and sear the remaining crunchwraps. Keep finished ones warm in a low oven if cooking for a crowd.
Storage Instructions
Refrigerate: Store cooked crunchwraps in an airtight container for up to 3 days.
For best texture, keep the slaw separate and add fresh after reheating.
Reheat: Re-crisp in a skillet over medium heat 3–4 minutes per side or air-fry at 350°F (175°C) for 5–7 minutes. Avoid the microwave if you can; it softens the crunch.
Freeze: Assemble without the slaw, then wrap tightly in foil and freeze up to 2 months. Reheat from frozen in an oven or air fryer until hot and crisp, then add slaw.
Benefits of This Recipe
- Fast and flexible: Works with leftover chicken, rotisserie meat, or even canned chicken in a pinch.
- Great texture: Gooey cheese, crunchy center, and a crisp exterior make every bite satisfying.
- Customizable heat and sweetness: Choose a mild, sweet, or spicy BBQ sauce and add jalapeños as you like.
- Portable: Easy to pack for lunch or bring to a tailgate.
- Balanced bite: Slaw adds freshness and acidity to cut through the richness.
What Not to Do
- Don’t overfill: Too much filling makes it hard to fold and can cause leaks in the pan.
- Don’t skip warming the tortillas: Cold tortillas crack and won’t fold cleanly.
- Don’t use a soggy crunch layer: If the corn tortilla gets soft, you’ll lose that signature contrast.
- Don’t blast the heat: High heat burns the outside before the cheese melts.
Medium heat is your friend.
- Don’t add wet slaw inside if freezing: Add fresh slaw after reheating to keep the texture right.
Alternatives
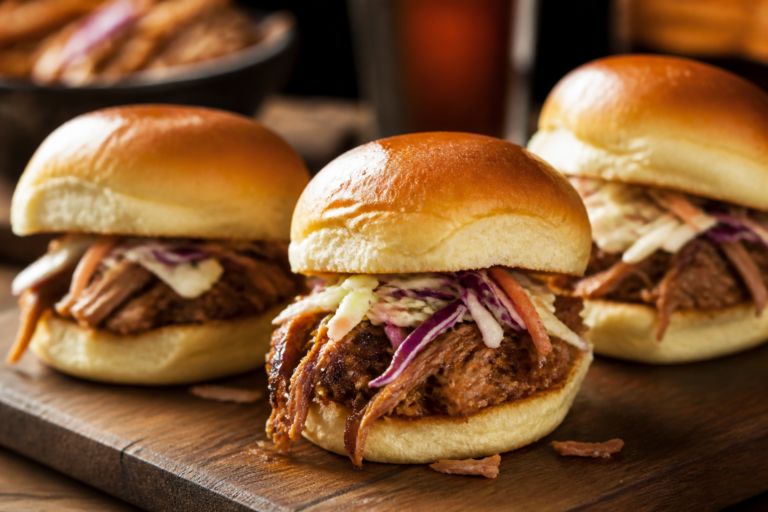
- Protein swaps: Try pulled pork, smoked turkey, or crispy tofu. For shrimp, cook quickly with a little chili powder before assembling.
- Sauce twists: Go Carolina-style mustard BBQ for tang, Alabama white sauce for creamy heat, or a chipotle BBQ for smokiness.
- Cheese options: Pepper Jack for spice, smoked Gouda for depth, or mozzarella for extra melt.
- Crunch options: Use tortilla chips, crushed Doritos, or a firm tostada for extra flavor and texture.
- Lighter take: Use whole-wheat tortillas, Greek yogurt in the slaw, and add beans and corn for more fiber.
- Gluten-free route: Use large gluten-free tortillas and a certified GF BBQ sauce. Ensure the crunch layer is a GF tostada or chips.
FAQ
Can I make these in advance?
Yes, you can assemble a few hours ahead, but hold the slaw and the crunch layer until just before cooking.
Otherwise, moisture will soften the crunch and the tortilla. For longer storage, cook and chill, then re-crisp in a skillet or air fryer and add fresh slaw.
What if I don’t have tostada shells?
Use a toasted corn tortilla or a handful of sturdy tortilla chips. The goal is a dry, crunchy layer that won’t steam into softness while cooking.
How do I keep them from falling apart?
Warm tortillas, avoid overfilling, and fold tightly with even pleats.
Start seam-side down in the pan to seal. A light sprinkle of cheese near the top layer helps glue it shut as it melts.
Which BBQ sauce works best?
Use what you love. A sweet-and-smoky sauce pairs well with jalapeños and sharp cheddar.
If you prefer more tang, try a vinegar-based or mustard-style sauce and balance with a milder cheese.
Can I bake these instead of pan-searing?
Yes, but you’ll miss a bit of the griddled crust. Brush lightly with oil and bake at 400°F (205°C) for about 12–15 minutes, flipping once. For best results, finish under the broiler for 1–2 minutes per side.
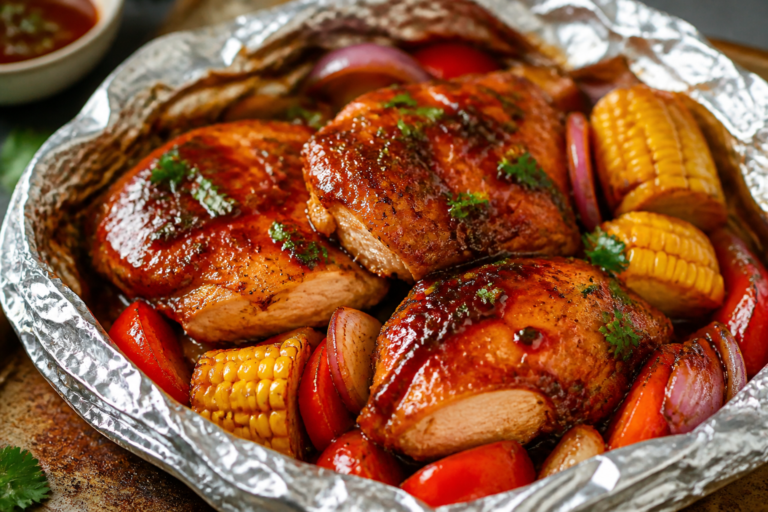
What sides go well with BBQ Chicken Crunchwraps?
Think simple and fresh: corn salad, sliced watermelon, crisp pickles, or a green salad with a citrus dressing.
A side of baked beans or sweet potato fries is great if you want something heartier.
How do I make it spicier without overpowering it?
Add pickled jalapeños inside and a dash of hot sauce to the chicken. Use Pepper Jack cheese and a spicy BBQ sauce. Keep the slaw bright and cooling to balance the heat.
Can I use raw chicken and cook it in the wrap?
No. Always use fully cooked chicken before assembling.
The short sear is for crisping and melting, not cooking raw meat.
Wrapping Up
BBQ Chicken Crunchwraps deliver big flavor with minimal effort. They’re flexible, fast, and reliably crowd-pleasing, whether you’re cooking for one or feeding a hungry group. Keep a few staples on hand—tortillas, cheese, and BBQ sauce—and you’re halfway there.
Once you master the fold and the slow, steady sear, this recipe will earn a permanent spot in your weeknight rotation.
Printable Recipe Card
Want just the essential recipe details without scrolling through the article? Get our printable recipe card with just the ingredients and instructions.